Common setup for Snowflake REST APIs tutorials
Introduction
This topic provides instructions for the common setup required for all Snowflake REST APIs tutorials available in this documentation.
Overview of the Snowflake REST APIs
Before starting your setup, take a look at the Snowflake REST APIs.
The Snowflake REST APIs supports the following resources through the corresponding APIs. The APIs support CREATE OR ALTER operations for applicable resources.
-
Working with accounts
-
Working with users, roles, and privileges
-
Managing virtual warehouses
-
Working with databases and schemas
-
Managing tables and views
-
Loading and unloading data
-
Managing notebooks
-
Working with Snowpark Container Services
-
Using functions and procedures
-
Managing security
-
Managing alerts
-
Leveraging AI/ML
-
Managing streams and tasks
-
Managing integrations
For reference information about the APIs and their endpoints, see Snowflake REST APIs reference.
Tip
If you prefer writing Python applications, you can use the Snowflake Python APIs to manage Snowflake objects. For more information, see Snowflake Python APIs: Managing Snowflake objects with Python.
Import the Snowflake REST APIs collections
This tutorial walks you through the process of importing the Snowflake REST APIs collections from Postman.
-
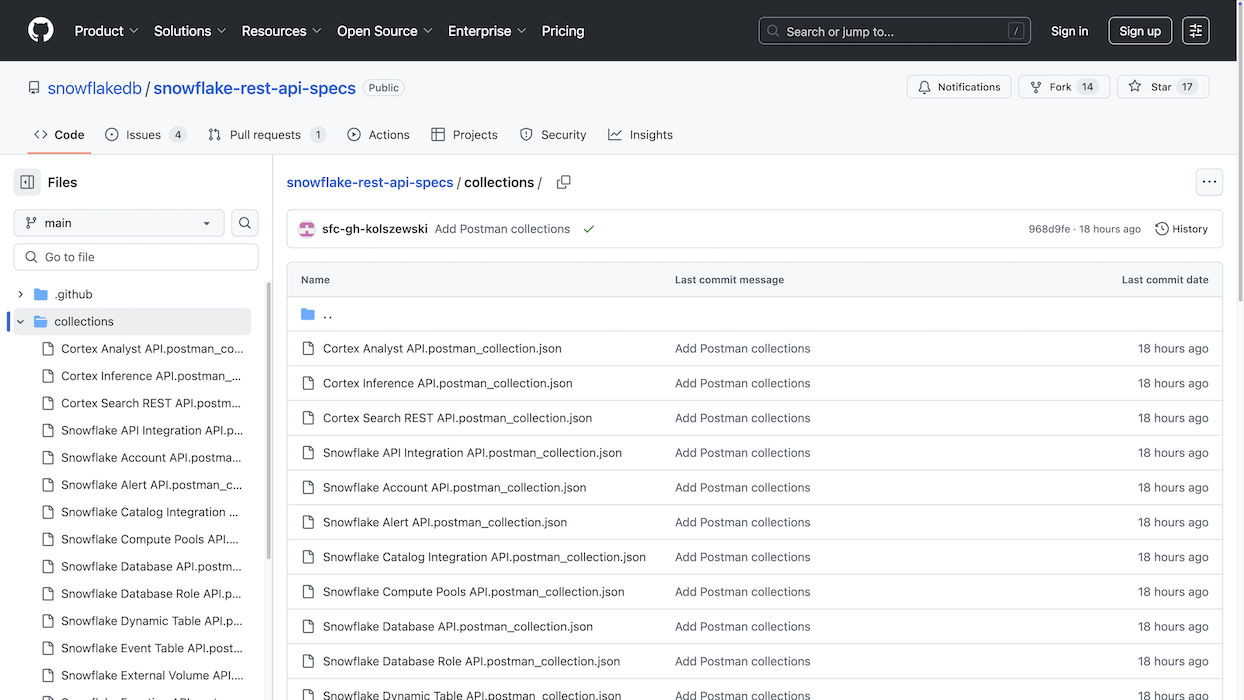
Download the API collections from the Git repository into a folder.
-
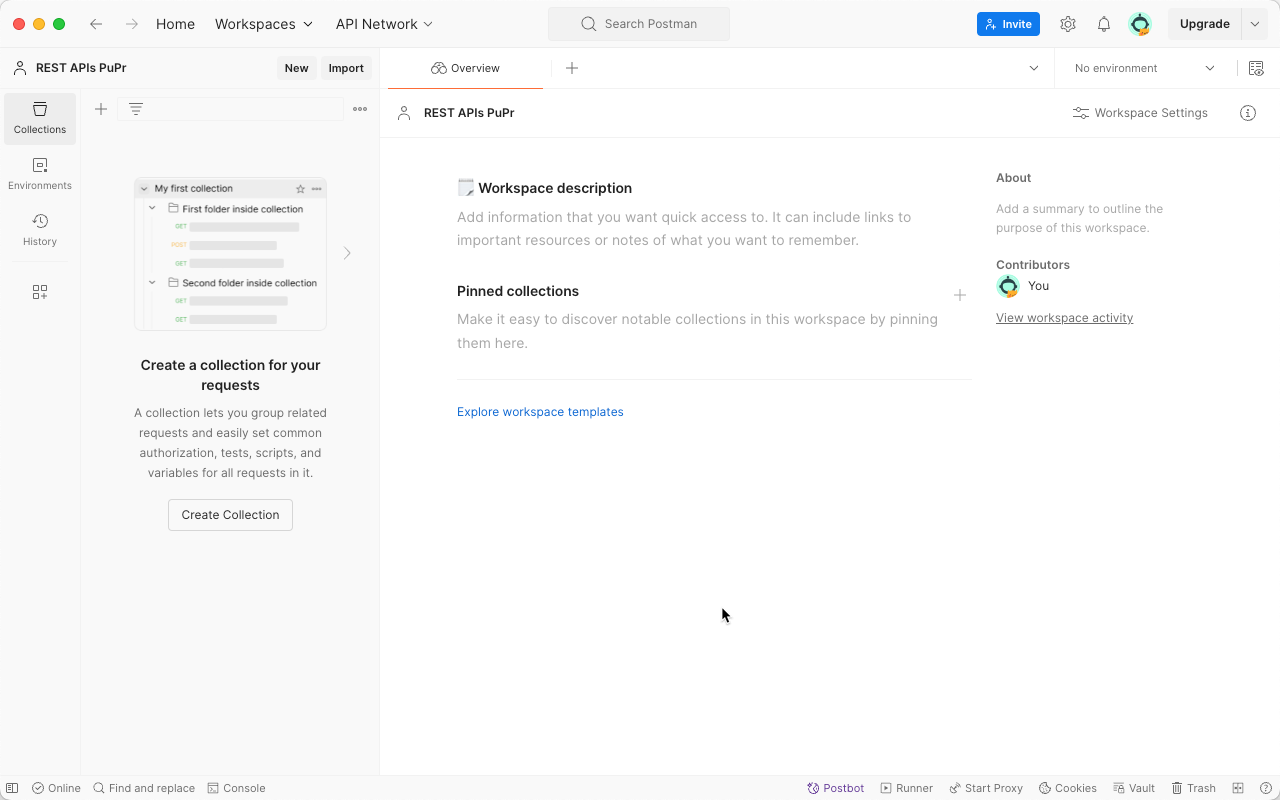
Open the Postman application, and create an account, if necessary.
-
In Postman, open the desired workspace.
-
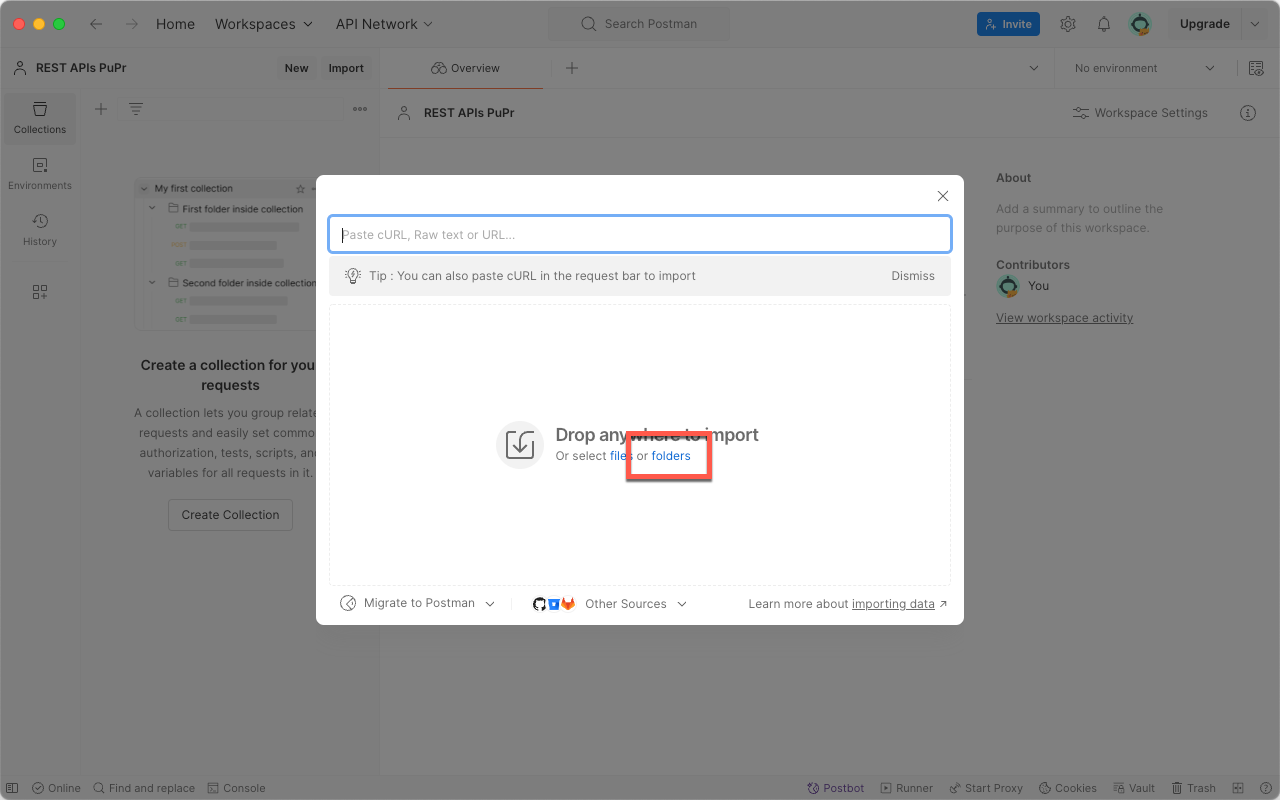
Select Import.
-
Select folders.
-
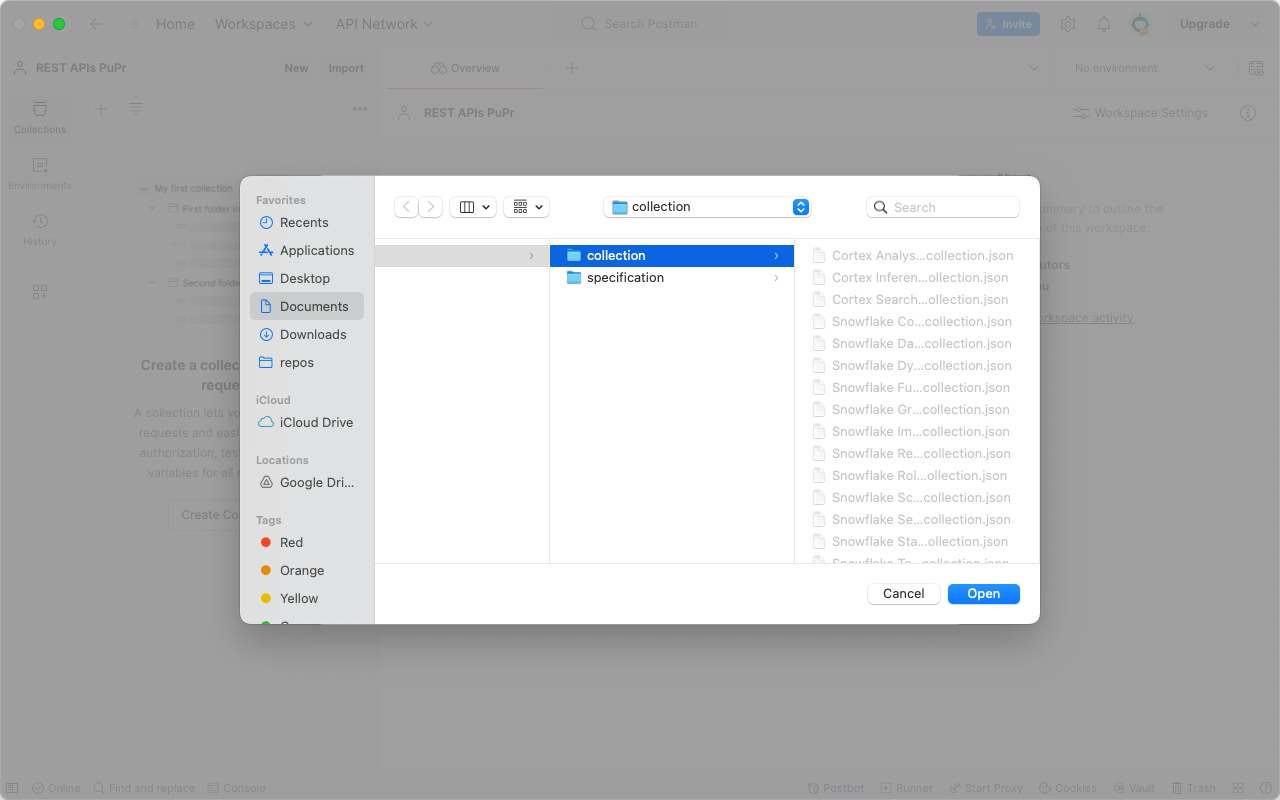
In the dialog, select the folder where you extracted the collection, and select Open.
-
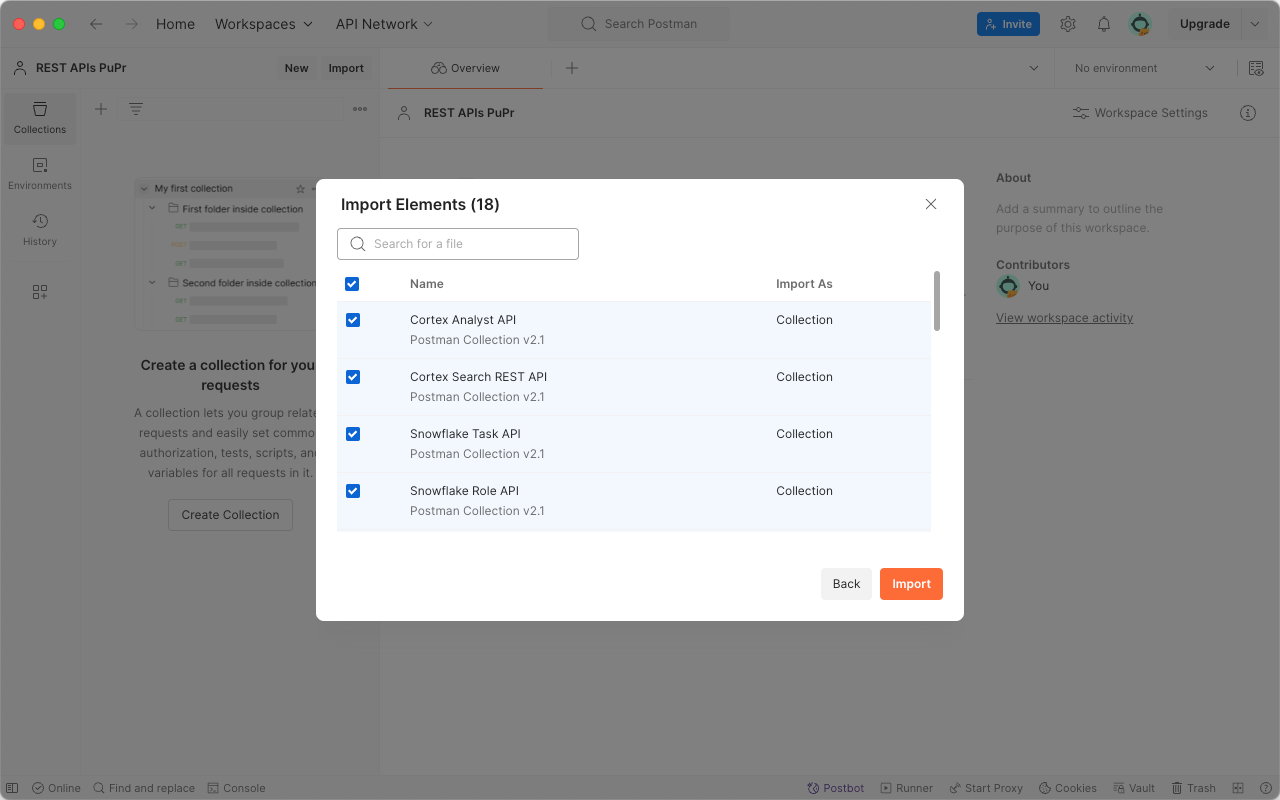
Verify that all of the items are selected, and select Import.
You should see the collections listed in the left panel, as shown:

Specify the bearer token in Postman
REST requests require a JWT token in the request header to authenticate the request. If you don’t have a JWT token, see Generate a JWT token.
In Postman, you can copy the JWT token into the bearerToken header property, as shown.

Note
As mentioned in the tutorial prerequisites, you must define an AUTHENTICATION POLICY. If you receive an error message similar to { "code": "390202", "message": "Authentication attempt rejected by the current authentication policy." }, you can run the following SQL command to define a policy:
Set environment variables in the Postman environment
You can set environment variables in your Postman environment. You can then use these variables in Postman, in the form {{variable_name}}.
All endpoint URLs begin with a baseURL, which identifies your Snowflake account. The baseURL has the form: <account_locator>.snowflakecomputing.com, where <account_locator> is your Snowflake account name.
To set the baseURL variable, as well as any other variables, in Postman, enable each parameter and set its value, as shown:
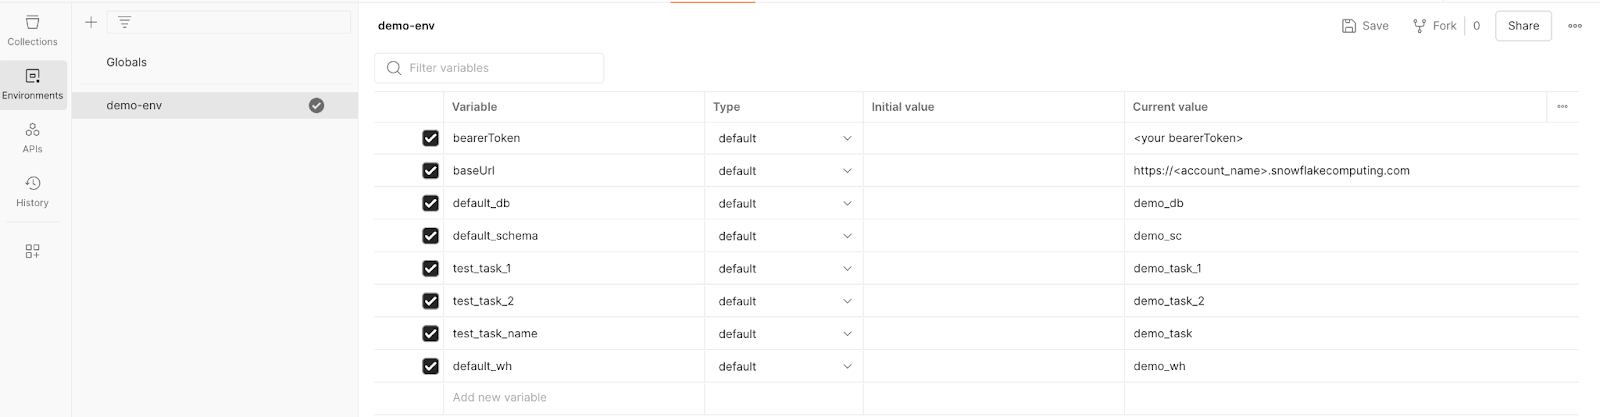
For each value you set, you must select Save to save the new value.
What’s next?
Congratulations! In this tutorial, you learned the fundamentals for managing Snowflake database, schema, and table resources using the Snowflake REST APIs.
Summary
Along the way, you completed the following steps:
- Import Snowflake REST APIs collections.
- Specify a bearer token in Postman.
- Set environment variables in the Postman environment.
Next tutorial
You can now proceed to Tutorial 1: Create and manage databases, schemas, and tables, which shows you how to create and manage Snowflake databases, schemas, and tables.