Tutorial 2: Build a simple chat application with Cortex Search
Introduction
This tutorial describes how to use Cortex Search and the COMPLETE (SNOWFLAKE.CORTEX) function to set up a Retrieval-Augmented Generation (RAG) chatbot in Snowflake.
What you will learn
- Create a Cortex Search Service based on a dataset downloaded from Kaggle.
- Create a Streamlit in Snowflake app that lets you query your Cortex Search Service.
Prerequisites
The following prerequisites are required to complete this tutorial:
- You have a Snowflake account and user with a role that grants the necessary privileges to create a database, tables, virtual warehouse objects, Cortex Search services, and Streamlit apps.
Refer to the Snowflake in 20 minutes for instructions to meet these requirements.
Step 1: Setup
Getting the sample data
You will use a sample dataset hosted on Kaggle for this tutorial. The Books dataset is a collection of book name, title and descriptions. You can download the dataset from the following link:
The complete dataset can be found on Kaggle.
Note
In a non-tutorial setting, you would bring your own data, possibly already in a Snowflake table.
Creating the database, schema, stage and warehouse
Run the following SQL code to set up the necessary database, schema, and warehouse:
Note the following:
- The
CREATE DATABASEstatement creates a database. The database automatically includes a schema named PUBLIC. - The
CREATE WAREHOUSEstatement creates an initially suspended warehouse.
Step 2: Load the data into Snowflake
First create a stage to store the files downloaded from Kaggle. This stage will hold the books dataset.
Now upload the dataset. You can upload the dataset in Snowsight or using SQL. To upload in Snowsight:
-
Sign in to Snowsight.
-
In the navigation menu, select Catalog » Database Explorer.
-
Select your database
cortex_search_tutorial_db. -
Select your schema
public. -
Select Stages and select
books_data_stage. -
On the top right, Select the + Files button.
-
Drag and drop files into the UI or select Browse to choose a file from the dialog window.
-
Select Upload to upload your file,
BooksDatasetClean.csv -
Select the three dots on the right of the file and select Load into table.
-
Name the table
BOOKS_DATASET_RAWand select Next.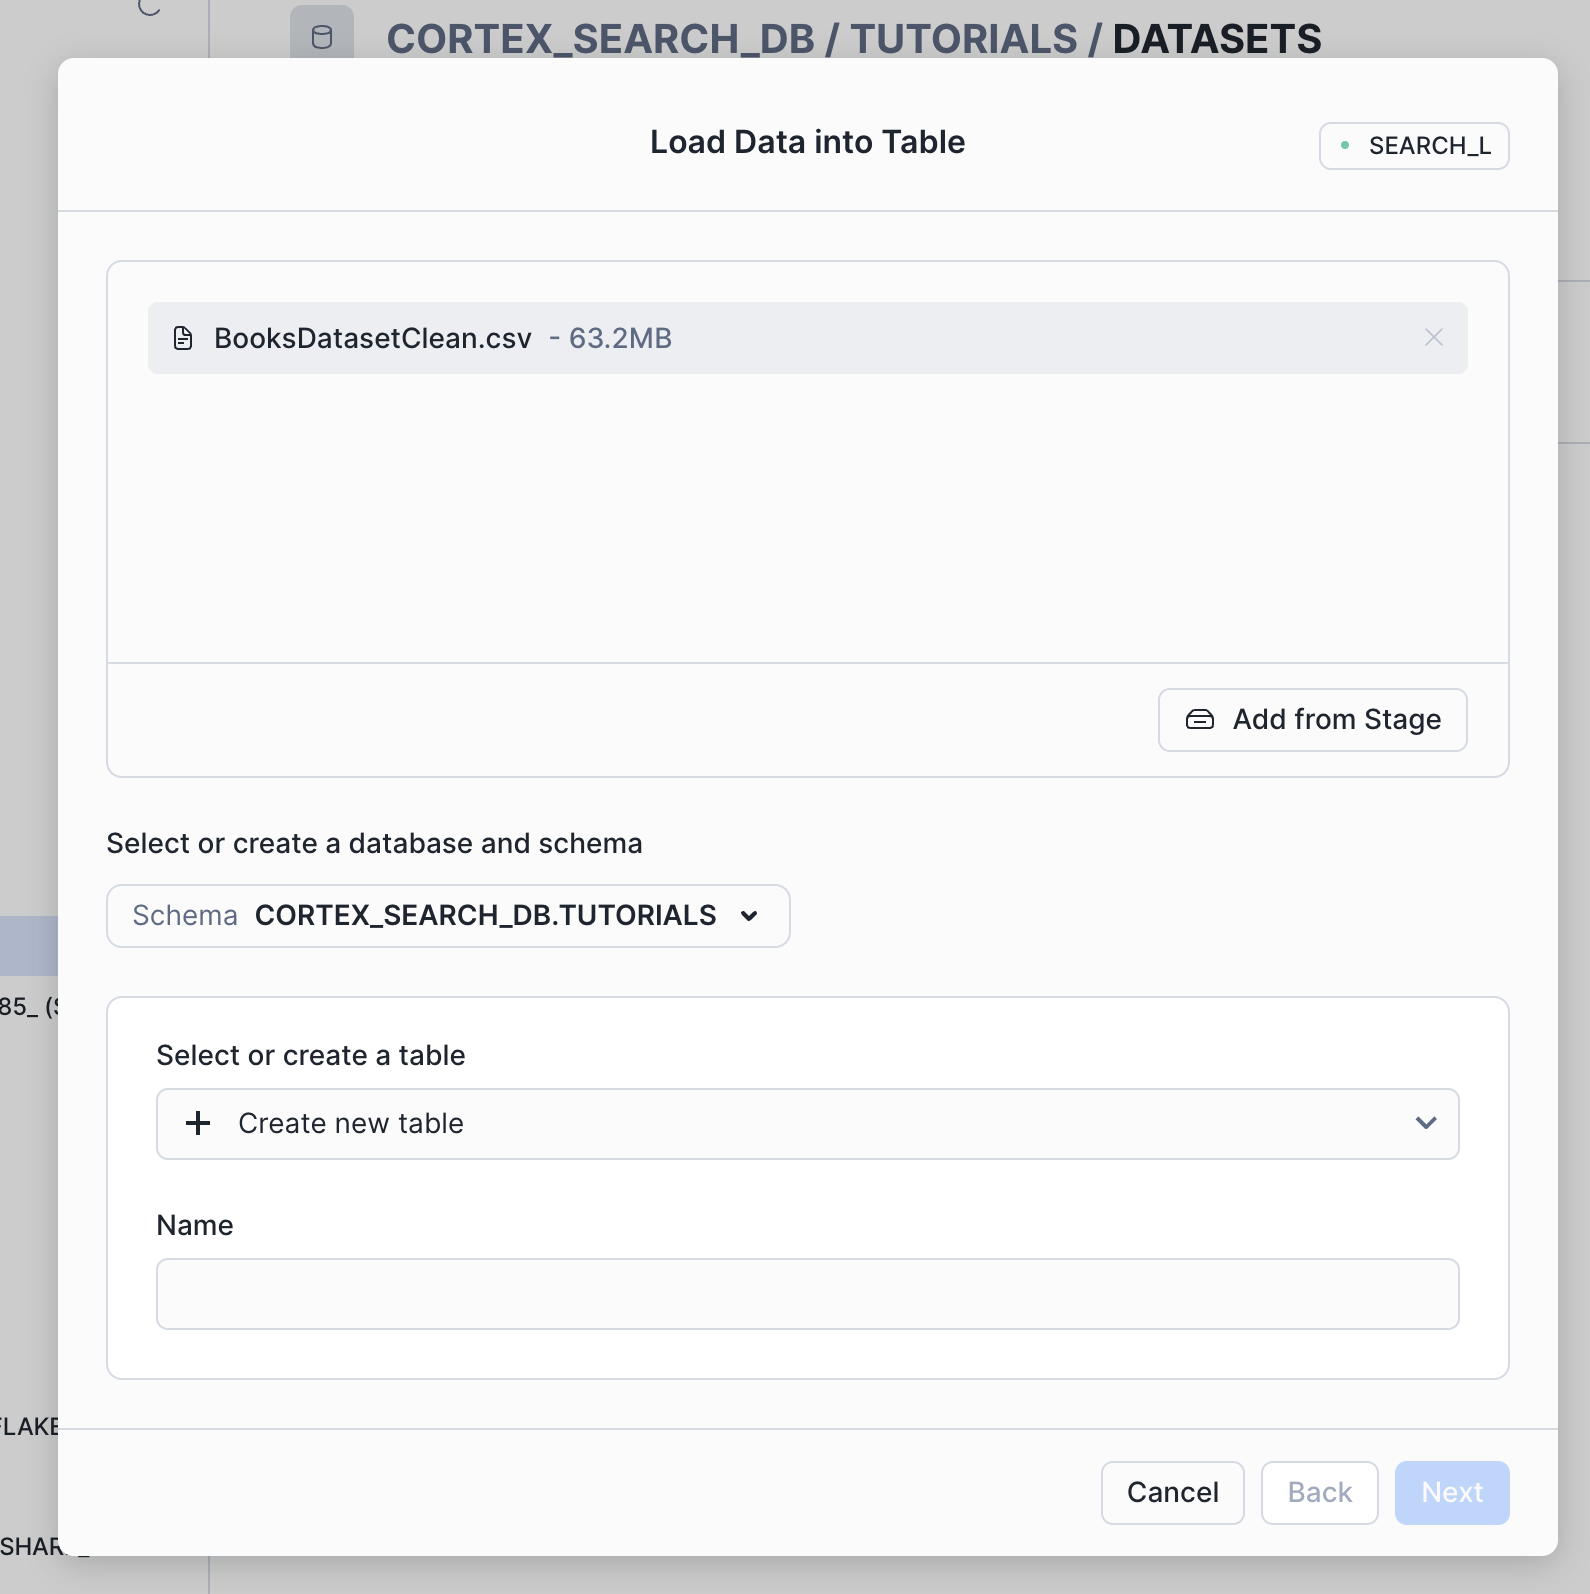
-
In the left panel of the load data dialog, choose First line contains header from the Header menu.
-
Then select Load.
Step 3: Build the Chunks Table
Retrieval accuracy with Cortex Search tends to be higher when documents are shorter. For more information, see Tokens, model context windows, and text splitting.
Now, create a table to store the chunks of text extracted from the book descriptions using the SPLIT_TEXT_RECURSIVE_CHARACTER (SNOWFLAKE.CORTEX) function. Include the title and authors in the chunk to provide context:
Verify the table contents:
Step 4: Create a Cortex Search Service
Create a Cortex Search Service on the table to allow you to search through the chunks in the book_description_chunks:
Step 5: Create a Streamlit app
You can query the service with Python SDK (using the snowflake Python package). This tutorial
demonstrates using the Python SDK in a Streamlit in Snowflake application.
First, ensure your global Snowsight UI role is the same as the role used to create the service in the service creation step.
- Sign in to Snowsight.
- In the navigation menu, select Projects » Streamlit.
- Select + Streamlit App.
- Important: Select the
cortex_search_tutorial_dbdatabase andpublicschema for the app location. - In the left pane of the Streamlit in Snowflake editor, select Packages and add
snowflake(version >= 0.8.0) to install the package in your application. - Replace the example application code with the following Streamlit app:
Step 6: Try out the app
Enter a query in the text box to try out your new app. Some sample queries you can try are:
I like Harry Potter. Can you recommend more books I will like?Can you recommend me books on Greek Mythology?
Step 7: Clean up
Clean up (optional)
Execute the following DROP <object> commands to return your system to its state before you began the tutorial:
Dropping the database automatically removes all child database objects such as tables.
Next steps
Congratulations! You have successfully built a simple search app on text data in Snowflake. You can move on to Tutorial 3 to see how to build an AI chatbot with Cortex Search from a set of PDF files.
Additional resources
Continue learning using the following resources: