Tutorial 3: Create and manage Snowpark Container Services
Introduction
Snowpark Container Services is a fully managed container offering designed to facilitate the deployment, management, and scaling of containerized applications within the Snowflake ecosystem. With this feature, you can run containerized workloads directly within Snowflake.
In this tutorial, you learn how to use Snowflake Python APIs to manage components in Snowpark Container Services.
Important
Snowpark Container Services is generally available to Snowflake accounts in AWS. Preview support is available to accounts in Azure. For more information, see Snowpark Container Services – Available regions.
Prerequisites
Before you start this tutorial, you must complete these steps:
-
Install Docker Desktop.
This tutorial provides instructions that require Docker Desktop. For installation instructions, see https://docs.docker.com/get-docker/.
-
Follow the common setup instructions, which include the following steps:
- Set up your development environment.
- Install the Snowflake Python APIs package.
- Configure your Snowflake connection.
- Import all the modules required for the Python API tutorials.
- Create an API
Rootobject.
Note
If you have already completed the common setup, you can skip this step and begin the tutorial.
After completing these prerequisites, you are ready to start using the API for managing Snowpark Container Services.
Set up your development environment
If you were using a notebook for the previous Snowflake Python APIs tutorials, you switch to a new notebook in this tutorial. The notebook will contain sample code that runs an NGINX web server using Snowpark Container Services, all of which runs in Snowflake.
-
Open a new notebook using your preferred code editor or by running the command
jupyter notebook. -
In the first cell of your notebook, run the following code:
Using the Snowflake connection and
rootobject that you created previously in the common setup, you create a database namedspcs_python_api_dband a schema namedpublicin that database. You also save references that represent these newly created objects. Your Snowpark Container Services components will live in this database and schema.
Overview of Snowpark Container Services
Before you continue with the tutorial, briefly review the main components of Snowpark Container Services. To run containerized applications in Snowpark Container Services, you typically work with the following objects:
-
Image repository: Provides a storage unit where you can upload your application images in your Snowflake account.
Snowpark Container Services provides an OCIv2-compliant image registry service that enables OCI clients (such as Docker CLI and SnowSQL) to access an image registry in your Snowflake account. Using these clients, you can upload your application images to a repository.
For more information, see Working with an image registry and repository.
-
Compute pool: Represents a set of compute resources (virtual machine nodes).
These compute resources are analogous, but not equivalent, to Snowflake virtual warehouses. The service (in this case, your NGINX service) will run in the compute pool. Compute-intensive services require high-powered compute pools with many cores and many GPUs, while less intensive services can run in smaller compute pools with fewer cores.
For more information, see Working with compute pools.
-
Service: Provides a way to run an application container.
At a minimum, services require a specification and a compute pool. A specification contains the information needed to run the application container, such as the path to a container image and the endpoints that the services will expose. The specification is written in YAML. The compute pool is the set of compute resources in which the service will run.
For more information, see Working with services.
Continue to the next steps to create and set up these objects.
Create an image repository
In this section, first you create an image repository using the Snowflake Python APIs. Then you fetch an NGINX application image from Docker Hub and upload the image to the image repository using the Docker CLI.
Create a repository and get information about the repository
-
In the next cell of your notebook, run the following code:
In this code example, you create an image repository in the database and schema you created previously in this tutorial.
-
To confirm the repository was created successfully by fetching its details and printing its name, run the following code:
-
You will need information about the repository (the repository URL and the registry hostname) before you can upload the image.
To get the repository URL, in your next cell, run the following code:
-
The
repository_urlattribute in the output provides the URL. For example: -
The hostname in the repository URL is the registry hostname. For example:
-
Fetch the NGINX image and upload it to the repository
-
For Docker to upload an image to your repository on your behalf, you must first authenticate Docker with Snowflake.
To authenticate Docker with the Snowflake registry, open a command-line terminal and run the following
docker logincommand using the Docker CLI:registry_hostname: Specify the hostname inrepository_urlfrom the result of the previous step.username: Specify your Snowflake username. Docker will prompt you for your password.
Example
-
Fetch the AMD64 build of the NGINX image from Docker Hub:
-
Tag the
amd64/nginximage with the Snowflake image repository URL:Example
A tag is a custom, human-readable identifier that you can optionally use to identify a specific version or variant of an image.
-
Upload the image to the repository in your Snowflake account:
Example
Create a compute pool
To define and create a compute pool, in the next cell of your notebook, run the following code:
In this cell, you define a compute pool using the ComputePool constructor by providing values for the following attributes:
-
instance_family: The instance family identifies the type of machine you want to provision for the nodes in the compute pool.Each machine type provides a different amount of compute resources to their compute pools. In this cell, you use the smallest available machine type,
CPU_X64_XS. For more information, see CREATE COMPUTE POOL. -
min_nodes: The minimum number of nodes to launch the compute pool with. -
max_nodes: The maximum number of nodes the compute pool can scale to.When you create a compute pool, Snowflake launches it with the minimum number of nodes specified. Snowflake then manages the scaling automatically and creates new nodes—up to the maximum number specified—when the running nodes can’t take any additional workload.
Then you create the compute pool by passing the compute pool definition to compute_pools.create().
Create a service
Using the image repository and compute pool you set up, you can now define and create your service. A service refers to a collection of containers running in a compute pool, which are all orchestrated in Snowflake.
-
To retrieve the repository containing your container image, in the next cell of your notebook, run the following code:
This repository is in your Snowflake account, listed as a stage in the PUBLIC schema. You need this reference to fetch the container image information in the next step.
-
To define and create your service, in your next cell, run the following code:
This cell defines the service specification and the service, and then creates the service for your NGINX web server. The definitions for the specification and the service have the following properties:
-
specification– You define the specification using a Python formatted string literal (f-string). The string is formatted as YAML.The specification contains the name of the container, a path to the container image, and the endpoints that the service will expose for public access. In this example, you define the specification inline, but you can also define a specification as a reference to a
.ymlfile in a stage. -
service_def– You define a service with theServiceconstructor, passing in a name for the service, the compute pool it will run in, a path to the specification, and the total number of instances for the service.In this cell, you use
ServiceSpecInlineTextto set the value ofspecbecause you define the specification inline as an f-string. You can specify the service to run multiple instances, but in this example you specify only one instance of the service to run by settingmin_instancesandmax_instancesto1.
-
-
To check the status of the service, in your next cell, run the following code:
The output should be similar to this:
Use your service
After you create the service, Snowpark Container Services will take a few minutes to provision the endpoints that are needed to access the service.
-
To check the status of the endpoints, in the next cell of your notebook, run the following code:
The code example isn’t specific to Snowpark Container Services or the Snowflake Python APIs – it simply provides a handy way to check whether the endpoints are ready. Note that you fetch the endpoints by calling
.fetch().public_endpointson your service object.The output should be similar to this:
-
After the endpoints are provisioned, you can open the public endpoints in your browser.
In your next cell, run the following code:
The output should be similar to this:
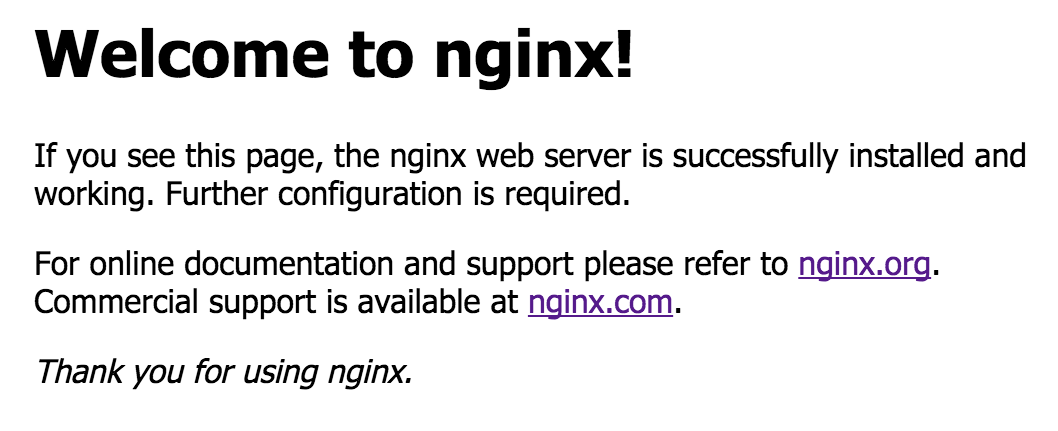
If successful, you’ll see the following NGINX success page in your browser when visiting the endpoint:
-
You can use the Python API to manage your new service.
For example, to suspend the service and then check its status, run the following code:
-
To resume the service, run the following code:
With just a few lines of Python, you were able to run an NGINX web server in Snowflake using Snowpark Container Services.
Clean up
Snowflake charges for active compute pool nodes in your account. To prevent unwanted charges, first suspend the service and the compute pool, and then drop both objects.
-
To suspend the compute pool and the service, in the next cell of your notebook, run the following code:
-
To drop the compute pool and the service, run the following code:
What’s next?
Congratulations! In this tutorial, you learned the fundamentals for managing components in Snowpark Container Services using the Snowflake Python APIs.
Summary
Along the way, you completed these steps:
- Create an image repository where you upload your application images.
- Create a compute pool where your service runs.
- Create a service to run your application container.
- Use and manage your service.
- Clean up your Snowpark Container Services resource objects by suspending and dropping them.
Additional resources
For more examples of using the API to manage other types of objects in Snowflake, see the following developer guides:
| Guide | Description |
|---|---|
| Managing Snowflake databases, schemas, tables, and views with Python | Use the API to create and manage databases, schemas, and tables. |
| Managing Snowflake users, roles, and grants with Python | Use the API to create and manage users, roles, and grants. |
| Managing data loading and unloading resources with Python | Use the API to create and manage data loading and unloading resources, including external volumes, pipes, and stages. |
| Managing Snowflake tasks and task graphs with Python | Use the API to create, execute, and manage tasks and task graphs. |