SnowConvert AI - Windows
Windows 설치
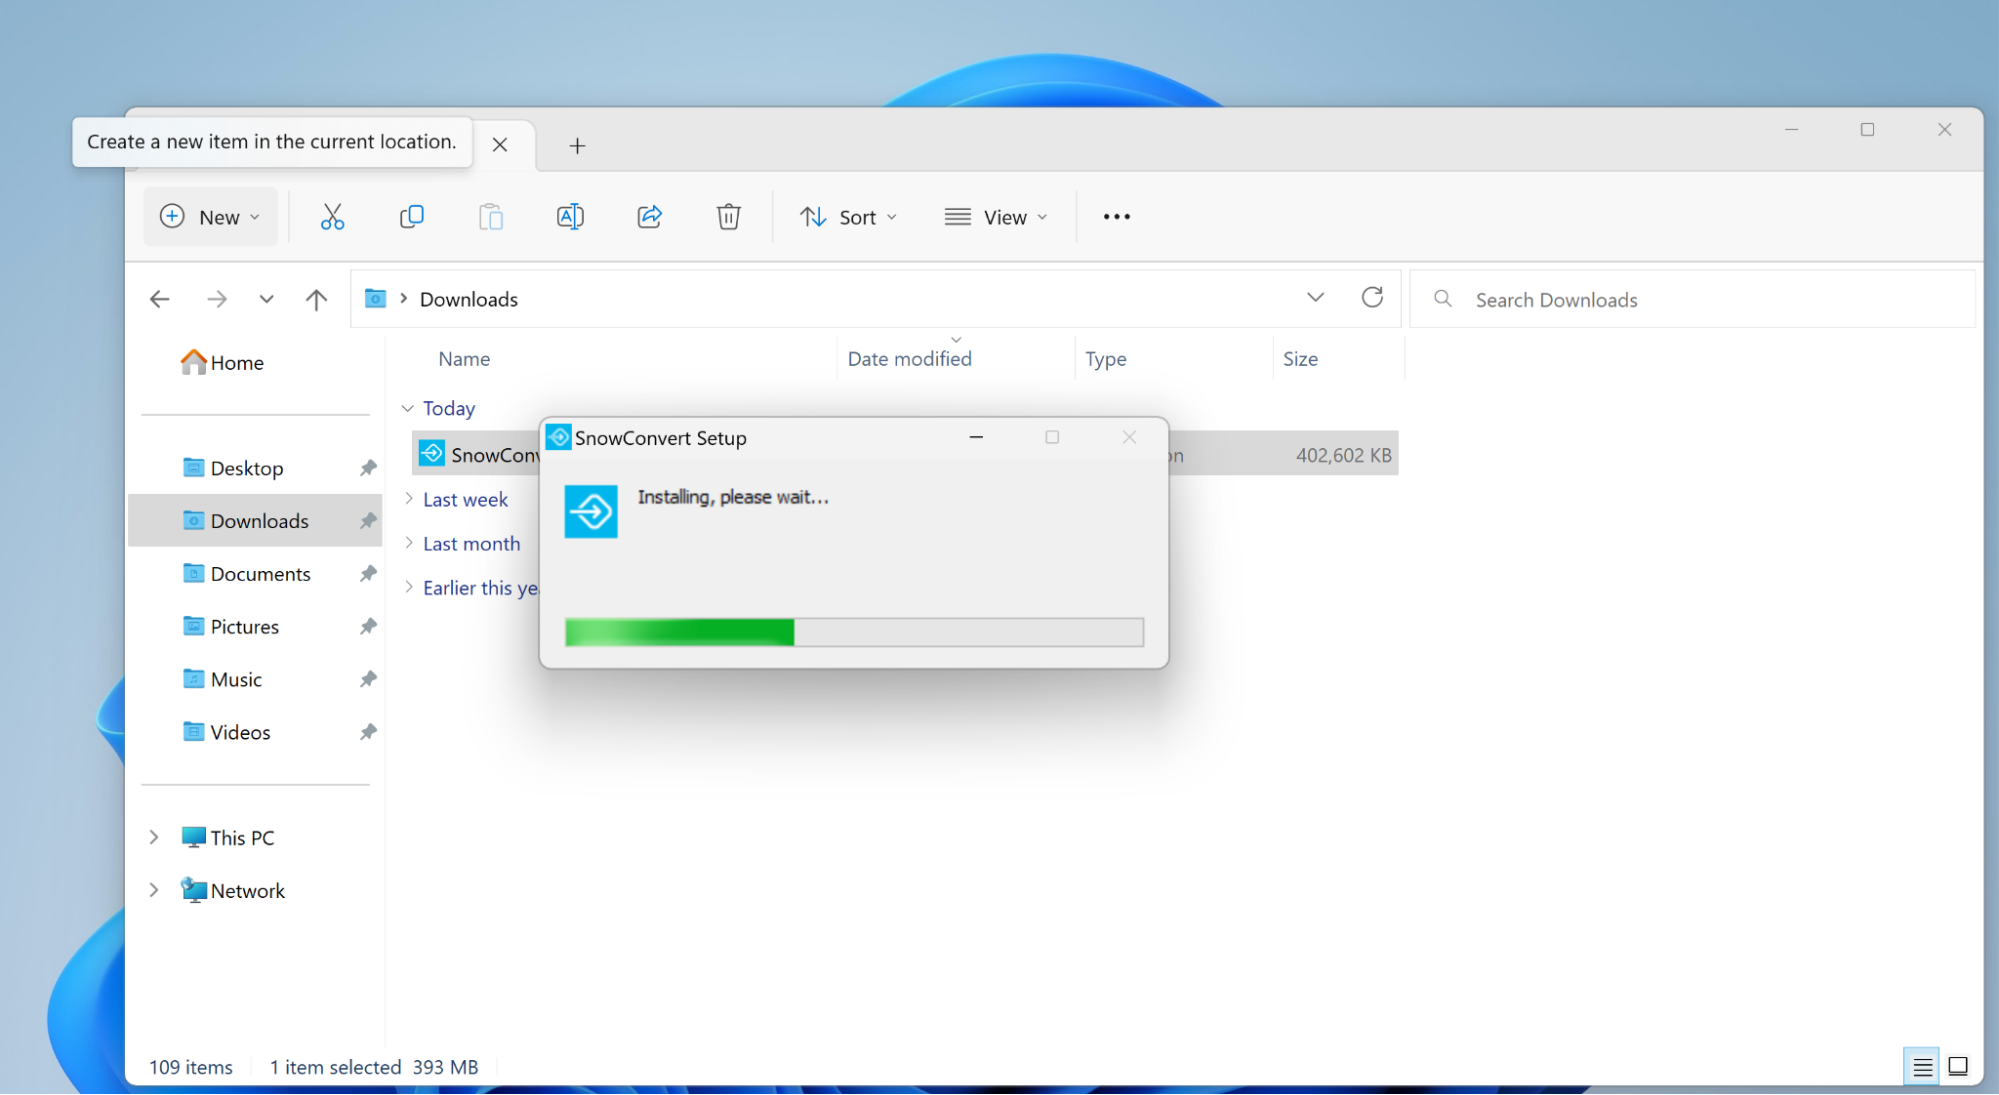
다운로드한 .exe 파일을 클릭합니다.
그러면 컴퓨터에서 설치 프로세스가 시작됩니다.
Once the process is finished you can open SnowConvert AI from your applications menu.
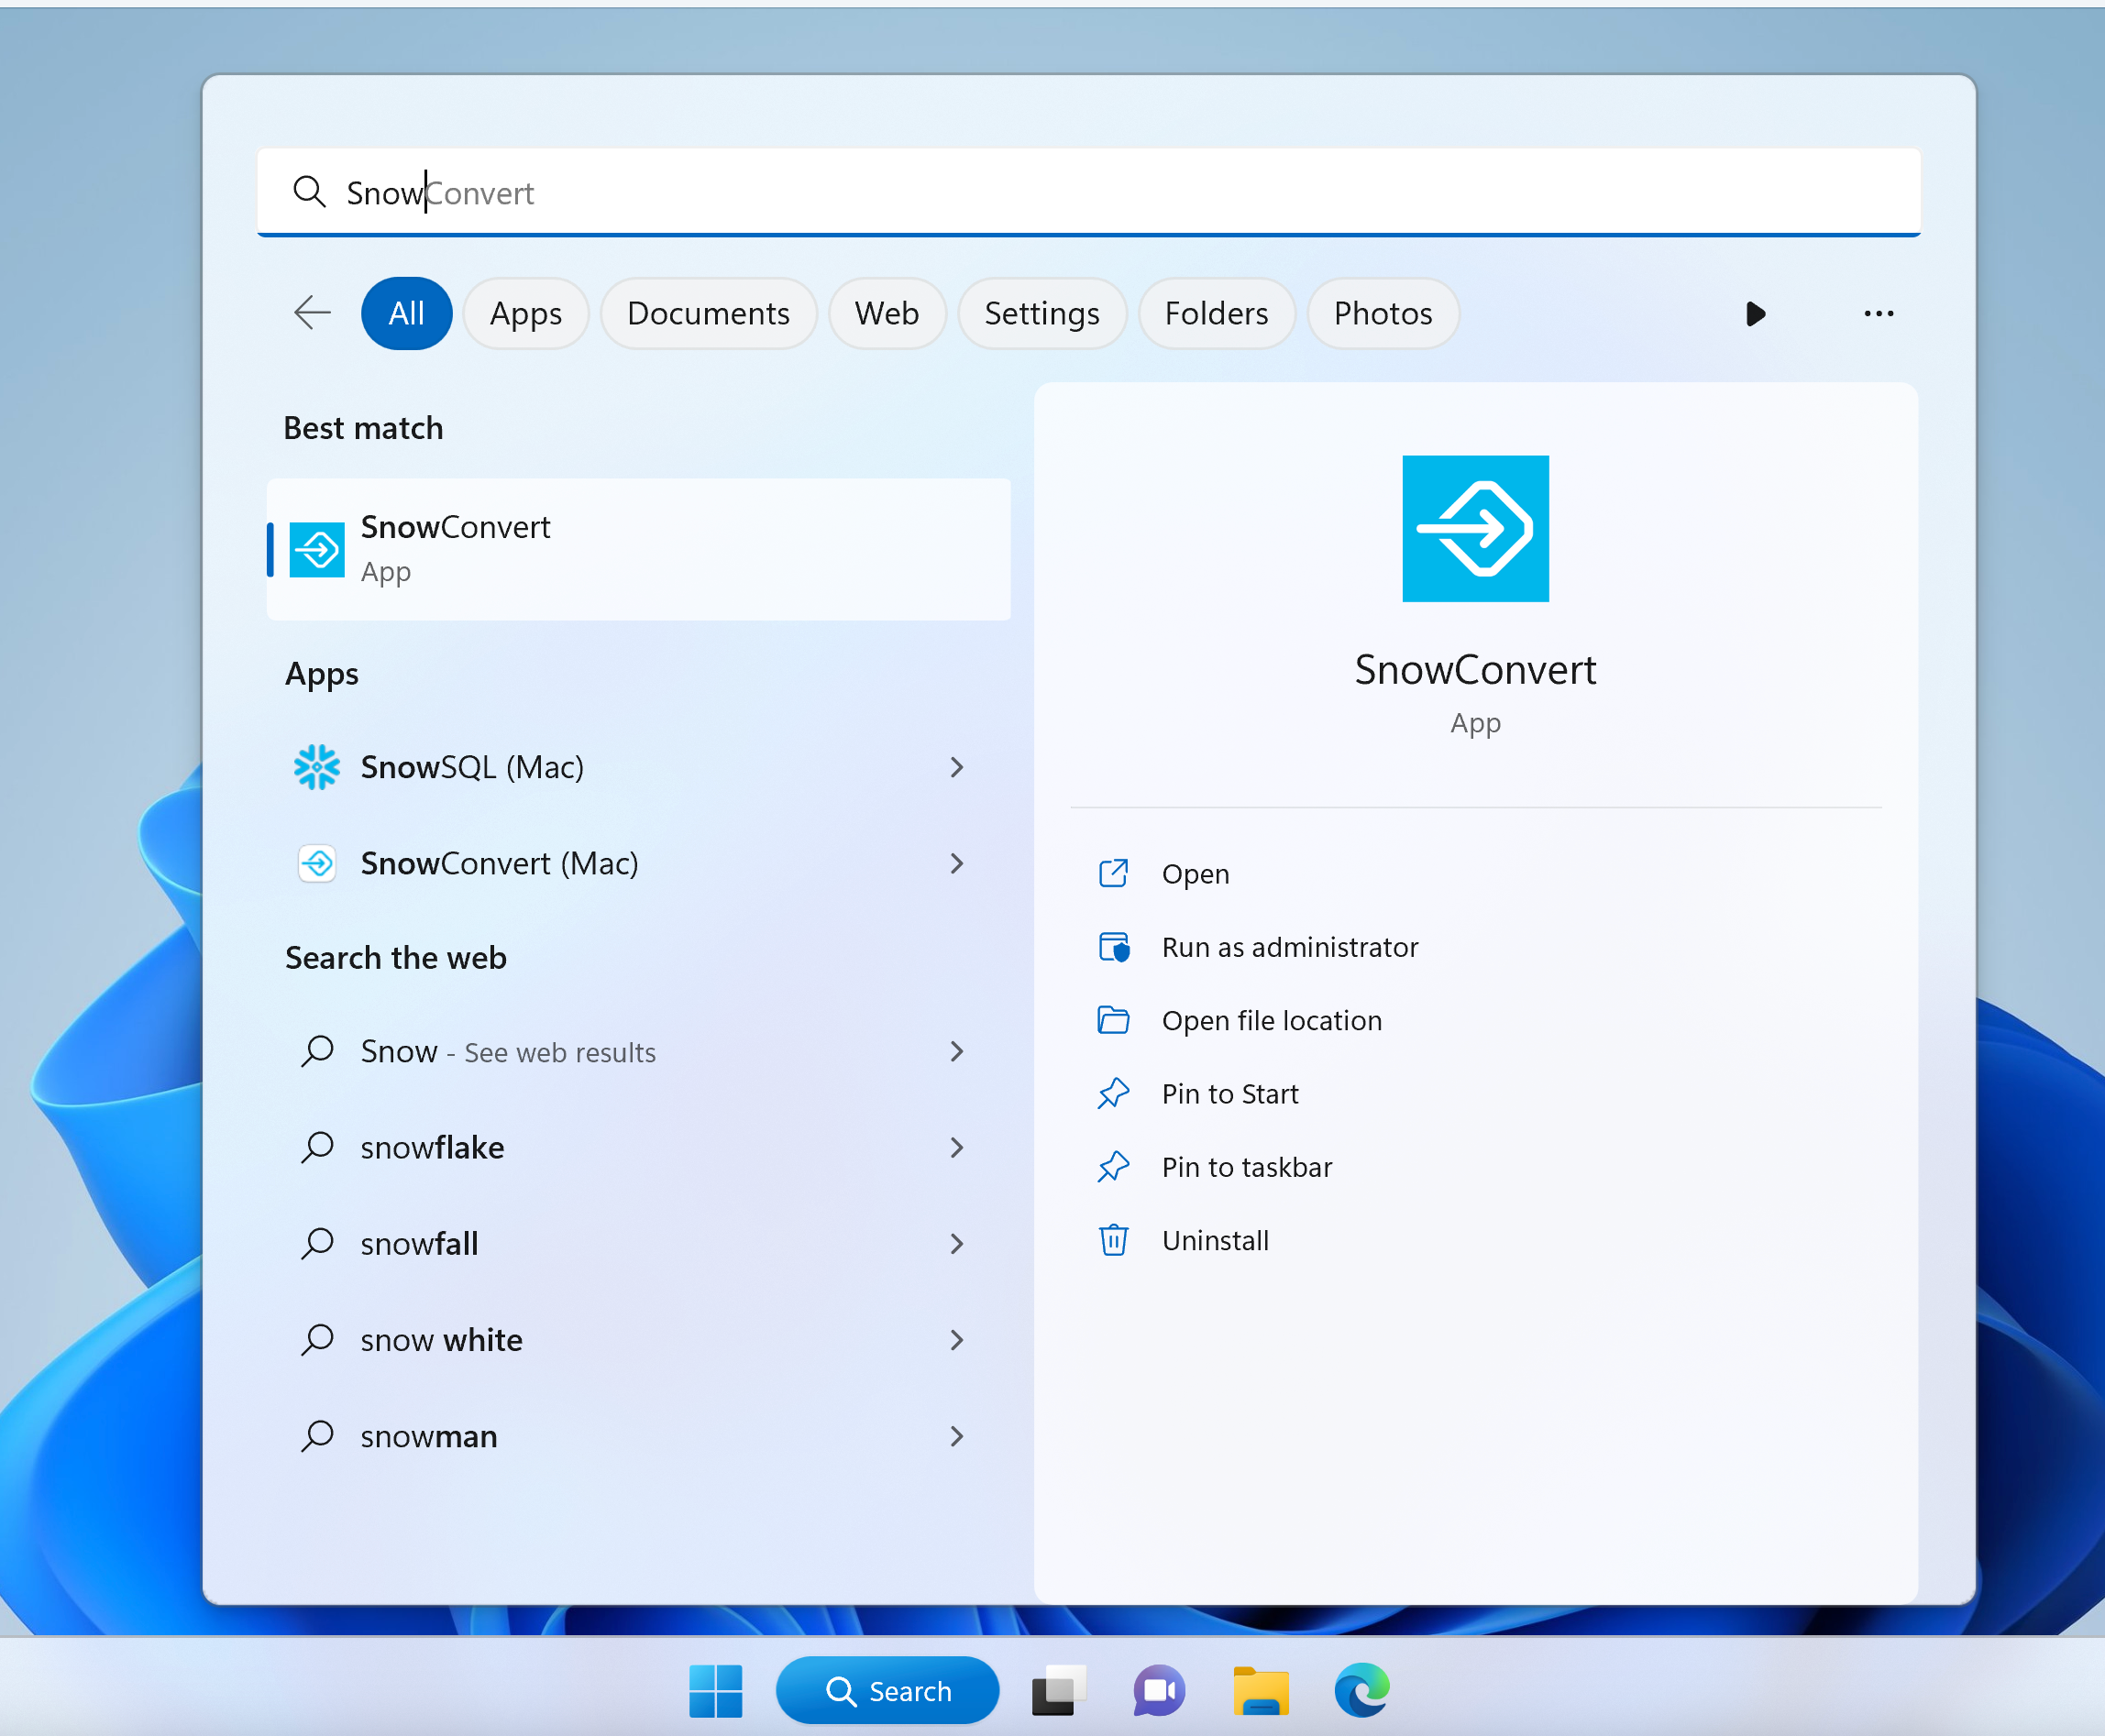
애플리케이션을 시작한 후 새 평가 또는 변환 프로젝트를 생성하거나 기존 프로젝트를 열 수 있습니다.
CLI 설정하기
The first step to set up the SnowConvert AI CLI in your Windows environment is to download the corresponding .zip file (see the image below) that contains all the necessary elements to run the CLI version of SnowConvert.\
그런 다음 해당 데이터를 추출하여 PATH 환경 변수에 포함할 수 있는 편리한 위치에 저장해야 합니다. 이 예제에서는 파일이 C:\ 드라이브에 있습니다. 파일이 위치한 경로를 복사본으로 생성해야 합니다. 이 예제에서는
C:\SnowConvert-CLI-arm646-windows
입니다.
Windows 검색 창에서 “environment variables”을 검색하고 Edit environment variables for your account 를 클릭합니다.
새 윈도우가 열립니다. Edit 버튼을 클릭하고 사용자에 대한 Path 변수를 선택합니다.
그러면 다른 윈도우가 열립니다. New 를 클릭한 다음 이전에 복사본으로 생성한 경로를 붙여넣습니다. 경로(\orchestrator) 끝에 이 텍스트를 추가해야 합니다. 예를 들어,
C:\SnowConvert-CLI-arm646-windows
를 복사하면 해당 텍스트의 뒤에C:\SnowConvert-CLI-arm646-windows\orchestrator
가 추가됩니다.OK 를 클릭하여 현재 윈도우를 종료한 다음 OK 를 클릭하여 Edit environment variables for your account 윈도우를 종료합니다.
이제 명령줄에서 snowct 명령을 사용할 수 있습니다(새 명령줄을 열어야 할 수도 있음).
Verify that it was added correctly by executing
snowct --version
. You will see the information for your SnowConvert AI CLI version displayed.