Getting started with the Snowflake REST APIs
This section describes how to access the Snowflake REST APIs using Postman.
Create a Postman account and import Snowflake REST APIs collections
Note
These steps are only shown as an example, and following along with the example may require additional rights in third-party data, products, or services that are not owned or provided by Snowflake. Please ensure that you have the appropriate rights to third-party data, products, or services before continuing.
To create an account and import the collections:
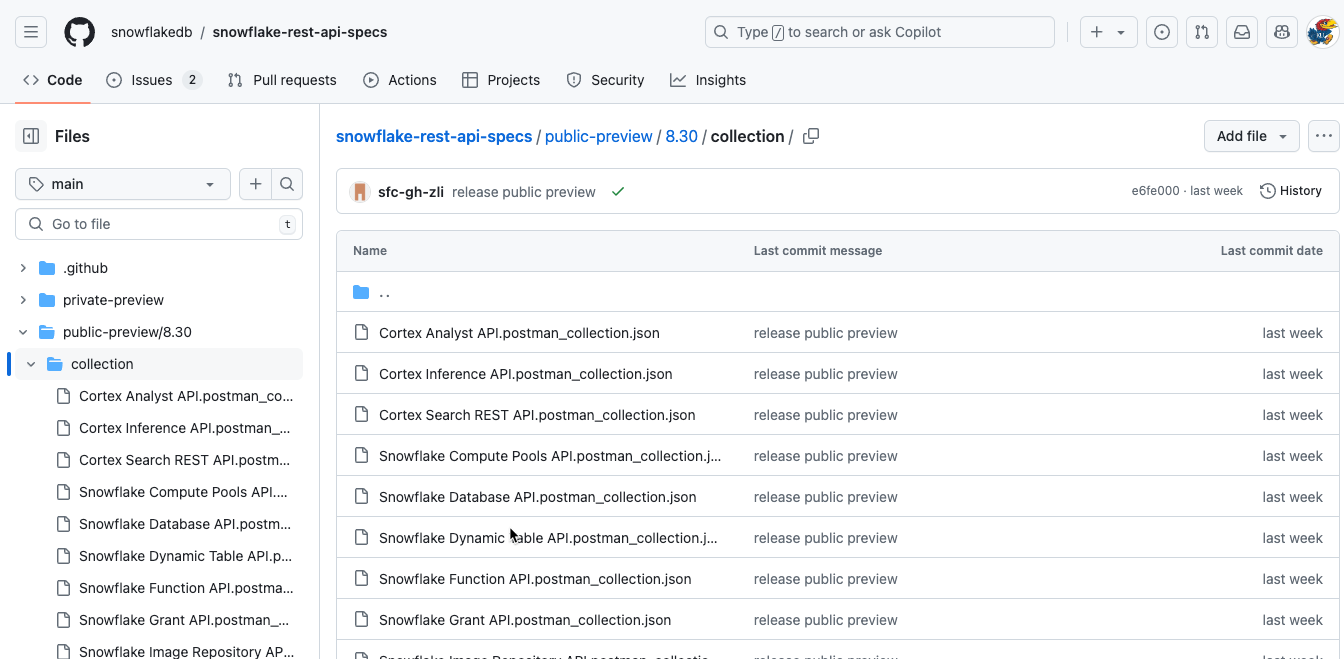
Download the API collections from the Git repository into a folder.
Open the Postman application, and create an account, if necessary.
In Postman, open the desired workspace.
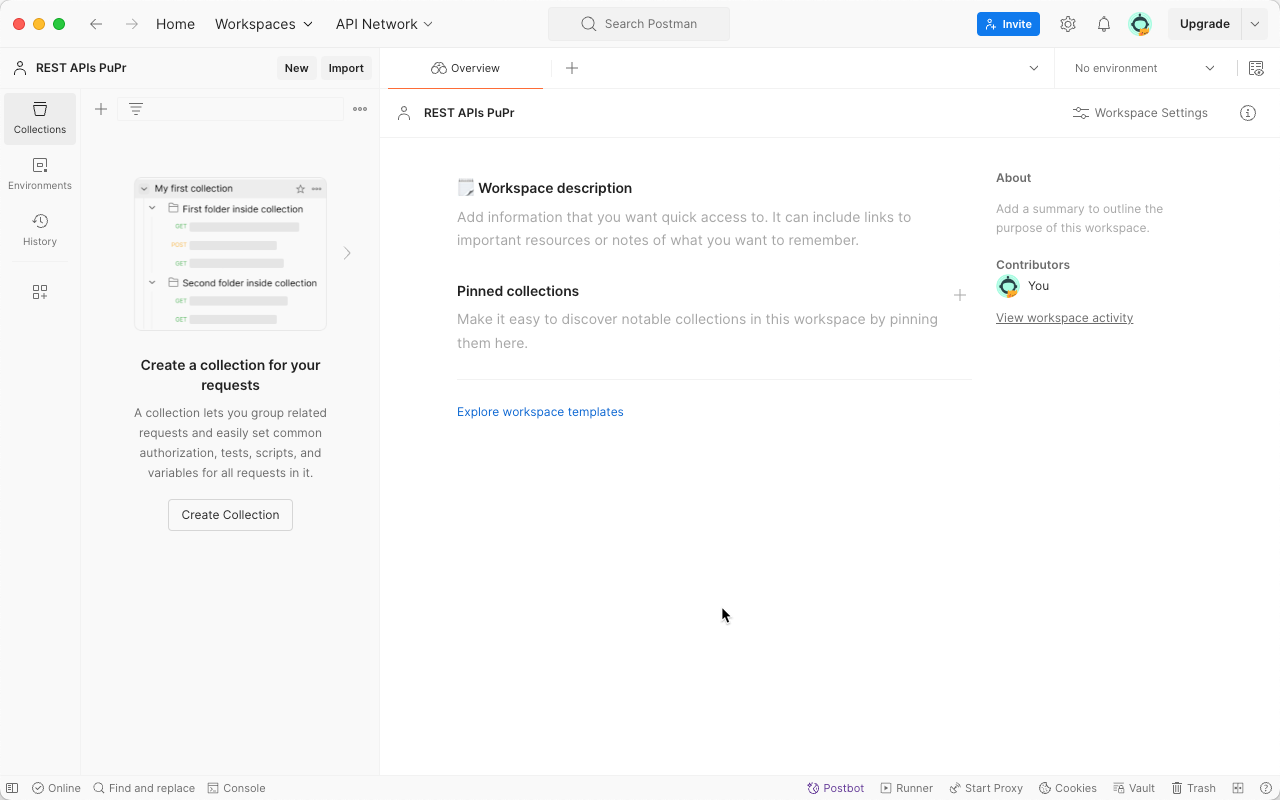
Select Import.
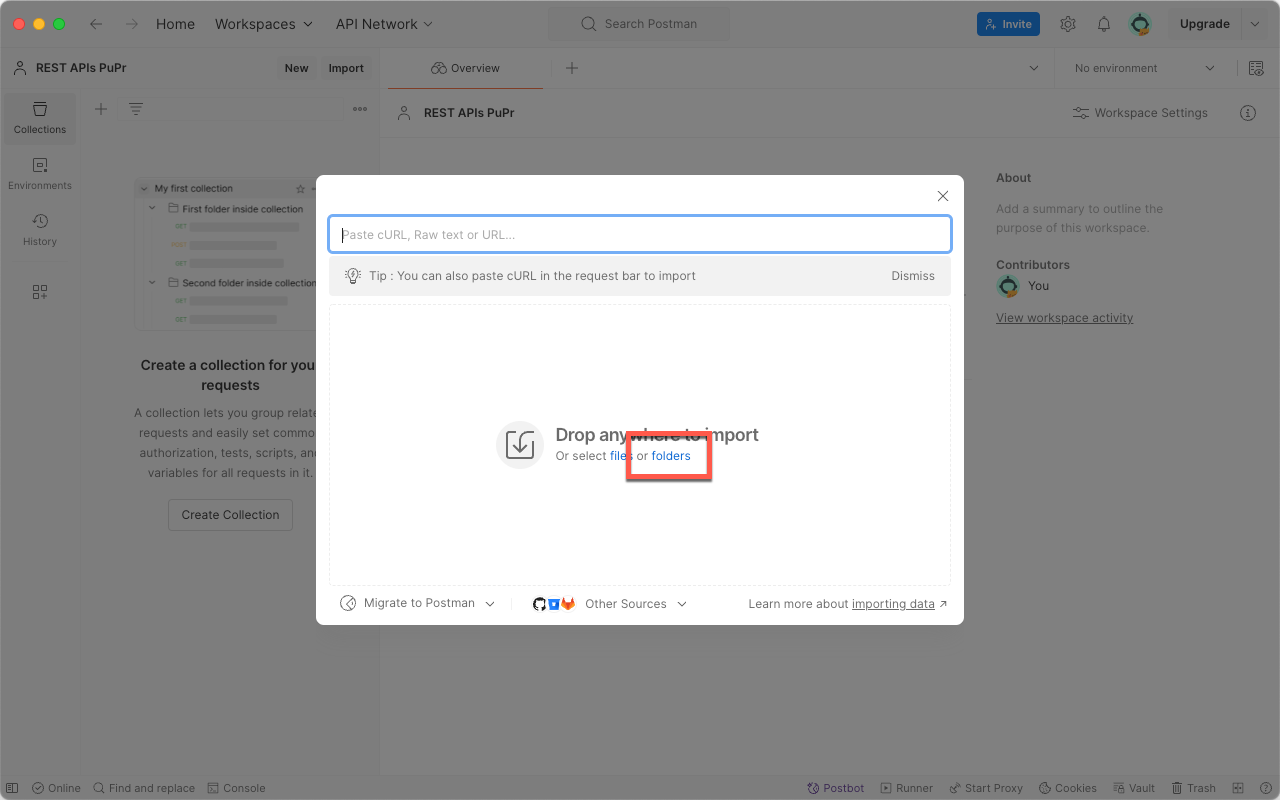
Select folders.
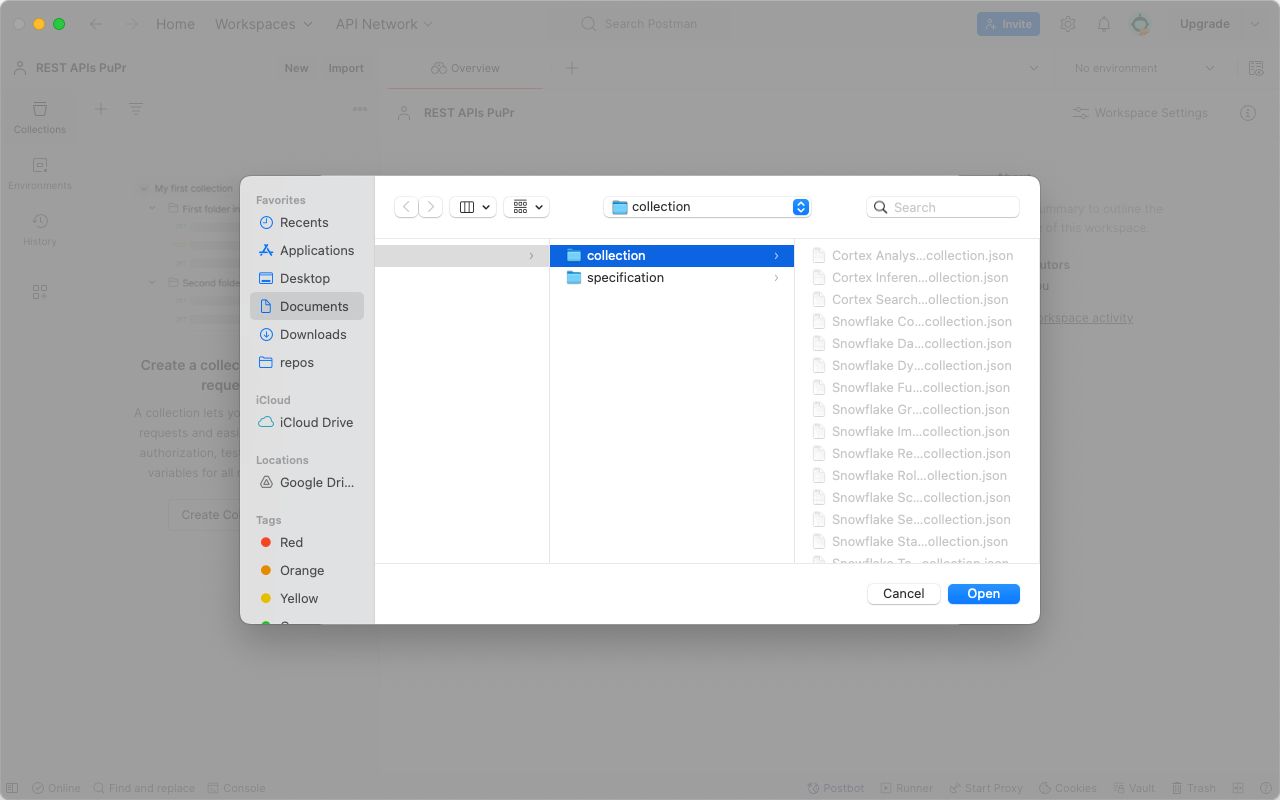
In the dialog, select the folder where you extracted the collection, and select Open.
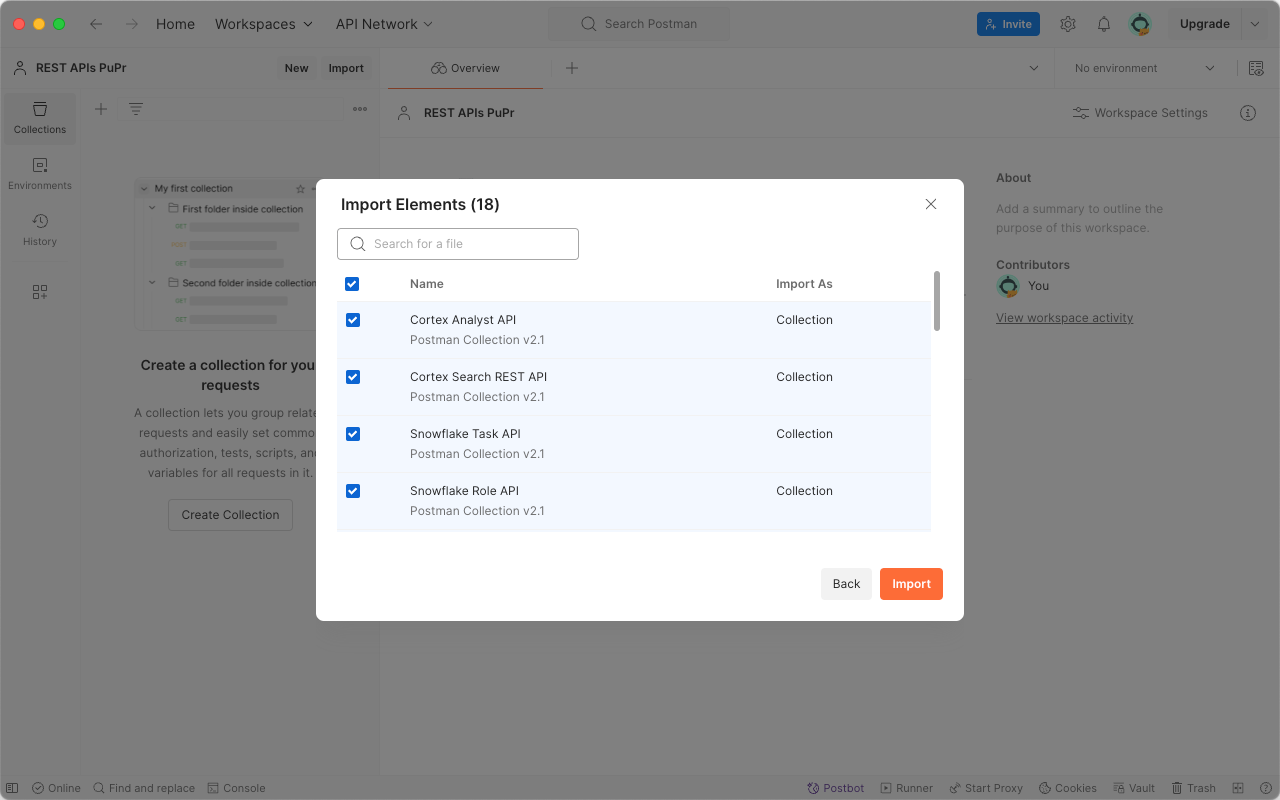
Verify that all of the items are selected, and select Import.
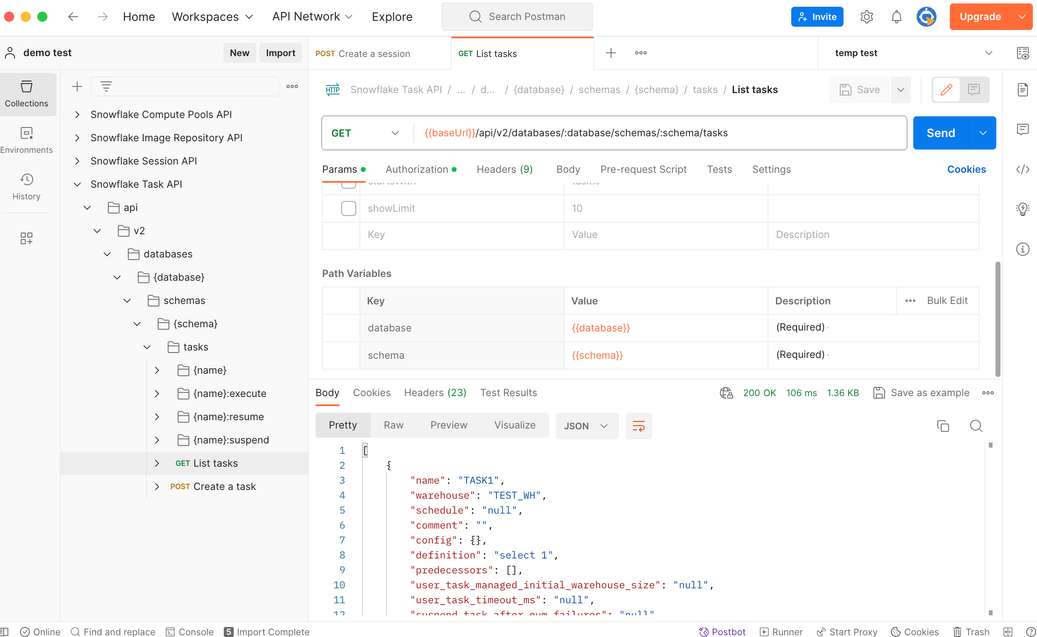
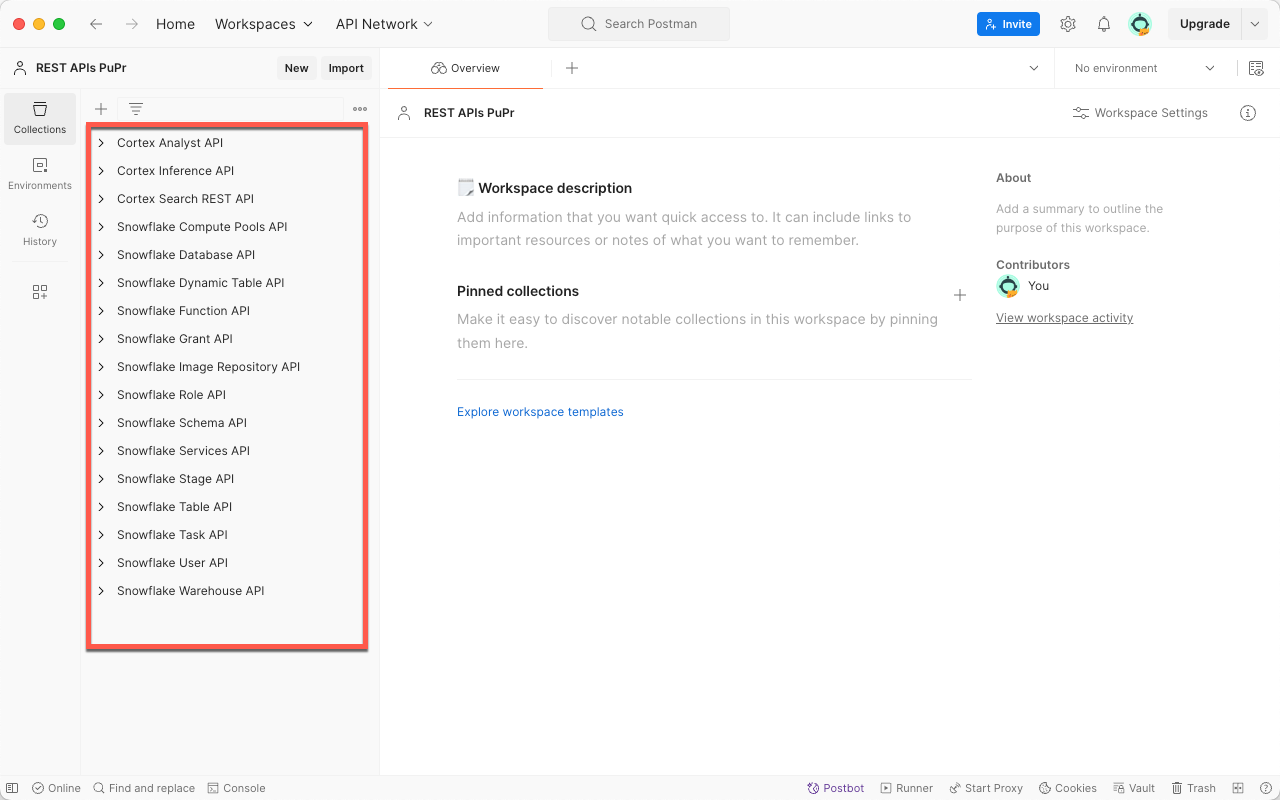
You should see the collections listed in the left panel, as shown:
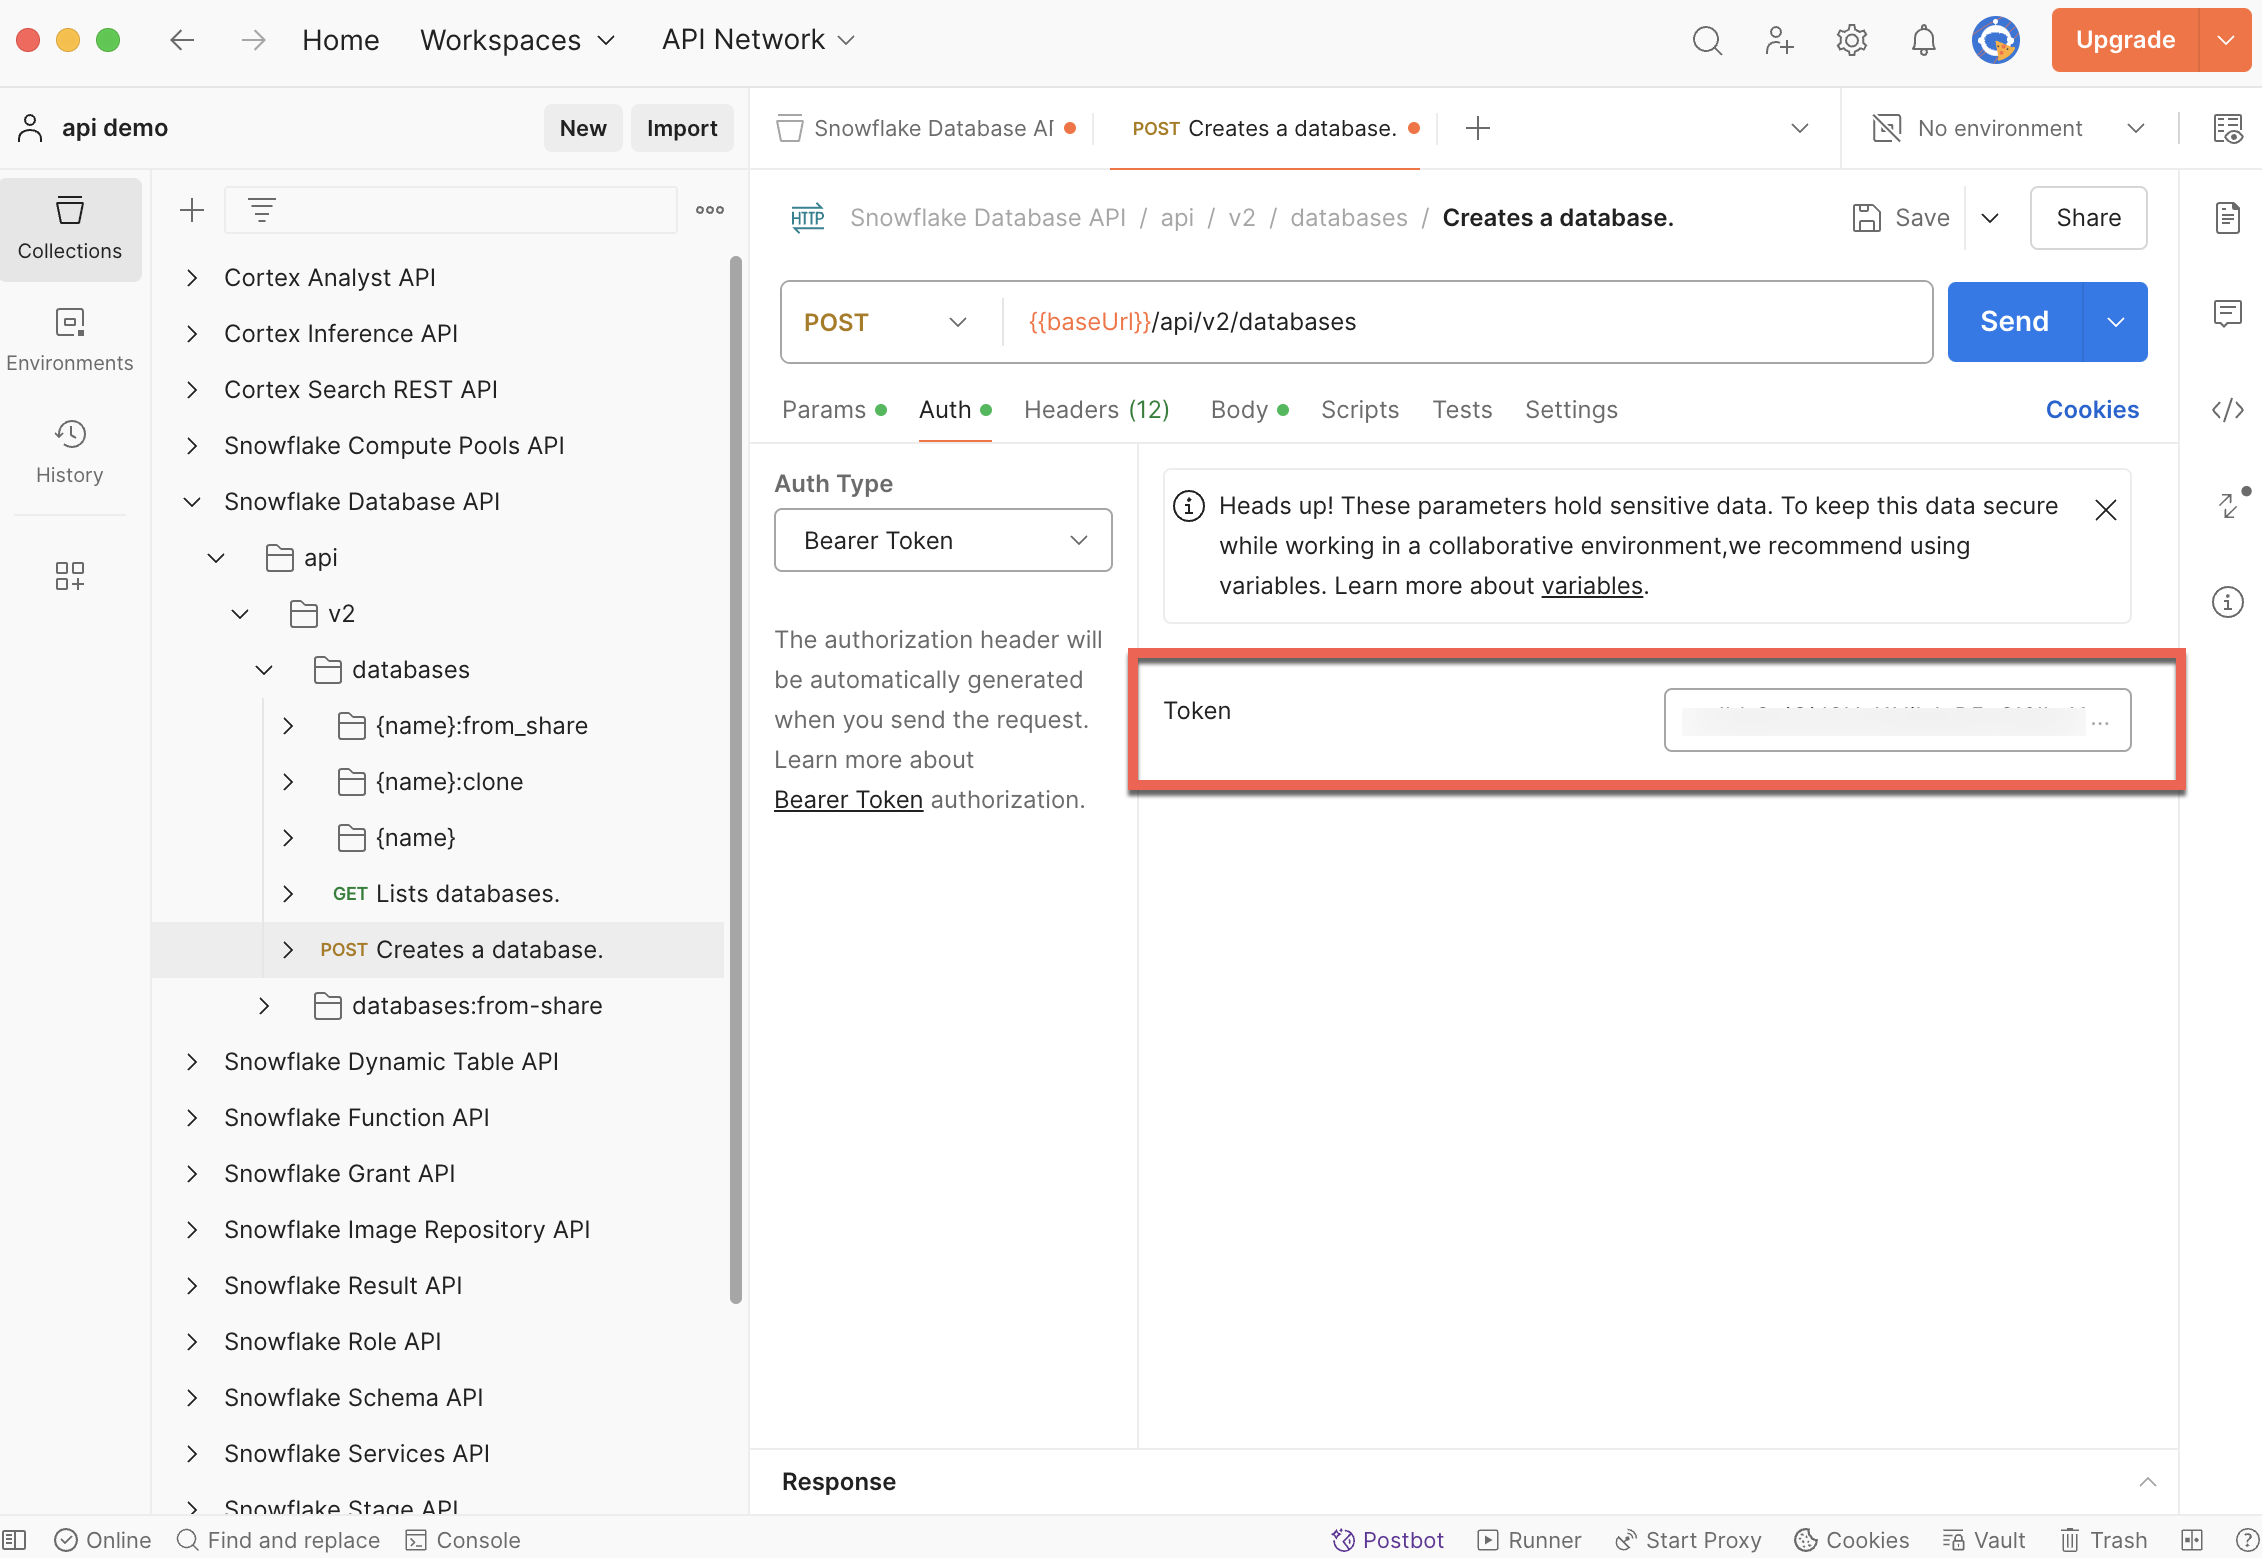
Specify the bearerToken in Postman
REST requests require a JWT token in the request header to authenticate the request. In Postman, you can copy the JWT token into the bearerToken header property, as shown.
Note
If you prefer writing Python applications, you can use the Snowflake Python API to manage Snowflake objects. For more information, see Snowflake Python APIs: Managing Snowflake objects with Python.
Submit a request
To submit a request, you can send a GET, POST, or PUT request to the desired endpoint:
POST /api/v2/databases/{database}/schemas/{schema}/tasks
(request body)
For example, to submit a request to create a task, you would create a POST request similar to the following:
def create_task(task_name, create_mode):
    """
    Create a task given the task name and create mode
    """
    headers = {
    "Content-Type": "application/json",
    "Authorization": "Bearer " + generate_JWT_token(),
    "Accept": "application/json",
    "User-Agent": "myApplicationName/1.0"
    }
    request_body = {
        "name": task_name,
        "warehouse": "myWarehouse",
        "definition": "select 1"
    }
    request_url = "{}/api/v2/databases/{}/schemas/{}/tasks?createMode={}".format(SNOWFLAKE_URL, DATABASE_NAME, SCHEMA_NAME, create_mode)
    response = requests.post(request_url, json=request_body, headers=headers, timeout=60)
    print_response("POST {}".format(request_url), response)
The following shows how you can get a list of tasks using GET /api/v2/databases/database/schemas/schema/tasks in Postman:
Handle a response
Each of the Snowflake REST APIs endpoints returns a response as JSON, similar to the following:
{
  [
      {
          "name": "name_example",
          "warehouse": "test_wh",
          "schedule": {
          "schedule_type": "MINUTES_TYPE",
          "minutes": 10
          },
          "comment": "test_comment",
          "config": {
          "output_dir": "/temp/test_directory/",
          "learning_rate": "0.1"
          },
          "definition": "this task does...",
          "predecessors": [
          "task1",
          "task2",
          "task3"
          ],
          "user_task_managed_initial_warehouse_size": "XSMALL",
          "user_task_timeout_ms": 10,
          "suspend_task_after_num_failures": 3,
          "condition": "select 1",
          "allow_overlapping_execution": false,
          "error_integration": "my_notification_int",
          "created_on": "2024-06-18T01:01:01.111111",
          "id": "task_id",
          "owner": "TASK_ADMIN",
          "owner_role_type": "ADMIN",
          "state": "started",
          "last_committed_on": "2024-06-18T01:01:01.111111",
          "last_suspended_on": "2024-06-18T01:01:01.111111",
          "database_name": "TESTDB",
          "schema_name": "TESTSCHEMA"
      }
  ]
}
Handle a long-running request (202 response)
When Snowflake accepts a request that takes longer than 45 seconds to complete, the request returns a 202 response code. The 202 response header includes a Location parameter that provides a relative URL similar to the following that you can use to check the status of the ongoing request.
Location: /api/v2/results/5b3ce6ae-d123-4c27-afb3-8a26422d5f321
You can create a loop in your code to check the status until the request returns a 200 message. The following pseudo-code sample illustrates a flow you could use:
location = <content of the Location header>

while TRUE {
    sleep for x milliseconds
    response = call GET ( host + location )

    if response is 202
      continue

    if response = 200 {
        <code to extract data from the response header>
        exit
    }
}
For full Snowflake REST APIs reference documentation, see Snowflake Result API reference.
Handle a large result
In the case of large response, the complete result is divided into multiple pages. The first page of data (page 0) is returned as a response body to the original request. For the remaining pages, clients need to use the URLs in the Link header to fetch them.
Sample Link header:
Link: </api/v2/results/01b66701-0000-001c-0000-0030000b91521?page=0>; rel="first",</api/v2/results/01b66701-0000-001c-0000-0030000b91521?page=1>; rel="next",</api/v2/results/01b66701-0000-001c-0000-0030000b91521?page=9>; rel="last"
The Link header in the example contains the first page, next page, and last page’s path. The header could also contain a rel="prev" path for previous page in some situations.
