Setting Up Visual Studio Code for Snowpark Scala
This topic explains how to set up Visual Studio Code for Snowpark.
Setting Up Visual Studio Code for Scala Development
For convenience when writing Scala code in Visual Studio Code, install the Metals extension. The Metals extension provides code completion, parameter hints, and information about types and methods.
To install the Metals extension:
-
In the Activity Bar on the left side of the window, click the Extensions icon.
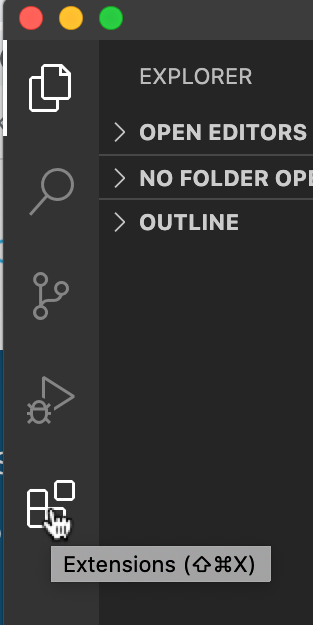
(If the Activity Bar isn’t displayed, make sure that View » Appearance » Show Activity Bar is checked.)
This displays the Extensions view, which allows you to browse and install extensions from the Extensions Marketplace.
-
In the search box for Search Extensions in Marketplace, search for the term:
-
In the search results, find the Scala (Metals) extension, and click Install.
For more information about the Scala (Metals) extension, see Visual Studio Code in the Metals documentation.
Creating a New Scala Project in Visual Studio Code
Next, create a new Scala project for Snowpark.
-
Create a workspace directory for your projects. For example:
This directory will contain subdirectories for the projects that you create.
-
In Visual Studio Code, choose File » Open, select the directory that you created, and click Open.
-
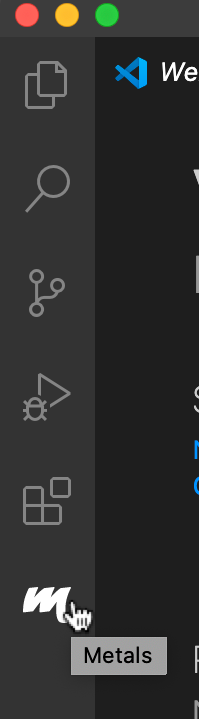
In the Activity Bar on the left, click the Metals icon.
-
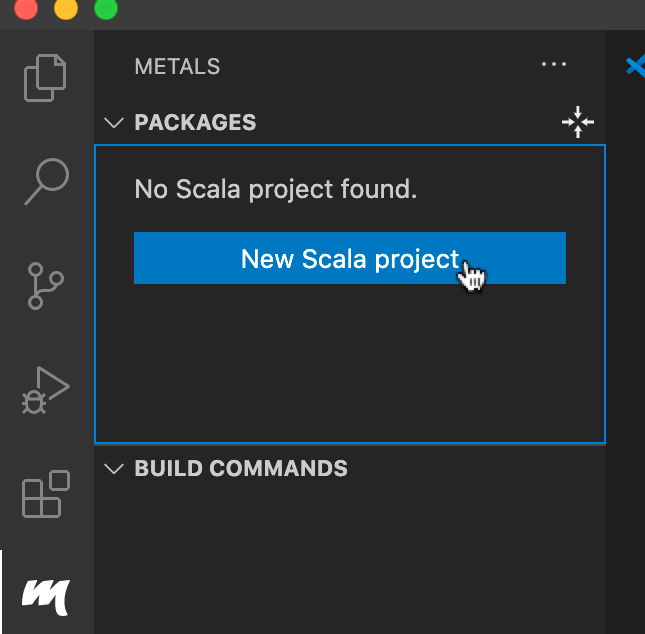
Under Packages in the Side Bar (to the right of the Activity Bar), click the New Scala Project button.
-
Select a template to use for the new project (e.g.
scala/hello-world.g8). -
Select the workspace directory that you created earlier (
snowpark_projects), and click Ok. -
Enter a name for the new project (e.g.
hello_snowpark). -
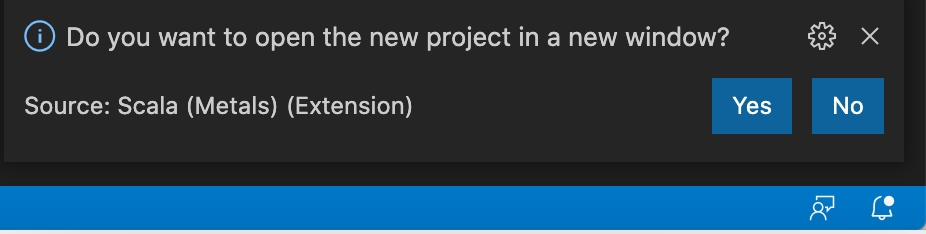
When prompted by the dialog box in the lower right corner of the window, click Yes to open the new project in a new window.
-
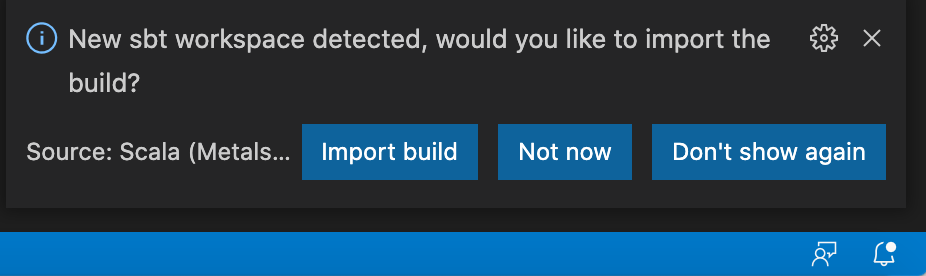
When prompted by the dialog box in the lower right corner of the window, click Import build to import the build.
Configuring the Visual Studio Code Project for Snowpark
Next, configure the project for Snowpark.
-
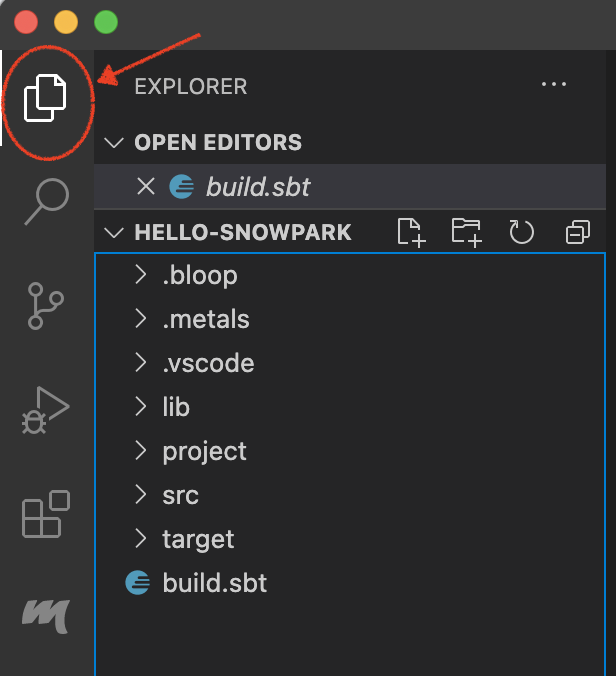
In the Activity Bar on the left side of the window, make sure that the Explorer icon (the first icon at the top) is selected.
-
Under Explorer in the Side Bar (to the right of the Activity Bar), under your project, select the
build.sbtfile for editing.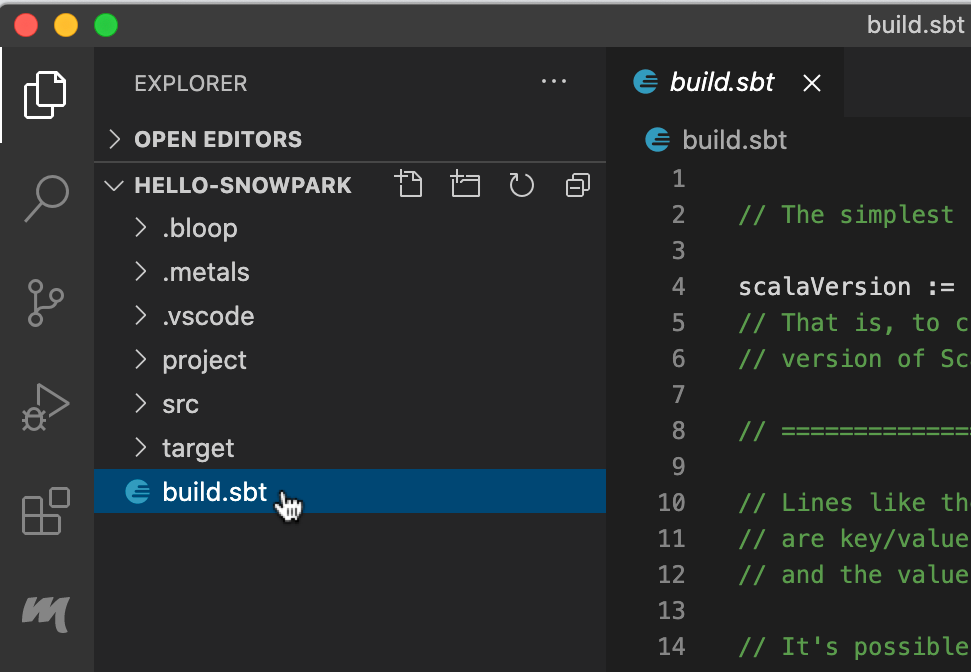
In the
build.sbtfile for your project, make the following changes:-
If the
scalaVersionsetting does not match the version that you plan to use, update the setting. For example:Note that you must use a Scala version that is supported for use with the Snowpark library.
-
Add the Snowpark library to the list of dependencies. For example:
libraryDependencies += "com.snowflake" % "snowpark_2.12" % "1.18.0"
-
-
After making those changes, choose File » Save to save your changes.
-
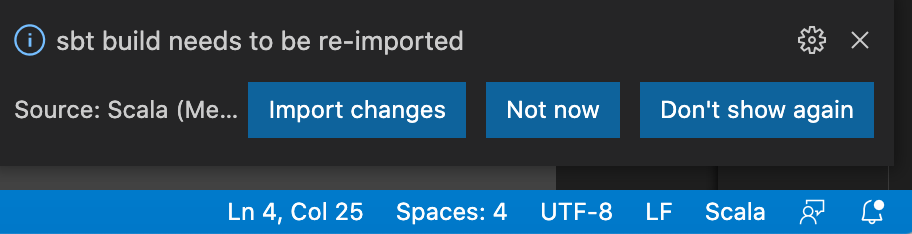
When prompted by the dialog box in the lower right corner of the window, click Import changes to re-import the file.
Verifying Your Visual Studio Code Project Configuration
To verify that you have configured your project to use Snowpark, run a simple example of Snowpark code.
-
In the Activity Bar on the left side of the window, make sure that the Explorer icon (the first icon at the top) is selected.
-
Under Explorer in the Side Bar, under your project, expand the
src/main/scalafolder, and select and open theMain.scalafile. -
In the
Main.scalafile, replace the contents with the code below:Note the following:
-
Replace the
placeholderswith values that you use to connect to Snowflake. -
For
account_identifier, specify your account identifier. -
If you prefer to use key pair authentication:
- Replace
PASSWORDwithPRIVATE_KEY_FILE, and set it to the path to your private key file. - If the private key is encrypted, you must set
PRIVATE_KEY_FILE_PWDto the passphrase for decrypting the private key.
As an alternative to setting
PRIVATE_KEY_FILEandPRIVATE_KEY_FILE_PWD, you can set thePRIVATEKEYproperty to the string value of the unencrypted private key from the private key file.- For example, if your private key file is unencrypted, set this to the value of the key in the file (without the
-----BEGIN PRIVATE KEY-----and-----END PRIVATE KEY-----header and footer and without the line endings). - Note that if the private key is encrypted, you must decrypt the key before setting it as the value of the
PRIVATEKEYproperty.
- Replace
- If you plan to create UDFs:
- Don’t set up your
objectto extend theApptrait. For details, see Caveat About Creating UDFs in an Object With the App Trait. - Don’t set up your
objectto extend a class or trait that is not serializable.
- Don’t set up your
-
-
Click run above the
Objectline to run the example.
If the following error message appears:
check the Problems tab in the bottom of the window. If this tab does not appear in the bottom of the window, select the View > Problems item from the menu.