Workspaces
Important
Legacy Worksheets will be removed from Snowsight on June 22, 2026. Workspaces is the replacement SQL editing experience. For the full deprecation timeline and migration guidance, see Deprecation of Legacy Worksheets and Dashboards.
Overview
Workspaces provides a unified editor for creating, organizing, and managing code across multiple file types that you can use to analyze data, develop models, and build pipelines.
A workspace is private to you and offers a development environment where you can build, experiment, and test your work. All content in Workspaces is file-based, allowing you to work on more complex projects and easily integrate with Git for version control, collaboration, and alignment with your existing workflows.
When a user accesses Workspaces for the first time, Snowflake automatically creates an internal, user-specific personal database. This database is used to store workspaces and cannot contain standard objects such as tables or views. It does not grant the user any additional capabilities or privileges beyond enabling Workspace functionality. For details on personal databases, see Personal Databases.
Administrators may notice that users appear to have OWNERSHIP, USAGE, and CREATE SCHEMA privileges on this database. These privileges are required for interacting with Workspaces and do not affect access to other resources.
The Workspaces environment
Workspaces is a new editor composed of six sections, or panes:
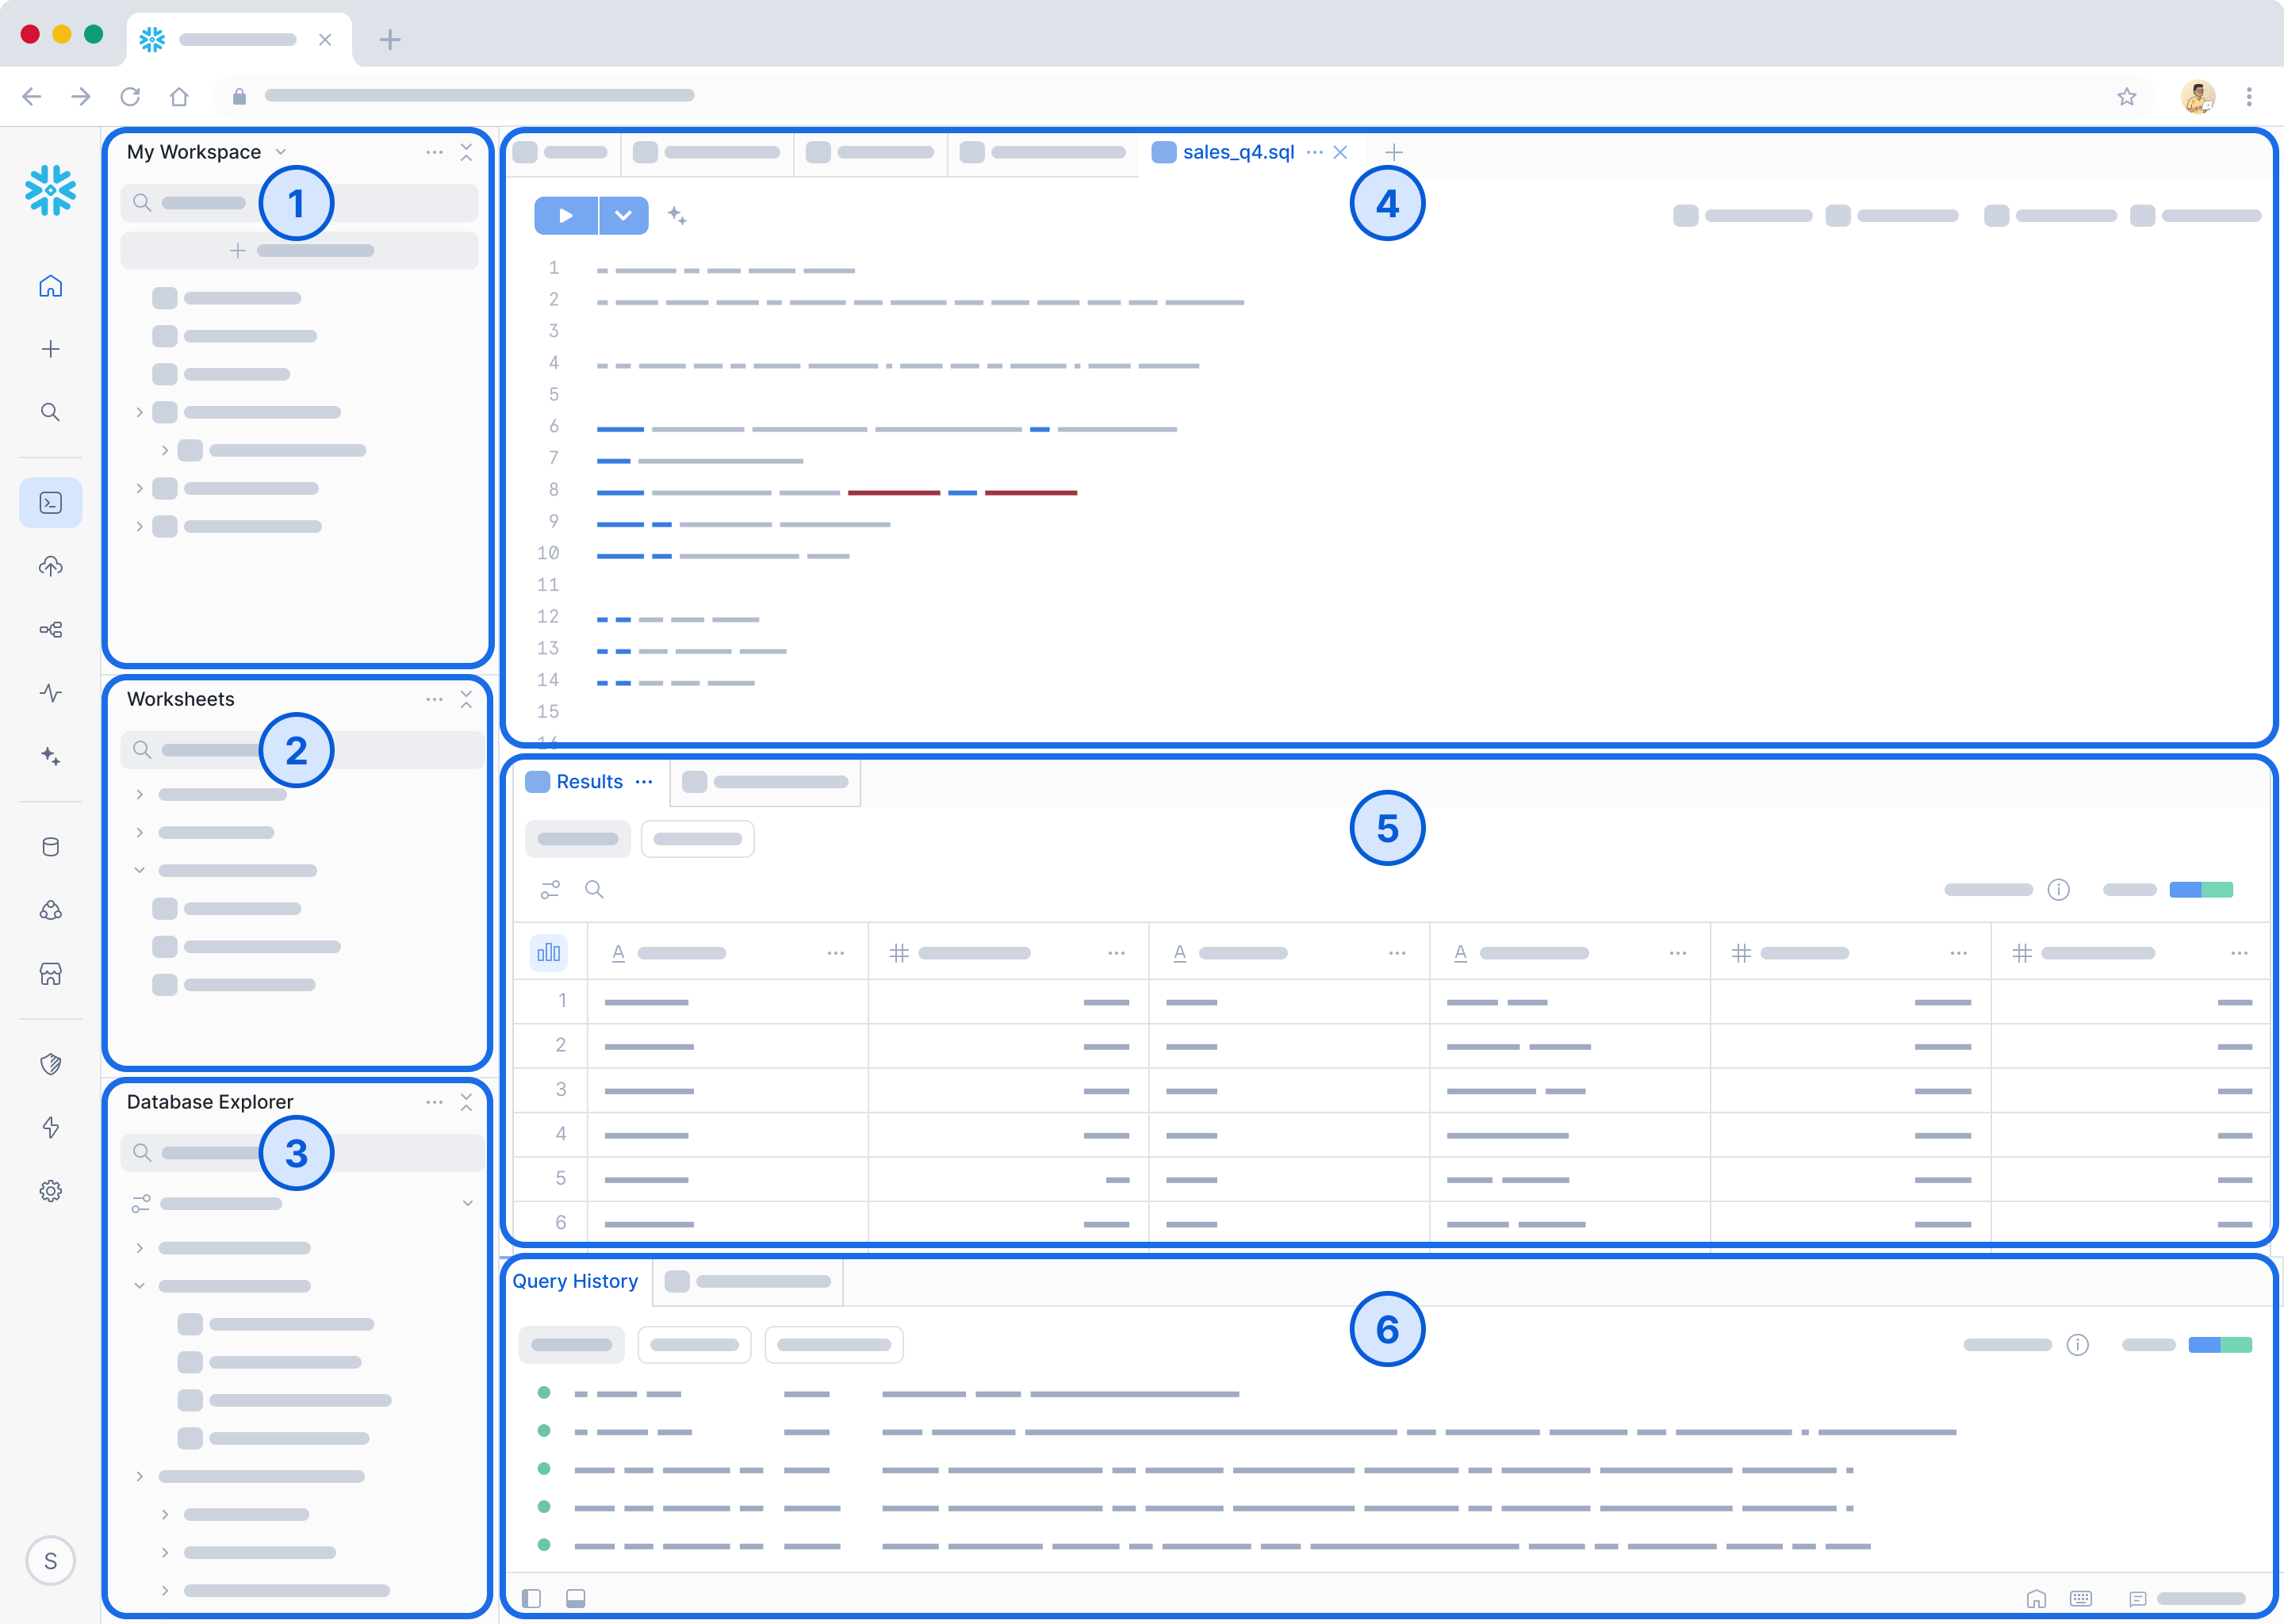
- Workspaces: One area for all your files and folders. Drag files to move them between folders. Use nested folders to group related worksheets under logical categories so that you can quickly find specific worksheets without searching through a flat list. Each user has a default workspace named “My Workspace” that is automatically provisioned by Snowflake. You can also create a new workspace by selecting + Add New in the Workspaces menu. The default workspace cannot be deleted or renamed.
- Worksheets: Open and edit worksheets you own or have any permissions on. Note that edits will not be saved if you only have read permissions on the worksheet. To convert a worksheet into a file in a workspace, drag it to a folder inside the workspace. You can only move worksheets individually; moving multiple worksheets at once is not supported. Workspace queries are run similarly to worksheets with a few small differences, including improved UI performance and the ability to run two queries simultaneously from the same SQL file.
- Database Explorer: A hierarchical view of all databases in your account, the schemas for each database, and other objects, organized
by type. Use the filter to search for objects. You can also filter out unusable objects to simplify your view by selecting Show databases I can query.
The options available in the vertical ellipsis
 (more actions) button vary by object type, but include features such as
placing names in the editor, copying names, and viewing definitions. To open or close the Database Explorer or File Explorer, select the
File Explorer icon
(more actions) button vary by object type, but include features such as
placing names in the editor, copying names, and viewing definitions. To open or close the Database Explorer or File Explorer, select the
File Explorer icon  in the bottom toolbar of the Workspaces window.
 - Editor: Edit queries and split them side by side to view multiple files simultaneously. Use inline Copilot to get suggestions and completions directly within the editor workspace.
- Results: Split results side-by-side or pin them for easy comparison.
- Query History: View the history of all queries you have run. Current File shows historical queries from the file currently open
and selected in the editor. Filter to the current file or across all files. All Files displays all historical queries you have run
across all files. To open or close this view, select the Query History icon
 in the bottom toolbar of the Workspaces window.
Manage access and behavior
As an administrator, you can manage the transition to Workspaces through Snowsight or using SQL commands. You can set the default editor for SQL queries, disable the Workspaces feature, and address potential conflicts with existing security policies.
Set or revert the default editor
To set Workspaces as the account-wide default editor for all users from Snowsight, follow these steps:
-
Sign in to Snowsight as ACCOUNTADMIN.
-
In the lower-left corner, select your name » Settings.
-
Under Account, choose General.
-
Enable the Set Workspaces as default SQL editor for the account option.
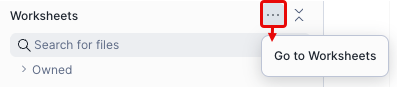
Administrators can revert to Worksheets as the default editor by disabling this option. If users want to revert to Worksheets, they can also select Go to Worksheets from the Workspaces UI:
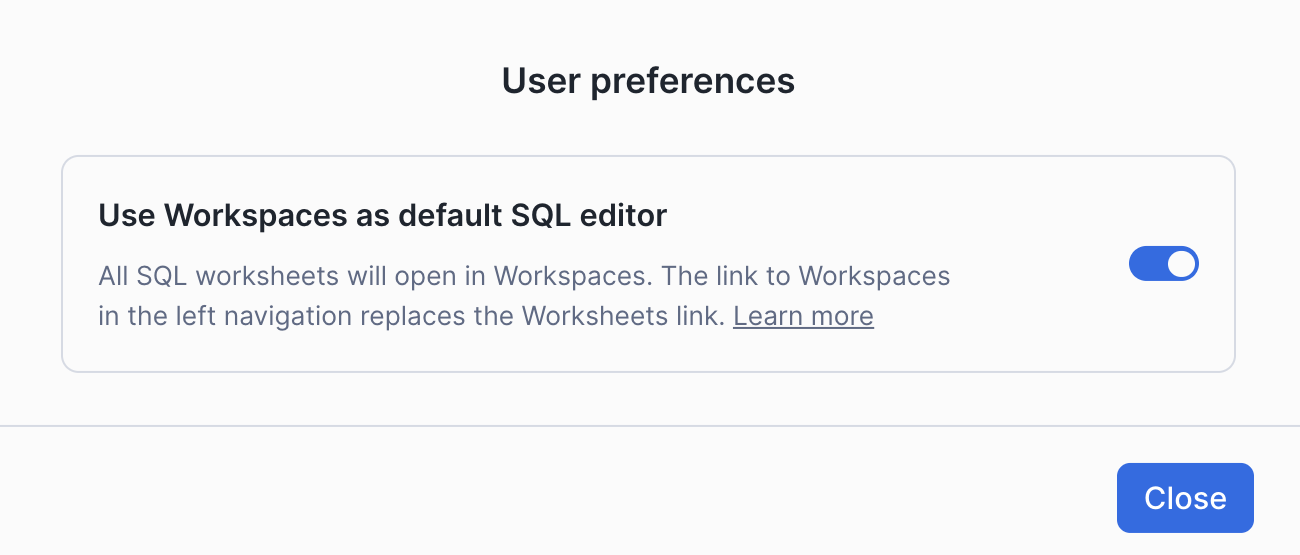
Or toggle the user setting in the Workspaces editor:
To set the account-wide default editor to be Workspaces for all users using SQL:
To revert this setting and use the previous default editor, but respect any Snowflake-managed BCR that makes Workspaces the default, run this command:
To revert to the previous editor and temporarily ignore any Snowflake-managed BCR that makes Workspaces the default, run this command:
Note
Worksheets will eventually become deprecated and the command above will no longer work. If you had previously set this parameter, it will be automatically cleared once Worksheets is deprecated. For more information, see Deprecation of Legacy Worksheets and Dashboards.
Disable Workspaces
Warning
Disabling Workspaces by setting ENABLE_PERSONAL_DATABASE to FALSE is deprecated. Starting April 20, 2026, this setting is
ignored and Workspaces can no longer be disabled. For details, see Deprecation of Legacy Worksheets and Dashboards.
To disable Workspaces, set the ENABLE_PERSONAL_DATABASE account-level parameter to FALSE, run this command:
This parameter requires ACCOUNTADMIN privileges. After you set it to FALSE, Workspaces will not be functional; however, Workspaces
will still be listed in the Snowsight navigation menu.
Limitations
- Query filters are not supported. Any queries containing filters will fail.
- Workspaces files are not included in Universal Search results.
- Opening and editing the same worksheet in the new Workspaces UI and old Worksheets UI simultaneously can result in lost changes.
- For worksheets, execution context settings (role, warehouse, and namespace) are not synchronized across the new Workspaces UI and the old Worksheets UI.