- description:
Get started with a new project or open an existing project
Snowpark Migration Accelerator: Project Setup
This section explains how to create and manage projects with the Snowpark Migration Accelerator (SMA) tool.
Project Page
When you first open the Snowpark Migration Accelerator (SMA), you will see the project page. On this page, you will find the following two options:
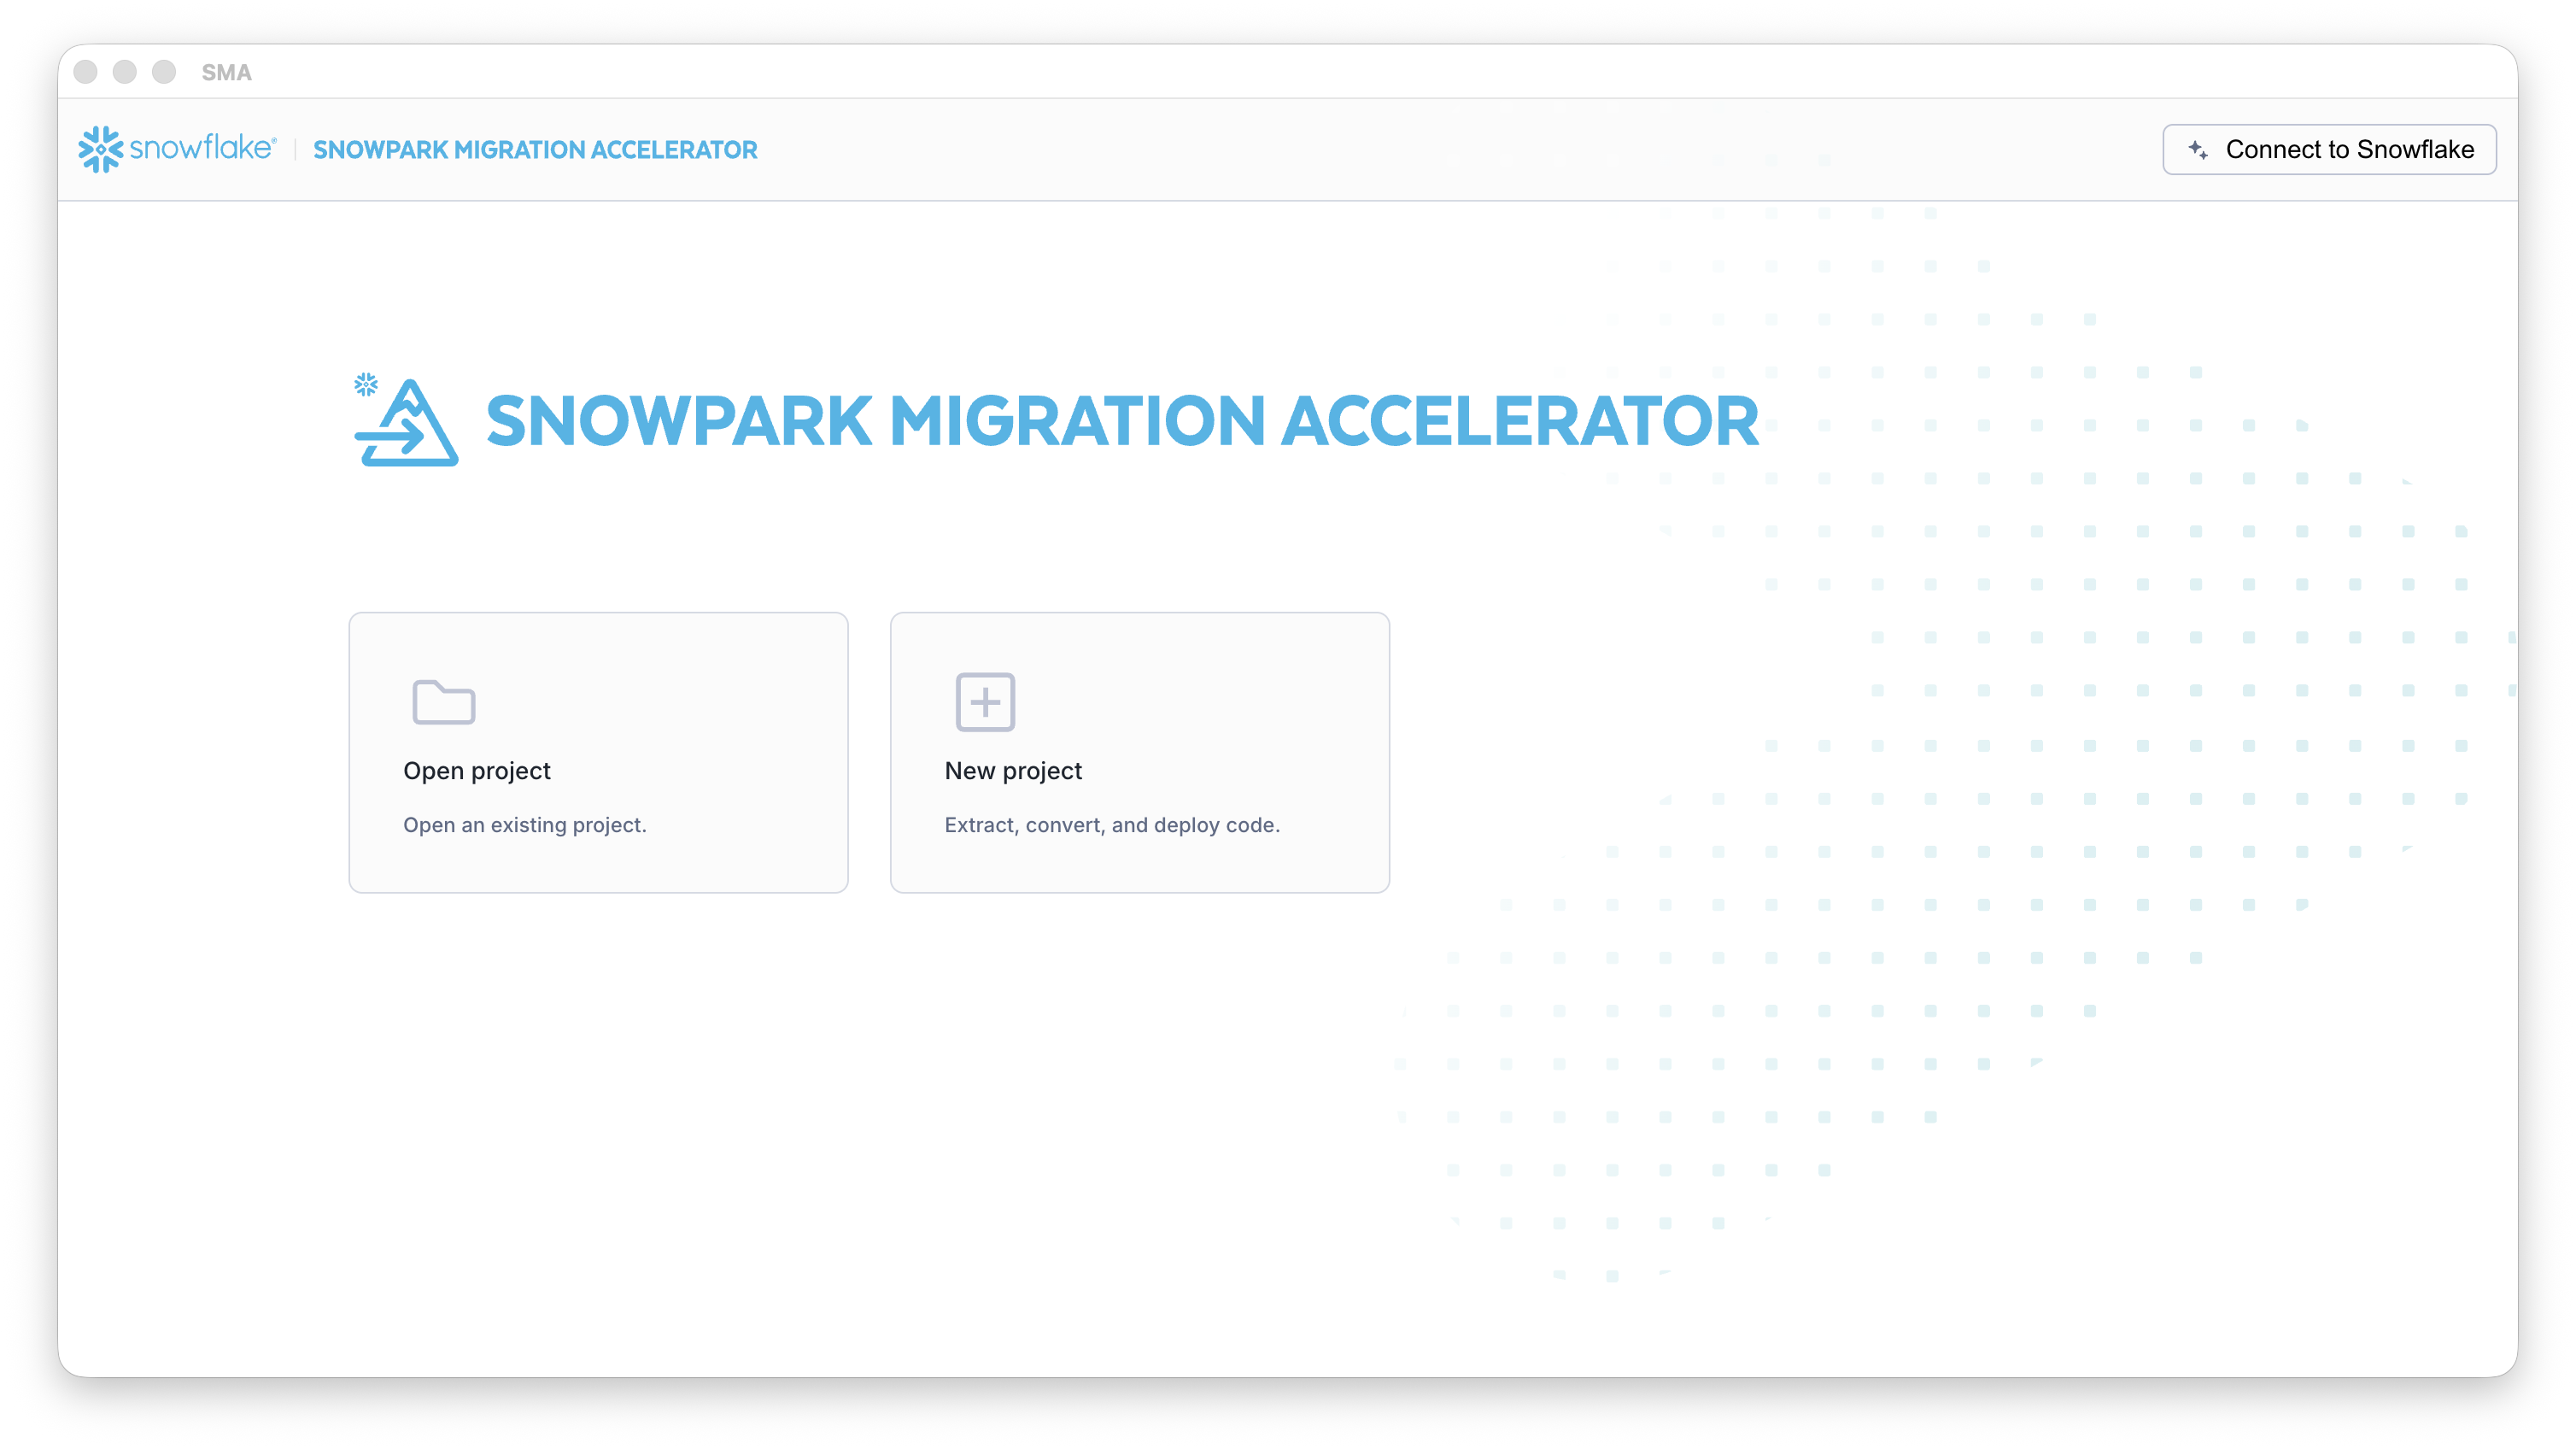
- Open project - Browse and select a previously created project file. For more details about opening an existing project, see more information on opening an existing project.
- New project - Select this option to create a new project. Learn more about creating a new project.
Creating a New Project
Clicking the “New Project” button will open the project creation screen.
.png)
The Project Creation page contains multiple fields that you need to complete.
- Project Name: Enter a name for your project. This name will be used to store your settings and track multiple executions. More details about project files are provided below.
- Email Address: Enter your email address to identify yourself as a tool user. This should be the user of the tool, not the owner of the codebase being scanned.
- Company Name: Enter the name of the organization whose code you are working with. If you are analyzing your own code, enter your organization’s name. If you are working with another organization’s code, enter their name. This helps organize projects by organization.
- Input Folder: Select the folder containing your source code. Note that SMA will only analyze supported file types.
- Output Folder Path: Select the directory where SMA will store output files, including logs, reports, and converted code.
- SQL Language: Select either SparkSQL, HiveSQL or Databricks based on your source code. (Optional)
All fields must be completed to run the tool.
After completing your project setup, you have two options:
- Click “Save” to save your project and continue to the next step
- Click “Cancel” to exit without saving
Clicking “Cancel” returns you to the main screen. If you choose “Save” your project settings will be saved in a .snowct file. This file allows you to reopen the project later with all your configured settings intact.
Notes on the SMA Project File (.snowct)
The .snowct file is a project configuration file that stores your project settings and assessment history. This file allows you to:
- Rerun the tool using the same configuration settings
- Access and review assessment data from previous runs
Each time you click “Save”, SMA creates a project file (with a .snowct extension) in the root of your selected output folder.
.png)
As a user, you will have the following capabilities:
- Double-click the
.snowctfile to open an existing project - Click “Open Project” on the main screen to open an existing project
Open a Project
From the main screen, click Open Project to launch your file browser. Select a project file with a .snowct extension to open the project home page. This action works regardless of your project’s completion status.
The following section explains the available configuration options and settings when using the application.