ETL Migration
The Replatform feature of SnowConvert AI can be used to migrate your legacy ETL workflows to cloud-native architectures on Snowflake. This feature converts the legacy ETL packages into modern data transformation frameworks like dbt Core, while preserving the original orchestration logic using Snowflake’s native TASKs and stored procedures.
This topic describes the process to migrate SSIS (SQL Server Integration Services) packages to dbt projects on Snowflake, using the Replatform feature.
Migration strategy
The process involves separating the transformation logic from the orchestration logic in the existing SSIS packages. Using the Replatform feature, SnowConvert AI decomposes the SSIS packages into two primary components:
- dbt projects for data transformation logic
- Snowflake TASKS or stored procedures for orchestration of the ETL workflows
The generated dbt projects and TASKS/stored procedures can then be deployed to Snowflake and executed.
Prerequisites
The prerequisites to use the Replatform feature for ETL migration are:
- The latest version of SnowConvert AI is installed.
- Source dependencies are accessible in Snowflake. The source dependencies are required for running the migrated dbt projects.
- DTSX (Data Transformation Services XML) package files should be extracted from ISPAC (Integration Services Project Archive) files as the ISPAC files are not directly supported.
- SSIS package version 8 or later is installed. If you have an earlier version, upgrade your packages.
Migration Steps
Follow these steps to migrate your SSIS project:
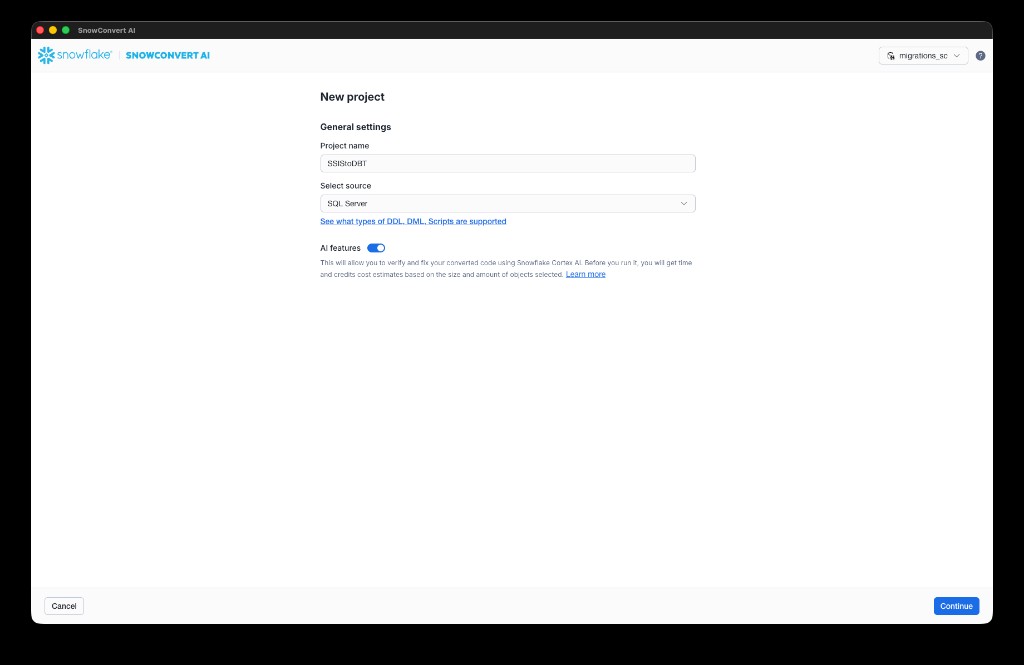
Create a project
- From the SnowConvert AI home page, select New project. Enter a Project name and Select source (for example, SQL Server for SSIS migrations). Optionally, enable AI features to verify and fix your converted code using Snowflake Cortex AI. Select Continue.
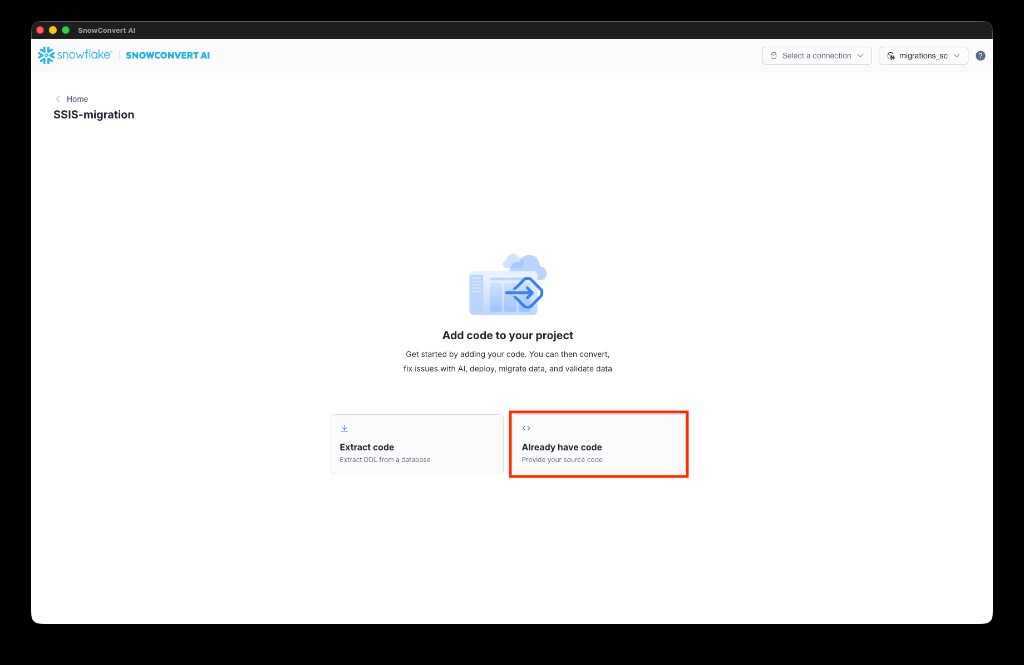
Add code to the project
- On the Add code to your project page, select Already have code to provide your source files directly.
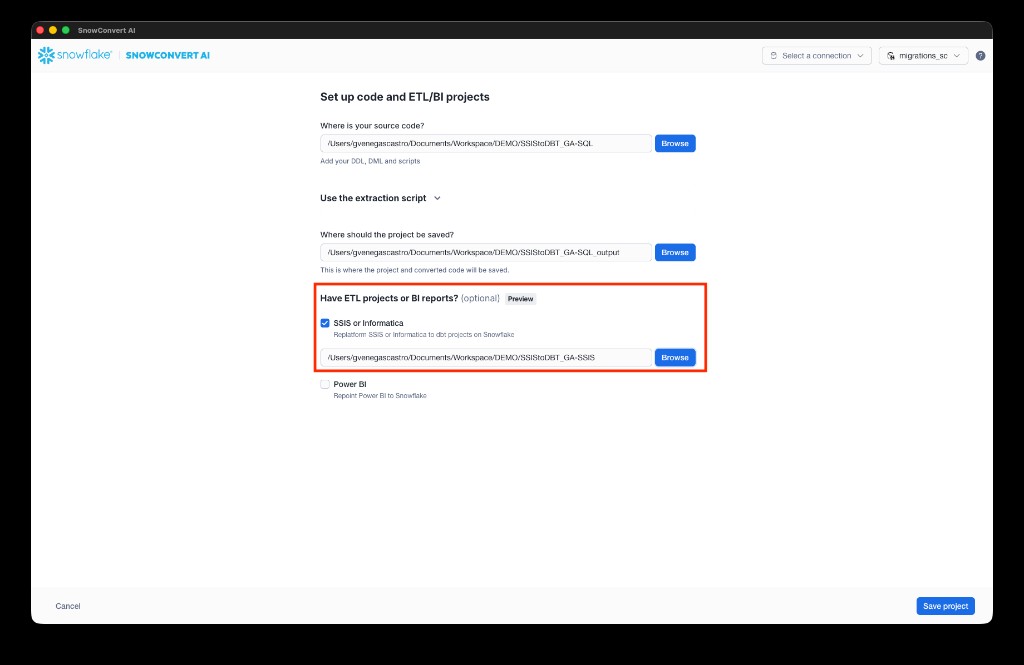
Set up code and ETL projects
-
On the Set up code and ETL/BI projects page:
a. Select Browse next to Where is your source code? to specify the path to your DDL scripts and source files. Include DDL scripts for all dependencies to ensure high-quality migrated code.
b. Select Browse next to Where should the project be saved? to specify the output path for the migrated code.
c. Under Have ETL projects or BI reports?, check SSIS or Informatica and select Browse to navigate to your SSIS project folder containing DTSX files.
d. Select Save project.
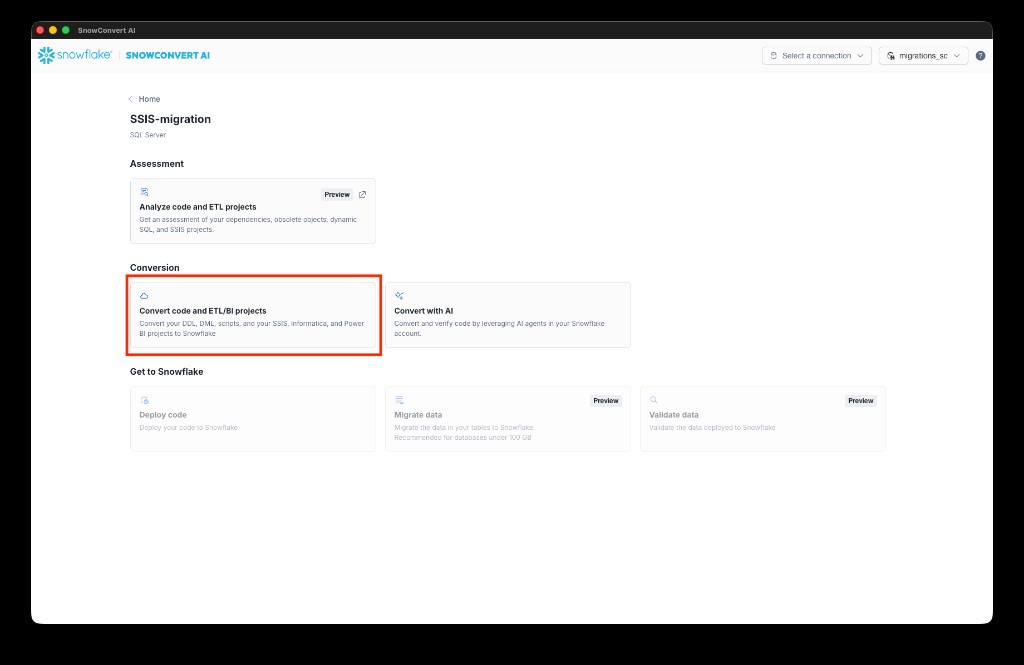
Run the conversion
- From the project dashboard, under Conversion, select Convert code and ETL/BI projects.
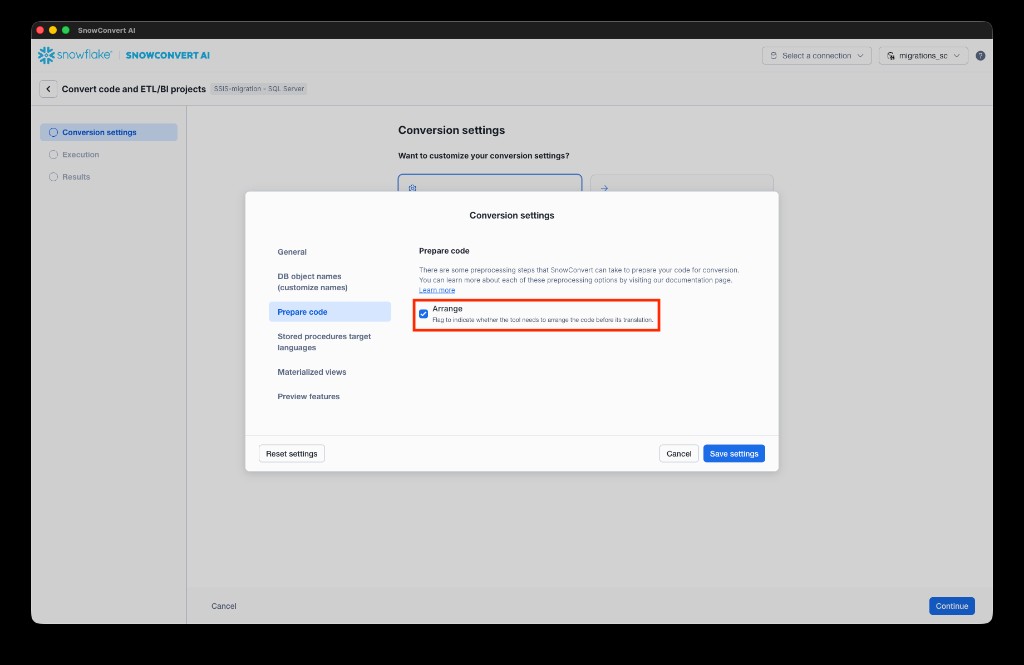
- Optionally, configure conversion settings. For example, under Prepare code, you can enable Arrange to let the tool arrange the code before translation. This will help with structuring the input and trying to upgrade package versions. Select Save settings to confirm, then select Continue to start the conversion.
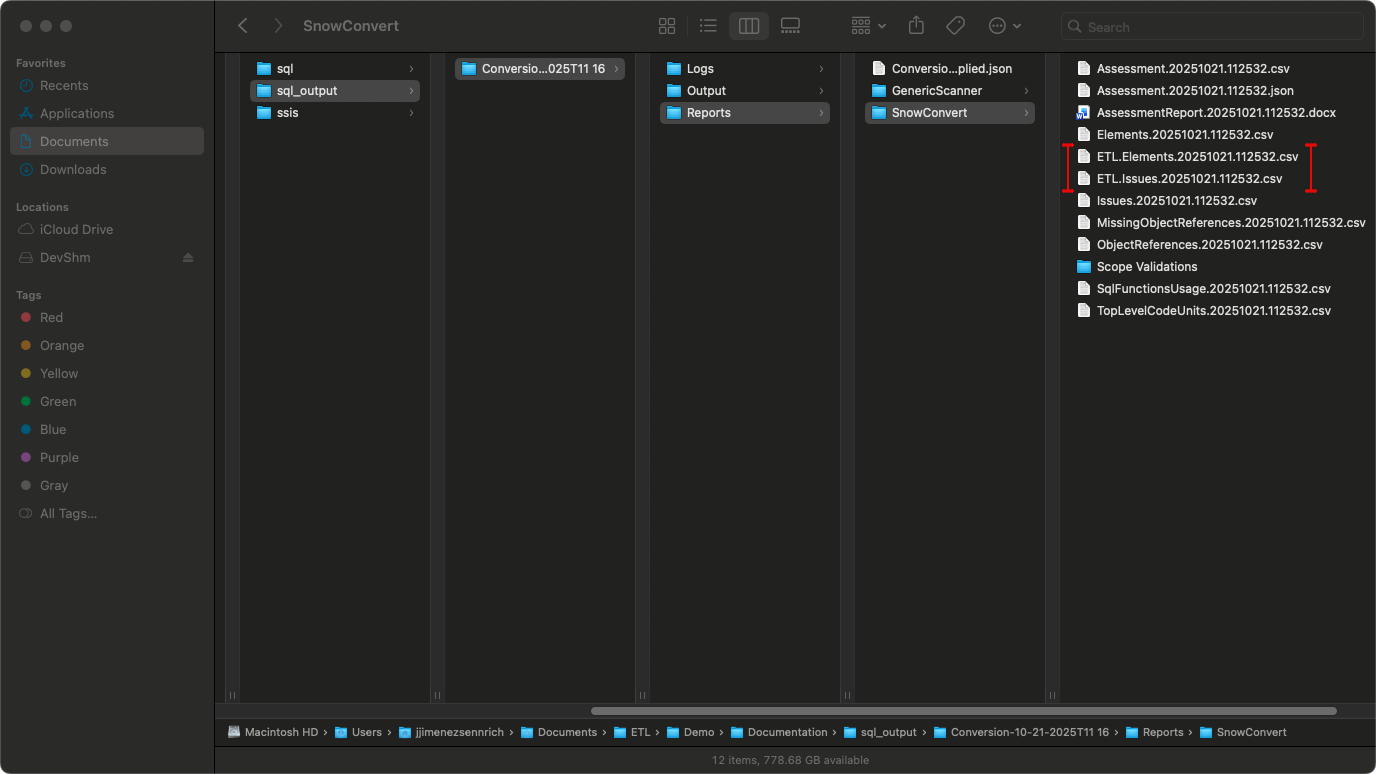
- SnowConvert AI migrates your SSIS project and any scripts in the specified paths. After migration completes, review and fix any EWIs (Errors, Warnings, and Informational messages) identified in the reports.
- Fill placeholders in
sources.yml,profiles.yml, anddbt_project.yml.
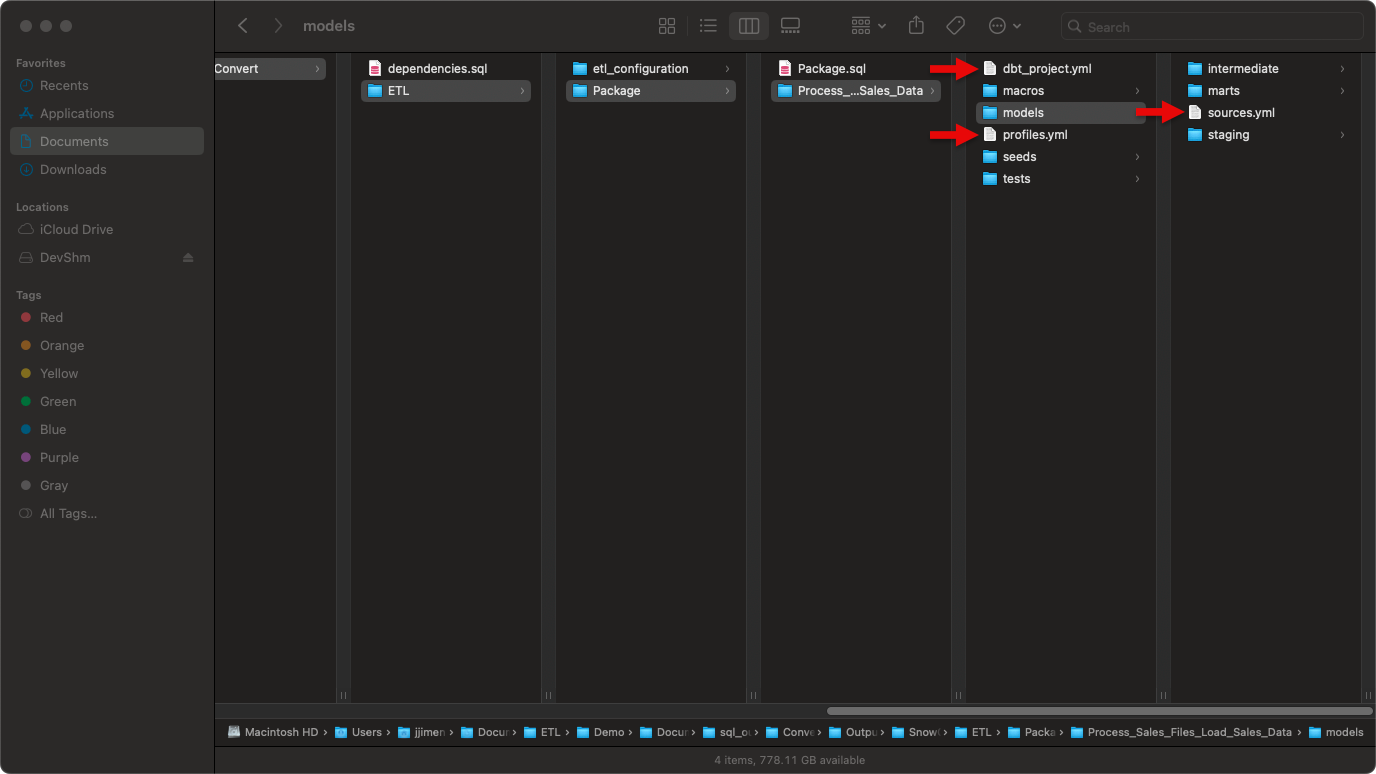
- Review the generated output. It should include:
- ETL/: Main folder containing all converted SSIS packages
- etl_configuration/: Infrastructure components (control_variables table, UDFs, procedures)
- {PackageName}/: Folder for each SSIS package containing:
- {PackageName}.sql: Orchestration file (TASK or PROCEDURE)
- {DataFlowTaskName}/: dbt project for each Data Flow Task
- script.sql: Migrated SQL scripts (if applicable) For a detailed description of the output structure, see Output Structure.
- Upload your dbt project using any one of the following options:
-
Option A: Upload using Snowflake CLI
Run this command in your dbt project directory (replace values in italics with your schema, database, and package names):
If successful, continue to step 10.
-
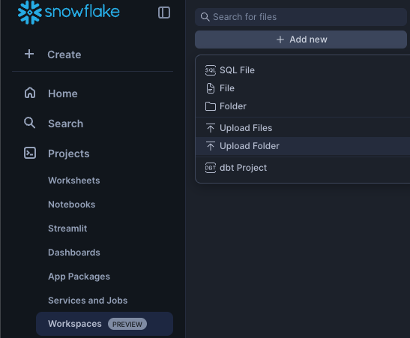
Option B: Upload via Snowflake Workspace
Navigate to Workspaces > Add new > Upload Folder and select your dbt project folder.
-
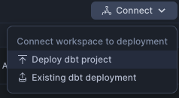
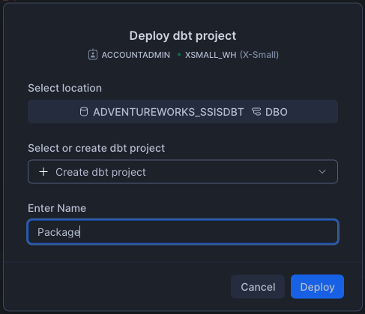
Deploy the dbt project to make it accessible for orchestration:
a. Select Connect > Deploy dbt project at the top right corner.
b. Use the project name that matches your dbt project folder name.
For example: For Process_Sales_Files_Load_Sales_Data/, use “Process_Sales_Files_Load_Sales_Data”. This name is referenced in the orchestration file via EXECUTE DBT PROJECT commands.
If your orchestration uses public.Package, use the following:
Use Package as your project name when deploying.
Note: Deploy all dbt projects in your migration.
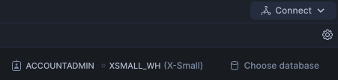
- Run your dbt project by selecting the correct database and schema.
For single dataflow projects:
Run the dbt project directly if you have only one data flow.
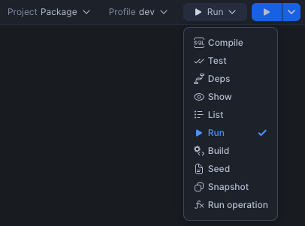
For multi-dataflow projects:
a. Run the orchestration SQL file to create all TASK objects. This will create:
- Initialization TASK and all its dependent TASKs.
- Stored procedures corresponding to the reusable SSIS packages.
b. Execute the orchestration for TASK-based orchestration (standard packages) and PROCEDURE-based orchestration (reusable packages) as shown below:
For TASK-based orchestration
For PROCEDURE-based orchestration
Note: Check your generated SQL file to determine whether your package uses the TASK or PROCEDURE pattern.
Output Structure
SnowConvert AI organizes all migration output under the Output/ETL/ folder. Here’s the complete folder structure:
SSIS to SnowConvert AI conversion mapping:
- SSIS Data Flow Tasks → dbt projects (one per Data Flow Task)
- SSIS Control Flow → Snowflake TASK objects or stored procedures
- SSIS Variables → control_variables table + UDFs + DBT variables
- SSIS Containers → Inline conversion within parent TASK/procedure
ETL configuration components
The etl_configuration/ folder contains shared infrastructure components required by all ETL orchestrations. These components work together to manage variables across package executions:
- control_variables_table.sql: Creates a transient table to store package variables, parameters, and their values across orchestration executions
- GetControlVariableUDF.sql: User-defined function to retrieve variable values from the control variables table
- UpdateControlVariable.sql: Stored procedure to update variable values during orchestration execution
Schema Dependencies: The UDFs and stored procedures in the etl_configuration/ folder are generated with hardcoded schema references (default: public). If you deploy these objects to a different schema, you must update the schema references within:
- The
GetControlVariableUDF.sqlfunction (referencespublic.control_variablesin the SELECT statement) - The
UpdateControlVariable.sqlprocedure (referencespublic.control_variablesin the MERGE statement) - Any orchestration scripts that call these objects
Common naming and sanitization rules
SnowConvert AI applies consistent sanitization rules to all SSIS object names to ensure dbt and Snowflake compatibility. This includes packages, tasks, components, and variables.
| Rule | Description | Example |
|---|---|---|
| Convert to lowercase | All names converted to lowercase | MyPackage → mypackage |
| Replace invalid characters | Spaces, hyphens, and special characters become underscores | My-Package Name → my_package_name |
| Remove consecutive underscores | Avoids __ sequences (except stg_raw__ prefix) | my___package → my_package |
Prefix with t_ | Adds prefix if name starts with a number | 123package → t_123package |
| Remove quotes and brackets | Strips surrounding quotes and brackets | [Package] → package |
These rules apply uniformly across all generated artifacts: dbt model names, Snowflake TASK names, procedure names, and variable identifiers.
Data flow task output (dbt Projects)
Each SSIS Data Flow Task is converted into a standalone dbt project with a three-tier architecture. These dbt projects contain all the data transformation logic from your original SSIS packages.
Supported Data Flow Components: For a complete list of supported sources, transformations, and destinations, see the SSIS Translation Reference.
Layer organization
Each dbt project follows a three-tier architecture that separates data extraction, transformation, and loading:
| Layer | Materialization | Purpose |
|---|---|---|
| models/staging/ | View | Provides clean, type-safe access to source data referenced in sources.yml |
| models/intermediate/ | Ephemeral | Contains transformation logic from source ETL (not persisted to database for performance) |
| models/marts/ | Incremental or Table | Final, business-ready data models corresponding to target tables. If the target overrides data in the table or re-creates the table, it will be materialized as a table; otherwise it will be materialized as an incremental model. |
Materialization configuration:
Default materializations are defined in dbt_project.yml. However, individual models can override these defaults when needed:
- Use
{{ config(materialized='view') }}to change a specific model’s materialization - Use
{{ config(alias='...') }}in mart models to customize the final table name in Snowflake
dbt model naming conventions
SnowConvert AI uses prefixes to indicate each model’s layer in the dbt project:
| Model Type | Naming Pattern | Examples |
|---|---|---|
| Staging | stg_raw__{component_name} | stg_raw__flat_file_source, stg_raw__ole_db_source |
| Intermediate | int_{component_name} | int_derived_column, int_union_all |
| Mart | {destination_component_name} | ole_db_destination, stgdimgroup |
The stg_raw__ prefix indicates a staging model that selects from a raw source, while the int_ prefix marks intermediate transformation models. Mart models use the destination table name directly or can specify a custom alias.
Important notes:
- All component names are sanitized according to the naming rules above
- Mart models become the final table names in Snowflake
- You can customize mart table names using
{{ config(alias='TableName') }}
dbt project organization
Organization structure:
- One dbt project per Data Flow Task (for example,
Process_Sales_Files_Load_Sales_Data/) - Package-level folder contains the orchestration SQL file and all dbt project folders
- Models organized by layer (staging, intermediate, marts) within each dbt project
- Orchestration execution uses
EXECUTE DBT PROJECTcommands
sources.yml configuration
The sources.yml file, located in the models/ directory, declares all source tables used by the dbt project. This file serves three key purposes:
- Connection: Links dbt models to raw data tables in Snowflake
- Documentation: Provides metadata and descriptions for source systems
- Lineage: Enables tracking data flow from sources through transformations
Important: Before deploying your dbt project, replace the YOUR_SCHEMA and YOUR_DB placeholders with your actual Snowflake schema and database names.
dbt macros
Each dbt project includes these macros:
| Macro | Purpose |
|---|---|
| m_update_control_variable.sql | Updates control variables from dbt models and syncs changes to orchestration |
| m_update_row_count_variable.sql | Captures row counts from transformations (similar to SSIS row count updates) |
Control flow task output (orchestration)
SSIS control flow logic is converted into Snowflake orchestration using TASK objects or stored procedures. This orchestration layer manages the execution sequence of your dbt projects and handles variables, containers, and package execution.
Supported control flow elements: For a complete list of supported tasks and containers, see the SSIS Translation Reference.
Naming conventions for orchestration objects
Orchestration objects follow consistent naming patterns based on the SSIS package and task names:
| Object Type | Naming Pattern | Example |
|---|---|---|
| Orchestration files | {PackageName}.sql | Package.sql, StgDimGroup.sql |
| Package initialization TASK | {schema}.{PackageName} | public.Package |
| Data Flow TASK | {schema}.{package_name}_{dataflow_name} | public.package_process_sales_files |
| Stored Procedure (reusable) | {schema}.{PackageName} | public.ReusableETLPackage |
Notes:
- All names are sanitized according to the naming rules described earlier
- Stored procedures are used when packages are called by at least one ExecutePackage task from another control flow
Orchestration approach
Each SSIS package generates an orchestration SQL file. The conversion pattern depends on whether the package is reused:
Standard packages (not called by ExecutePackage tasks)
Standard packages that are not called by ExecutePackage tasks from other control flows are converted to Snowflake TASK objects. Each package typically generates two types of TASKs:
-
Initialization TASK: Creates and refreshes control variables for the package
- Deletes existing package variables from the
control_variablestable - Inserts all variables and parameters with their default values using
TO_VARIANT()
- Deletes existing package variables from the
-
Main orchestration TASKs: Contain the core control flow logic
- Declared with
WAREHOUSE=DUMMY_WAREHOUSE(update this to your actual warehouse name) - Uses the
AFTERclause to establish task dependencies - Executes converted control flow and data flow tasks
- Declared with
Reusable packages (called by ExecutePackage tasks)
Packages that are called by at least one ExecutePackage task from another control flow are converted to stored procedures instead of TASK objects. This is necessary because Snowflake TASK objects can’t be called synchronously from other tasks.
Key characteristics:
- FDM generated: SSC-FDM-SSIS0005
- Invocation:
CALL schema.ProcedureName(params)from parent orchestration - Benefits: Enables synchronous execution and can be called from multiple parent packages with different parameter values
Example orchestration structure:
Variable management
SSIS variables are converted into a comprehensive management system using four interconnected mechanisms:
1. Control variables table
The control_variables table serves as the central storage for all package variables and parameters. Each variable is stored with the following metadata:
| Field | Type | Description |
|---|---|---|
variable_name | VARCHAR | Variable name |
variable_value | VARIANT | Value (accommodates any data type) |
variable_type | VARCHAR | Original SSIS data type |
variable_scope | VARCHAR | Package or container name |
is_parameter | BOOLEAN | Distinguishes parameters from variables |
is_persistent | BOOLEAN | Reserved for future use |
last_updated_at | TIMESTAMP | Last update time |
2. getControlVariableUDF function
This user-defined function retrieves variable values within TASK logic. Use it to read variable values from the control variables table:
3. updateControlVariable procedure
This stored procedure updates variable values during orchestration execution. Use it to write variable changes back to the control variables table:
4. dbt macros
Each dbt project includes macros that enable variable operations from within dbt models:
m_update_control_variable.sql: Updates control variables and syncs changes back to the orchestration layerm_update_row_count_variable.sql: Captures row counts from transformations, similar to SSIS row count variable updates
Migrating SSIS containers
SnowConvert AI uses an inline conversion approach for SSIS containers rather than creating separate procedures. This architectural decision preserves execution context and simplifies the migration.
More on inline conversion
Migrating SSIS extends beyond the task of “translate this component to that component.” It involves translating the entire ETL context consisting of control flow, variables, and data movement. Our inline approach preserves that context:
- One place to debug: Containers and branches are converted inline inside parent Snowflake procedures or tasks.
- Deterministic orchestration: Standalone packages are migrated as Snowflake TASKs with explicit dependencies. Packages called by ExecutePackage tasks are migrated as procedures for clean and synchronous reuse.
- Fewer naming conflicts: Object names are sanitized across dbt models, tasks, procedures, and variables, so deployments remain predictable in shared environments.
- Encapsulation of data movement logic and business logic: Data movement and business logic land in dbt with layered models and macros, while orchestration runs natively on Snowflake.
What gets converted inline:
- Sequence Containers - Sequential task execution with marked boundaries
- For Loop Containers - Container structure preserved, iteration logic requires manual implementation
- ForEach Loop Containers - File enumerators converted to Snowflake stage operations, other types require manual work
- Event Handlers - Not supported; implement using Snowflake exception handling
For detailed conversion specifications, examples, and EWI/FDM references for all control flow elements and task conversions, see the SSIS Translation Reference.