Automatic Data Agents for listings and shares
Automatic Data Agents instantly generate AI-powered agents and semantic views for your data listings and shares, transforming static data into intelligent, conversational experiences that enable end users to query your data using natural language, with no technical expertise required.
Understand Automatic Data Agents
Traditionally, Snowflake listings and shares require consumers to understand the underlying schema and to write SQL queries to extract data. Automatic Data Agents address this barrier by analyzing your listing metadata and data schemas to automatically construct the following objects:
- A semantic view: A business-friendly data representation compatible with Cortex Analyst.
- A Cortex Agent: An AI orchestration layer that understands the specific domain and context of your data.
As a provider, this automation significantly reduces the time required to make a listing or share “Cortex AI-ready,” allowing you to offer conversational data experiences without manual engineering. After these objects are created, all you need to do is attach them to your listing or share, and then customers and end consumers can easily interact with your data using Cortex AI products and features.
Tip
When creating Cortex AI-ready listings, add the Cortex AI ready category to your listing. This category makes it easier for consumers to find your listing.
Key features of Automatic Data Agents
- One-click generation automatically creates both the agent and the semantic view objects based on existing metadata and table structures.
- Table and view selection lets you choose which tables and views to include when generating the semantic view, giving you control over which data is exposed through the agent.
- AI-powered semantic modeling uses Semantic View Autopilot to identify table relationships, metrics, and dimensions.
- Dynamic agent instructions generate context-aware personas and orchestration instructions derived from the listing metadata. (For direct shares, static instructions are used.)
- Integrated testing allows providers to validate the agent’s responses before publishing to consumers.
- Seamless publishing attaches the generated assets directly to the existing secure share, making them instantly available to consumers.
Considerations
Use Automatic Data Agents when you want to quickly enable AI capabilities for new or existing listings or shares that contain tables or views.
This feature is best suited for listings and shares that meet the following criteria:
- The data structure is well-defined in tables or views.
- For listings, the listing description clearly explains the data domain. (This improves the AI-generated instructions.)
- You don’t have existing semantic views or agents manually attached to the share.
Limitations
- Regeneration: Regenerating an agent replaces the existing agent and semantic view objects; previous versions are not preserved.
- Object location: Generated agents and semantic views must be stored in the same database as the shared content.
- Exclusive generation: You can’t use this feature if the share already contains agents, semantic views, or Cortex Search Services.
- Generation time: The process may take up to 10 minutes depending on the complexity and size of the shared schemas.
Work with Automatic Data Agents as a provider
Automatic Data Agents allow you to configure, test, and manage AI agents for your listings and shares directly within Provider Studio (for public and private Snowflake Marketplace listings), within Internal Sharing (for Internal Marketplace listings), or from the External sharing page (for direct shares without a listing).
Required privileges
To create, edit, and manage Automatic Data Agents, you need the following privileges:
Privileges required to create objects (agent generation)
| Privilege | Object | Purpose |
|---|---|---|
| CORTEX_USER | Database | Includes the privileges that allow users to call Snowflake AI functions and to use LLMs to generate semantic views. By default, the CORTEX_USER role is granted to the PUBLIC role. |
| CREATE SEMANTIC VIEW | Schema | Required to create a new semantic view |
| CREATE AGENT | Schema | Required to create the Cortex Agent |
| SELECT | Tables/Views in share | Required on any tables or views used in the semantic view definition |
| USAGE | Database | Required to access the database containing your shared objects |
| USAGE | Schema | Required to access the target schema where objects will be created |
Note
The SELECT privilege on tables is needed during semantic view creation. However, to query a semantic view afterward, you only need the SELECT privilege on the semantic view itself.
Privileges required for adding objects to a share (publishing)
| Privilege | Object | Purpose |
|---|---|---|
| OWNERSHIP | Share | Required to grant privileges on objects to the share |
| OWNERSHIP or MODIFY | Listing | Required to modify the listing and submit for approval (only applicable when using listings) |
When you add objects to a share, the following grants are made automatically:
GRANT USAGE ON AGENT ... TO SHAREGRANT SELECT ON SEMANTIC VIEW ... TO SHAREGRANT REFERENCES ON SEMANTIC VIEW ... TO SHARE
Privileges required to manage objects (regenerate/delete)
| Privilege | Object | Purpose |
|---|---|---|
| OWNERSHIP | Agent | Required to drop or replace the agent (automatically granted to creator) |
| OWNERSHIP | Semantic view | Required to drop or replace the semantic view (automatically granted to creator) |
Automatic Data Agents workflow
- Start Automatic Data Agents.
- Use SQL to verify the created objects.
- Test the data agent.
- Optional: Manage the data agent.
- Attach the Automatic Data Agent to your listing or share.
Start Automatic Data Agents
For providers, the Automatic Data Agents setup process analyzes your listing or share and generates the necessary Cortex AI objects. You can use Automatic Data Agents with Snowflake Marketplace listings, Internal Marketplace (organizational) listings, or direct shares. You must provide all required information before you can get started with Automatic Data Agents.
The examples below describe how to configure Automatic Data Agents on a Snowflake Marketplace listing, an Internal Marketplace listing, or a direct share. Select the appropriate option.
Note
The automatic generation wizard is available only in Snowsight.
Option 1. Start Automatic Data Agents on a Snowflake Marketplace listing
The steps below assume that you’ve already created a Snowflake Marketplace listing and attached a data product to it. For more information, see Create and publish a listing.
-
Sign in to Snowsight.
-
In the navigation menu, select Marketplace » Provider Studio.
-
On the Listings tab, select the public listing that you want to configure.
-
On the Secure share tab for the listing, in the Add an Agent to your listing banner, select Get started.
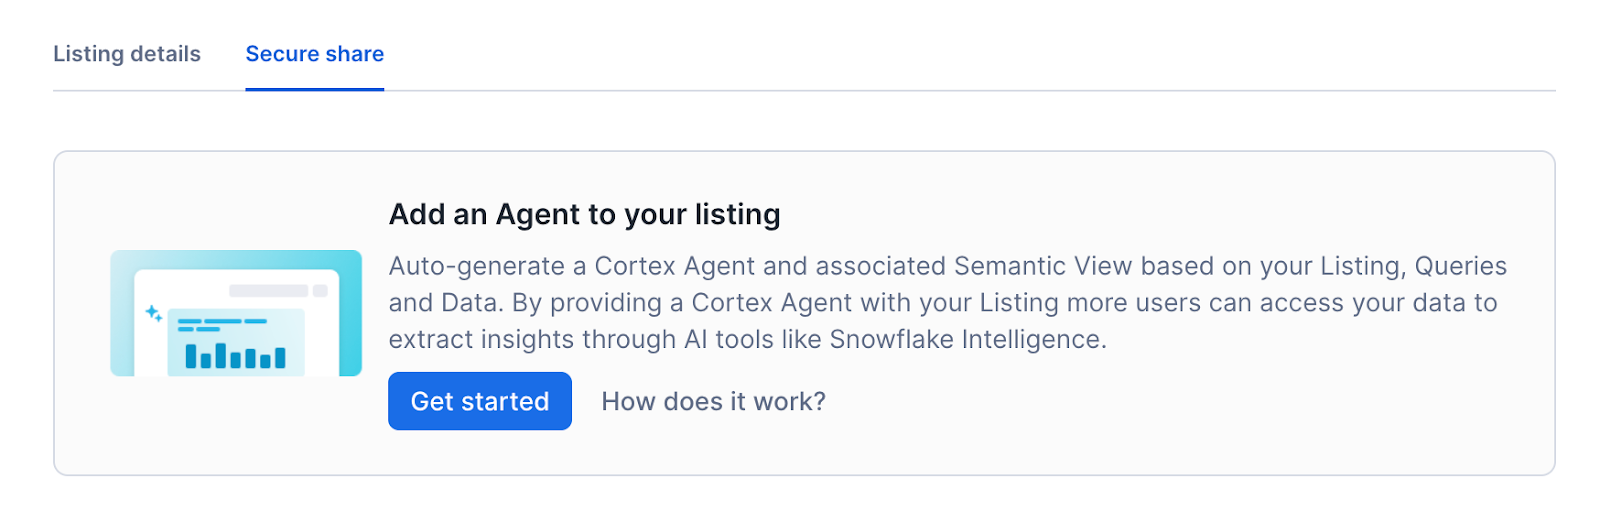
Note
The listing must have an attached share. Otherwise, the Secure share tab won’t be available. The listing must also include all required information. Otherwise, the Get started button is disabled.
-
In the configuration dialog, enter the following values:
-
Agent Display Name: Enter a name for the agent (defaults to the listing title).
-
Location: Select the target schema for the generated objects.
-
Tables/Views: Select the tables and views to include in the semantic view. You can choose a subset of the available tables and views in the share to control which data the agent can access.
Note
This schema must be in the same database as the shared data.
-
-
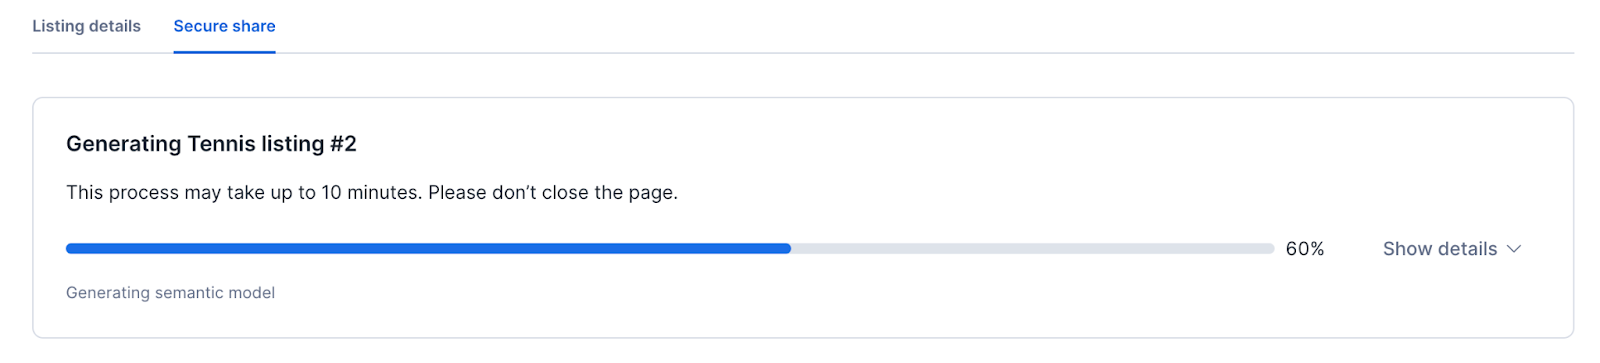
Select Create.
The generation process begins immediately. You can view the status of each step, including metadata retrieval, semantic view generation, and agent creation. This process may take several minutes.
Option 2. Start Automatic Data Agents on an Internal Marketplace listing
The steps below assume that you’ve already created an Internal Marketplace listing and attached a data product to it. For more information, see Create an organizational listing.
-
Sign in to Snowsight.
-
In the navigation menu, select Data sharing » Internal sharing.
-
On the Internal sharing page, select the listing that you want to configure.
-
On the Secure share tab for the listing, in the Add an Agent to your listing banner, select Get started.
Note
The listing must have an attached share. Otherwise, the Secure share tab won’t be available. The listing must also include all required information. Otherwise, the Get started button is disabled.
-
In the configuration dialog, enter the following values:
-
Agent Display Name: Enter a name for the agent (defaults to the listing title).
-
Location: Select the target schema for the generated objects.
-
Tables/Views: Select the tables and views to include in the semantic view. You can choose a subset of the available tables and views in the share to control which data the agent can access.
Note
This schema must be in the same database as the shared data.
-
-
Select Create.
The generation process begins immediately. You can view the status of each step, including metadata retrieval, semantic view generation, and agent creation. This process may take several minutes.
Option 3. Start Automatic Data Agents on a direct share
You can also generate an Automatic Data Agent for a direct share that isn’t associated with a listing.
-
Sign in to Snowsight.
-
In the navigation menu, select Data sharing » External sharing.
-
On the Shared by your account tab, select the share that you want to configure.
-
In the Add an Agent to your share banner, select Get started.
-
In the configuration dialog, enter the following values:
-
Agent Display Name: Enter a name for the agent.
-
Location: Select the target schema for the generated objects.
-
Tables/Views: Select the tables and views to include in the semantic view. You can choose a subset of the available tables and views in the share to control which data the agent can access.
Note
This schema must be in the same database as the shared data.
-
-
Select Create.
The generation process begins immediately. You can view the status of each step, including metadata retrieval, semantic view generation, and agent creation. This process may take several minutes.
Verify created objects using SQL
You can use SQL to verify the created objects.
Test the data agent
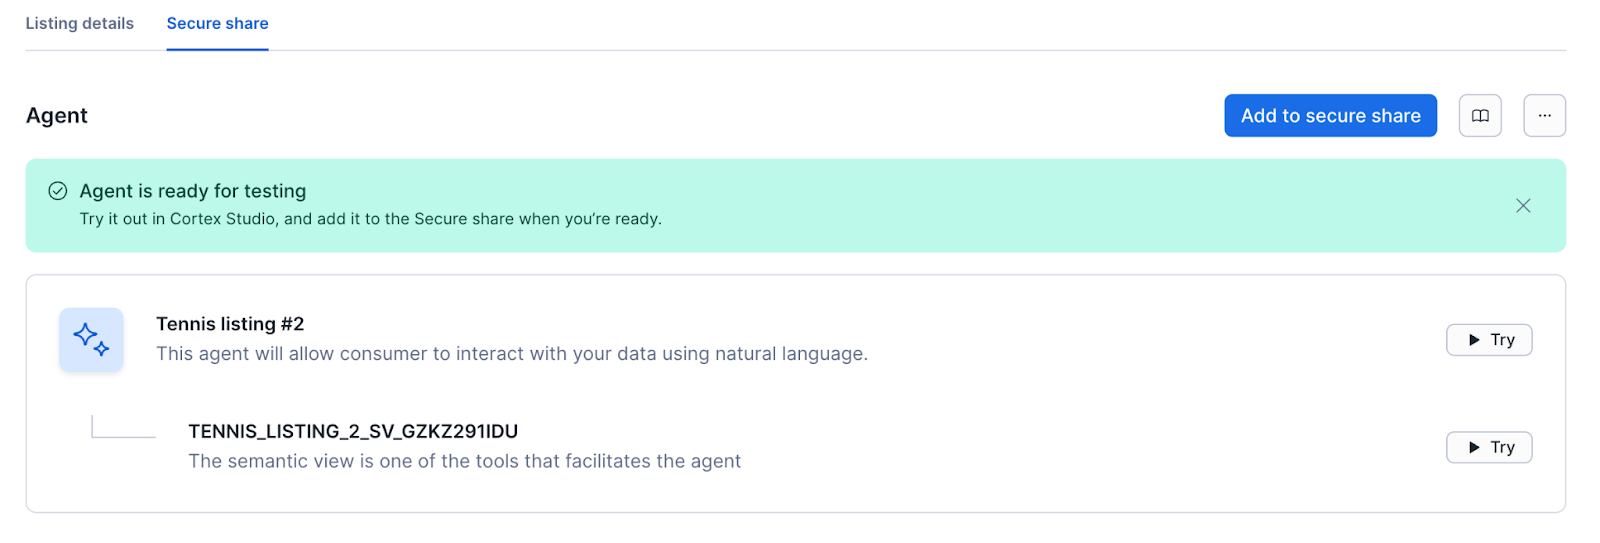
Before publishing, verify that the agent accurately answers questions about your data.
-
In the Agent section of your listing or share, locate the generated agent.
-
Select one of the available Try buttons to open Cortex Studio.
You can test the agent response or validate the semantic view.
-
Enter natural language queries related to your data, for example, “What was the average sales volume last month?”
-
Review the generated SQL and the textual response for accuracy.
-
If adjustments are needed, edit the semantic view manually or update your listing description, and then regenerate the agent.
Manage data agents
Regenerate an agent
If your data schema changes or you update your listing description to improve the agent’s context, you can regenerate the agent.
Caution
Regeneration drops the existing agent and semantic view and creates new versions. Any manual edits made to the previous semantic view will be lost.
- In the Agent section, on the More actions (…) menu, select Regenerate agent.
- Confirm the action to start the process.
Drop an agent
You can drop agents that aren’t attached to shares. If the agent you want to drop is attached to a share, then you need to remove it from the share before you can drop it.
- In the Agent section, select the More actions (…) menu.
- Select Drop agent.
- Confirm to remove both the agent and the semantic view from your account.
Attach the Automatic Data Agent to your listing or share
To make the agent available to consumers, attach it to the secure share.
-
Navigate to the Secure share tab of your listing, or the share details page for a direct share.
-
In the Agent section, select Add to secure share.
-
Review the confirmation dialog, which indicates that the agent and semantic view will be granted to the share.
-
Click Add.
After the agent is added, any updates to these objects in your account are instantly available to consumers who have access to the listing or share.
Use Automatic Data Agents as a consumer
As a consumer, you can use the Automatic Data Agent to query your data using natural language.
For Snowflake Marketplace listings, follow these steps:
- Sign in to Snowsight.
- In the navigation menu, select Marketplace » Snowflake Marketplace.
- Select the Cortex AI-ready listing that you want to access and Get the listing if you don’t already have it.
- Select Open, then select the Agent name to test the agent.
For Internal Marketplace listings, follow these steps:
- Sign in to Snowsight.
- In the navigation menu, select Catalog » Internal Marketplace.
- Select the Cortex AI-ready listing that you want to access and Get the listing if you don’t already have it.
- Select Open, then select the Agent name to test the agent.
For privately shared listings, follow these steps:
- Sign in to Snowsight.
- In the navigation menu, select Data sharing » External sharing.
- On the Shared with you tab, select the Cortex AI-ready listing or share that you want to access and Get it if you don’t already have it.
- Select Open, then select the agent name to test the agent.