- description:
Running an assessment using the Snowpark Migration Accelerator
Snowpark Migration Accelerator: Assessment Quick Start
The Snowpark Migration Accelerator (SMA) helps you analyze your source code and determine which kind of conversion fits best. This guide will show you how to begin the assessment process.
How to Execute an Assessment
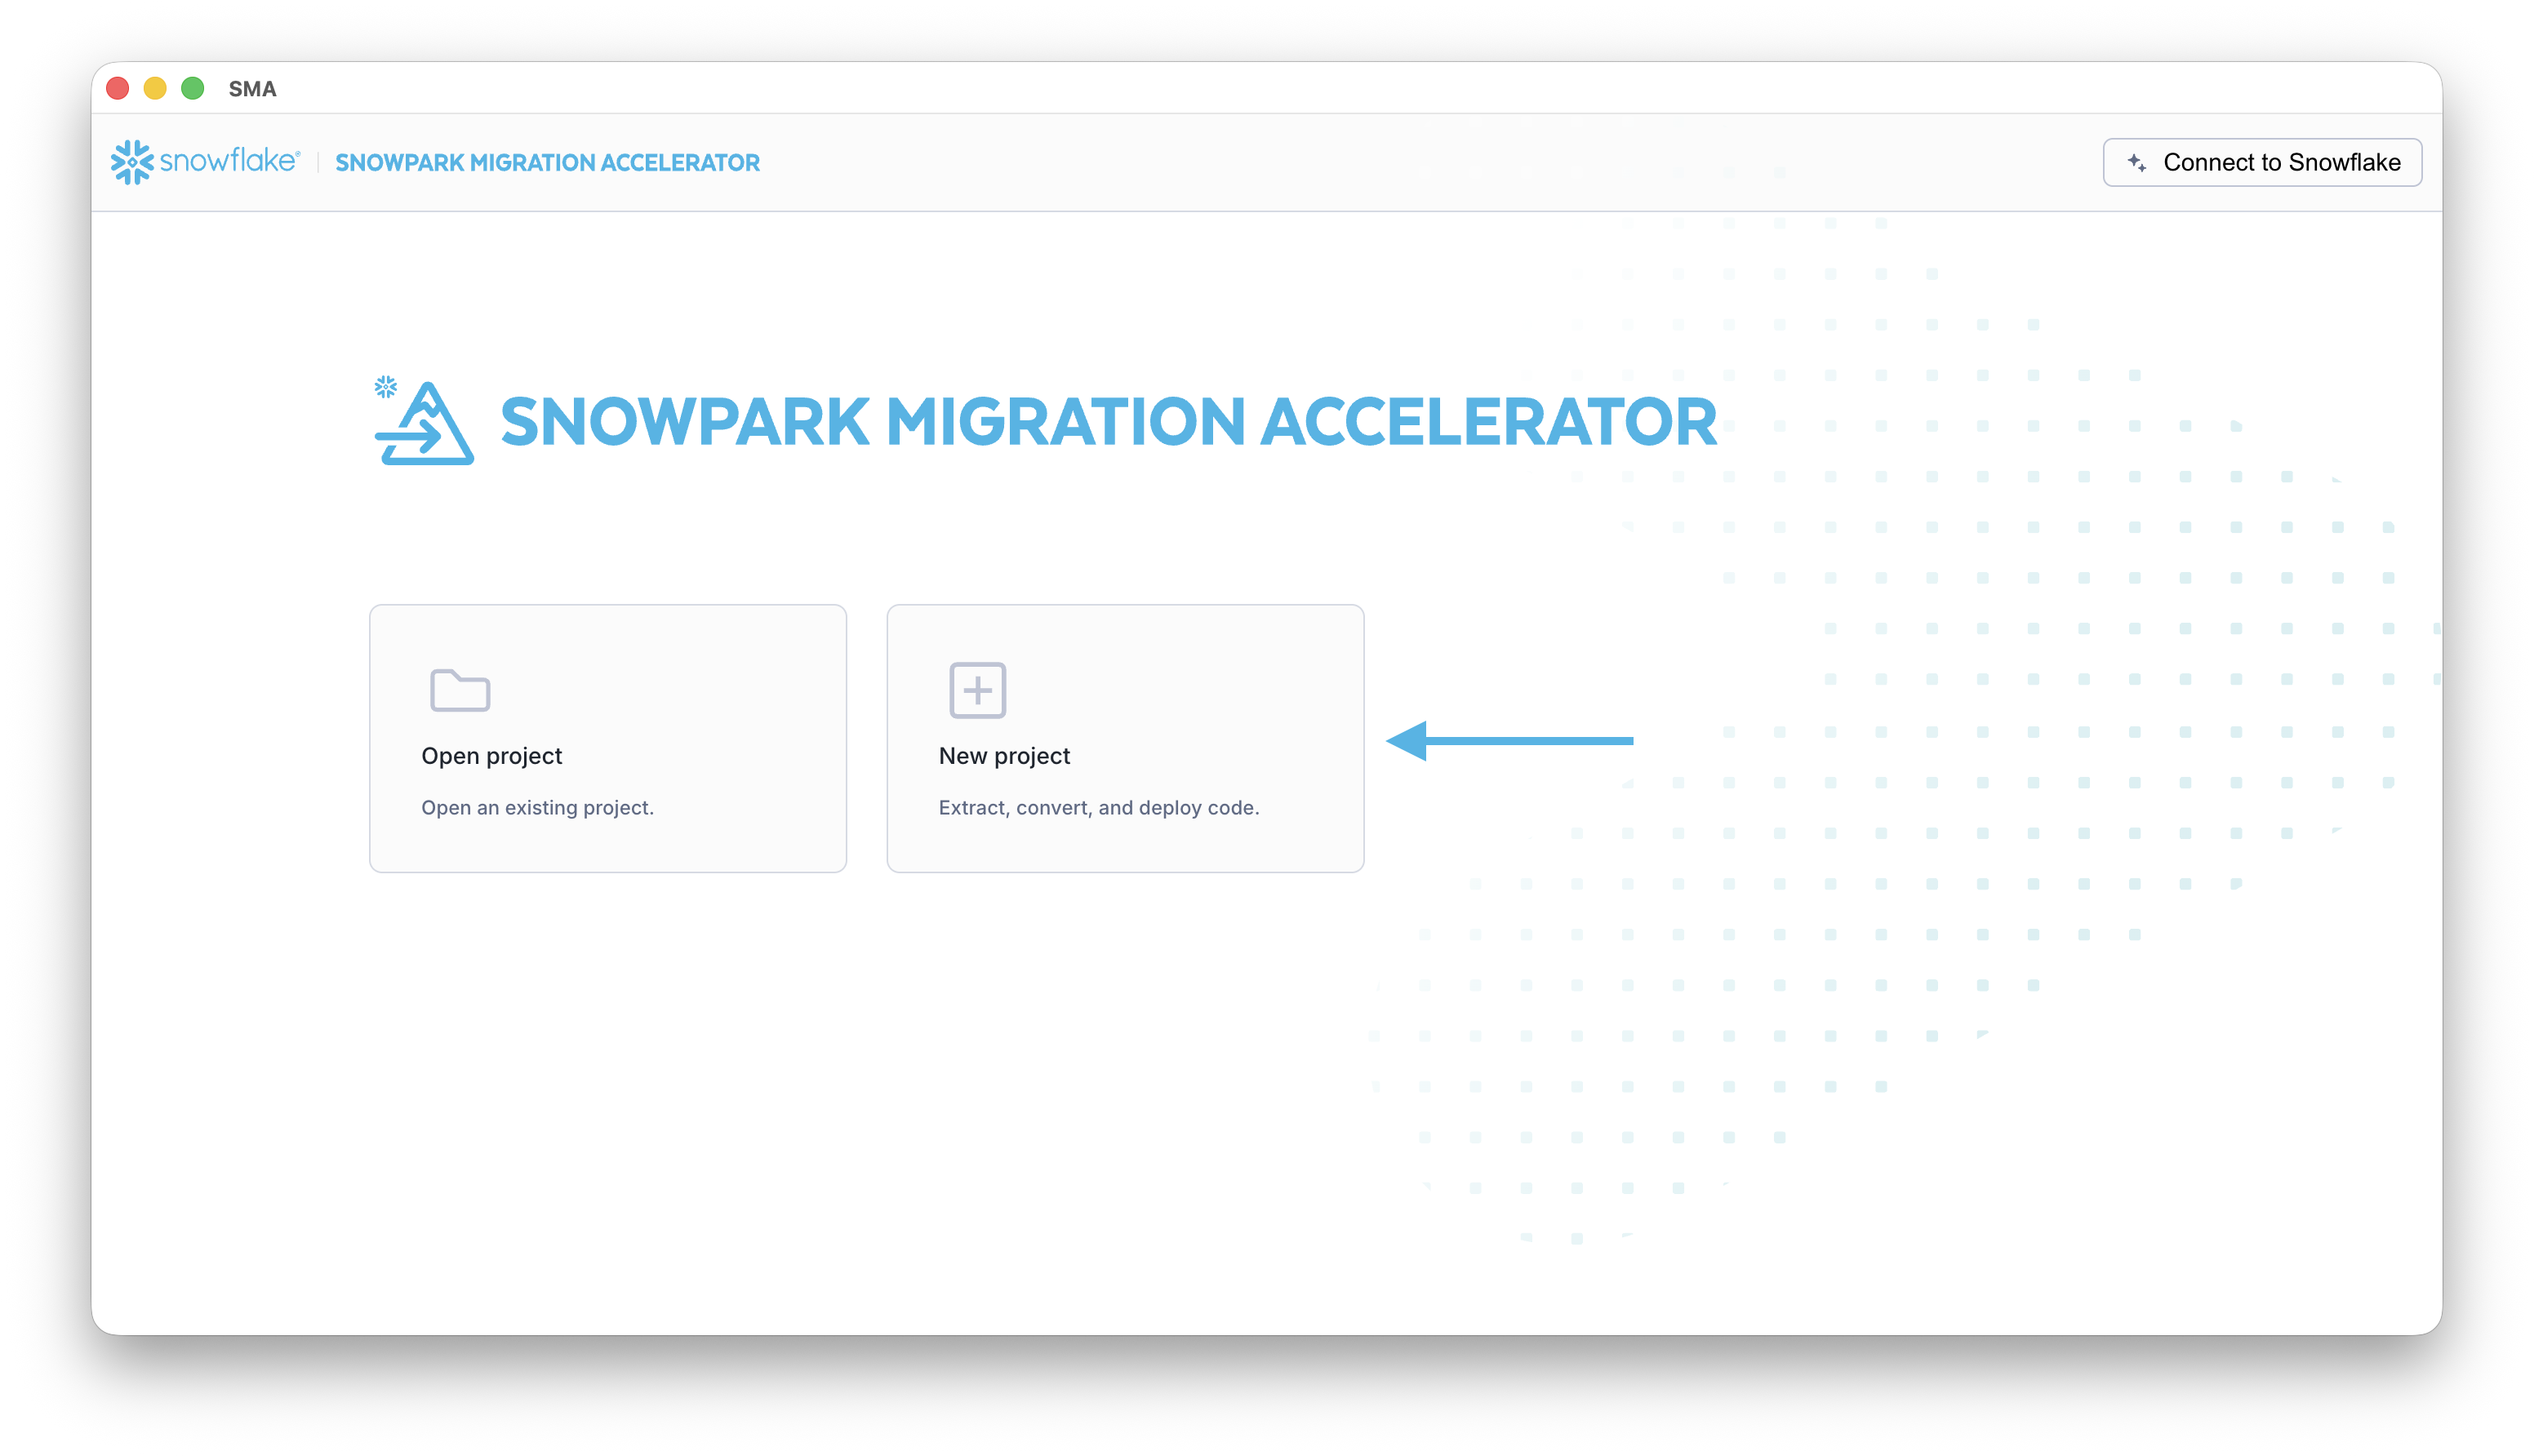
To begin assessing your code, create a new project in the Snowpark Migration Accelerator (SMA) tool.
- Begin by selecting the New Project button.
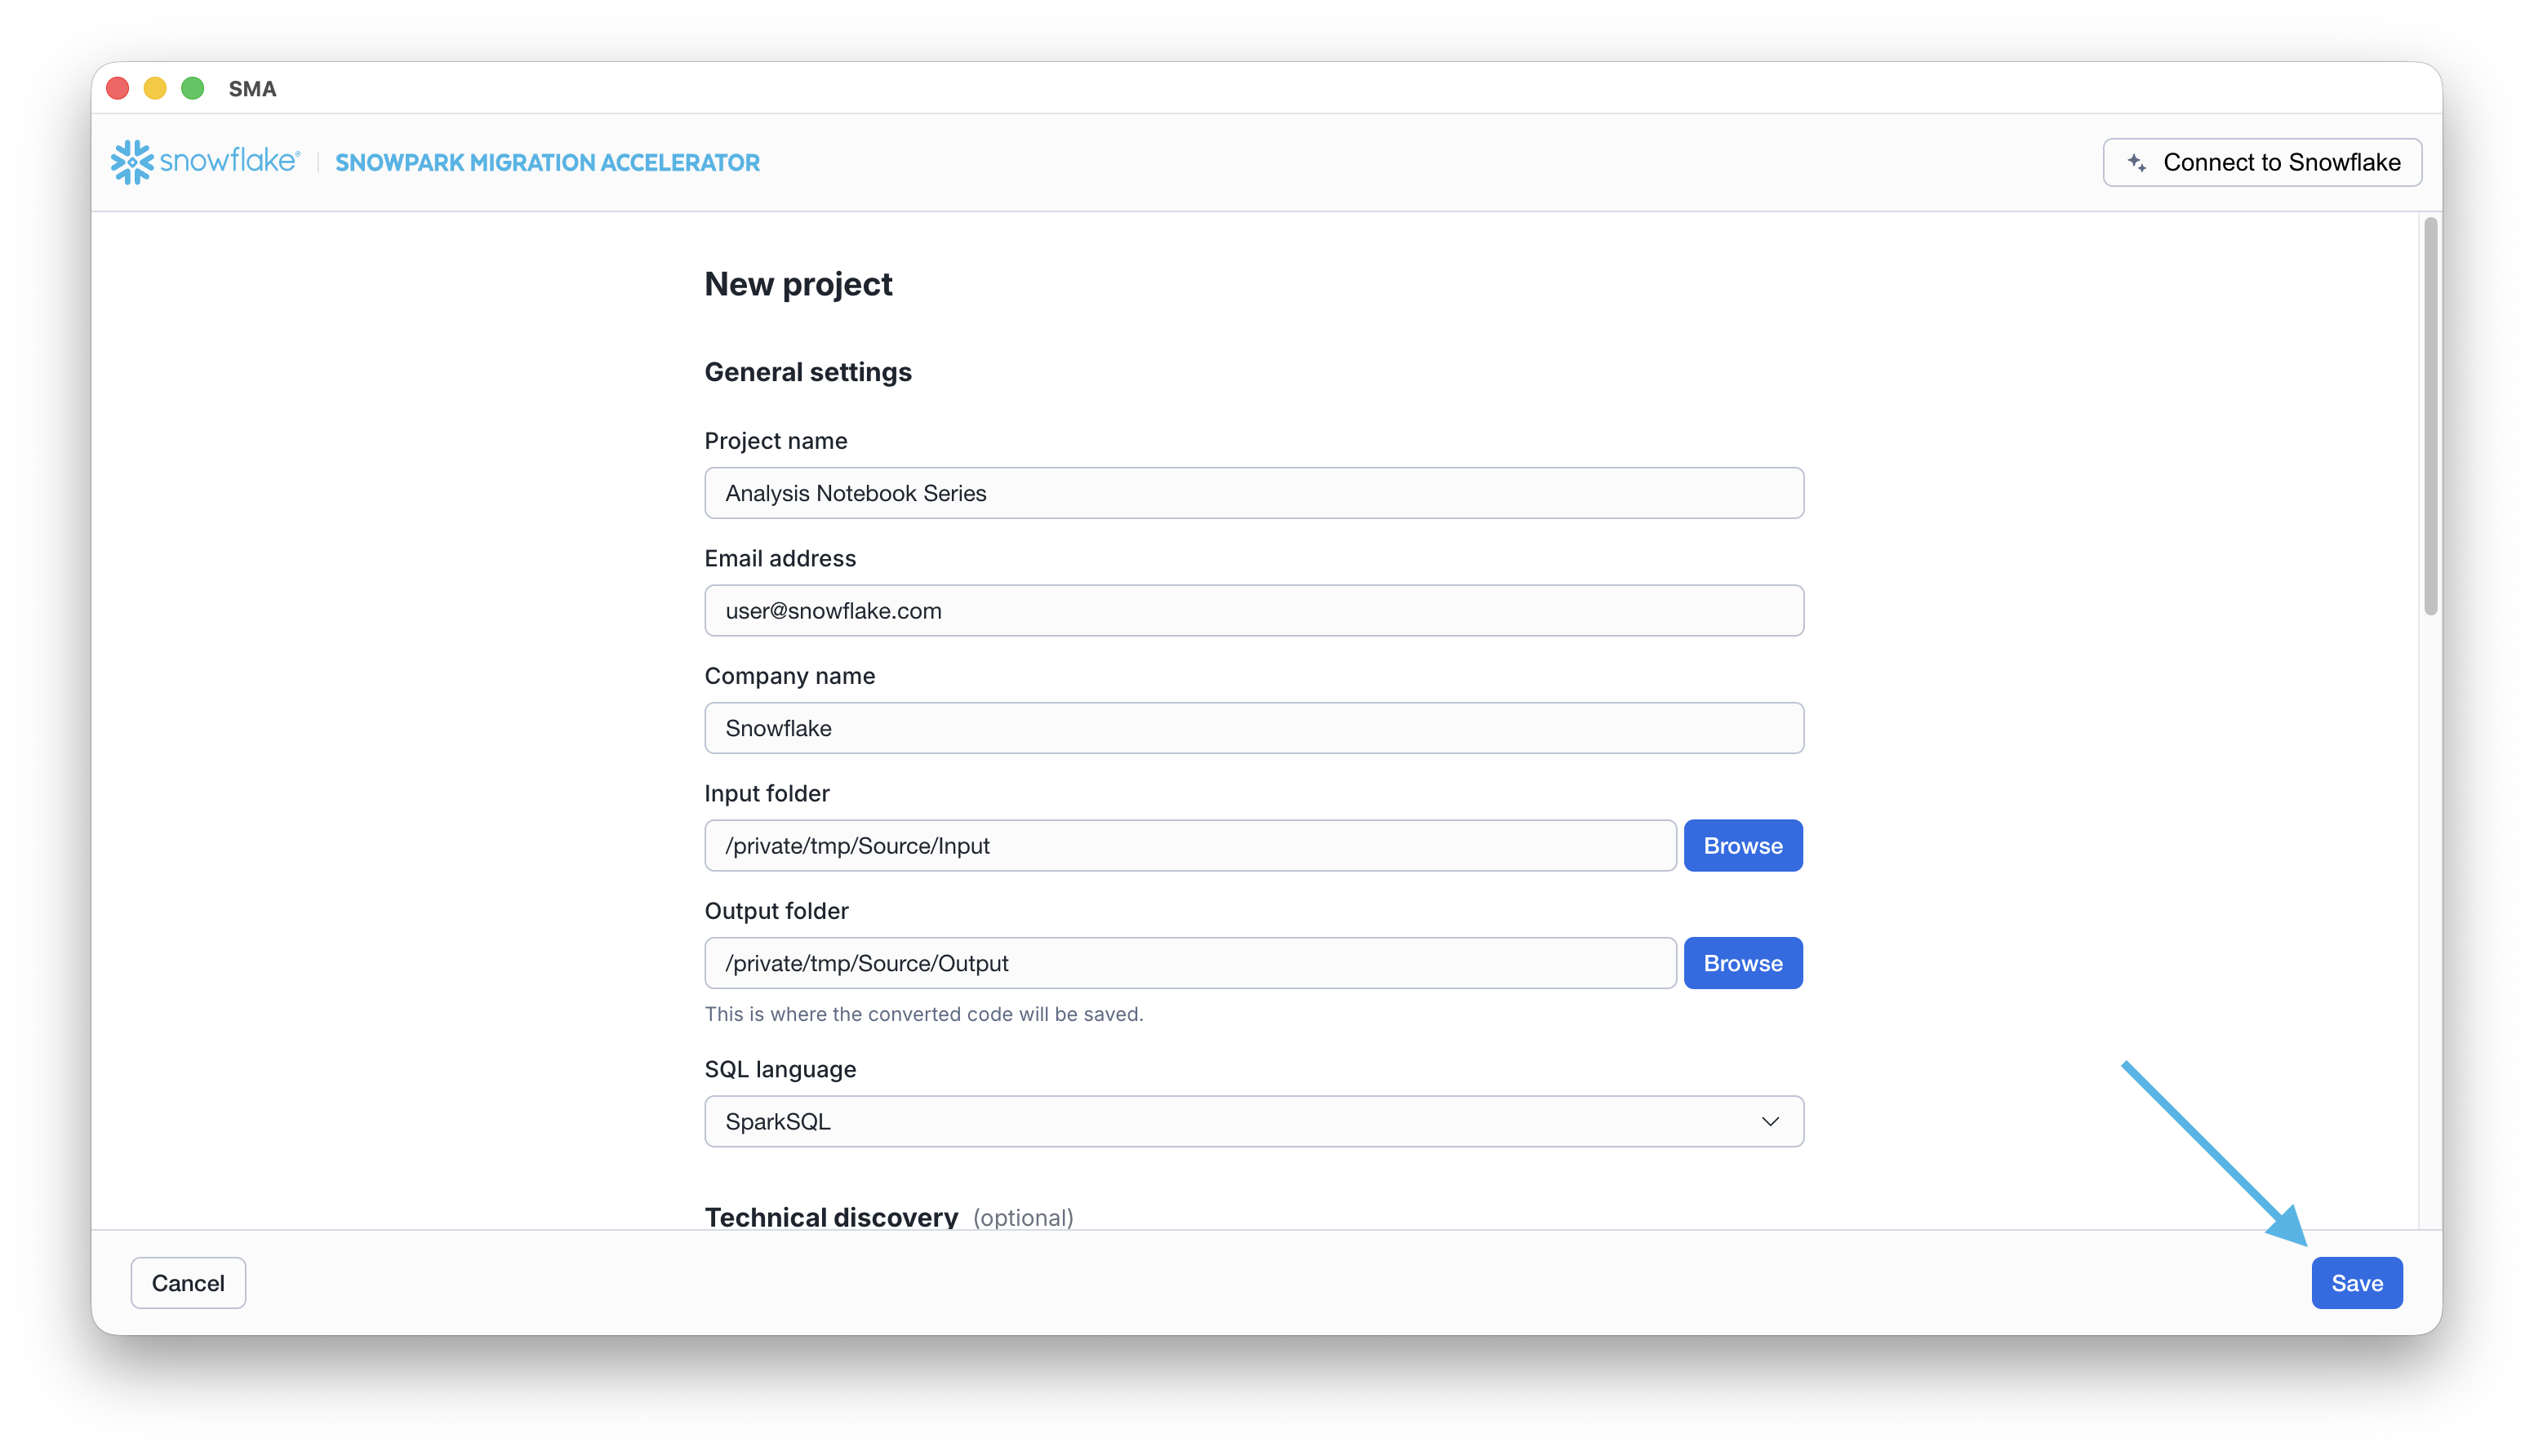
Complete the required fields in the New Project dialog, including project name, email address, company name, input folder, and output folder. Once all required information is provided, click the Save button to create your project.
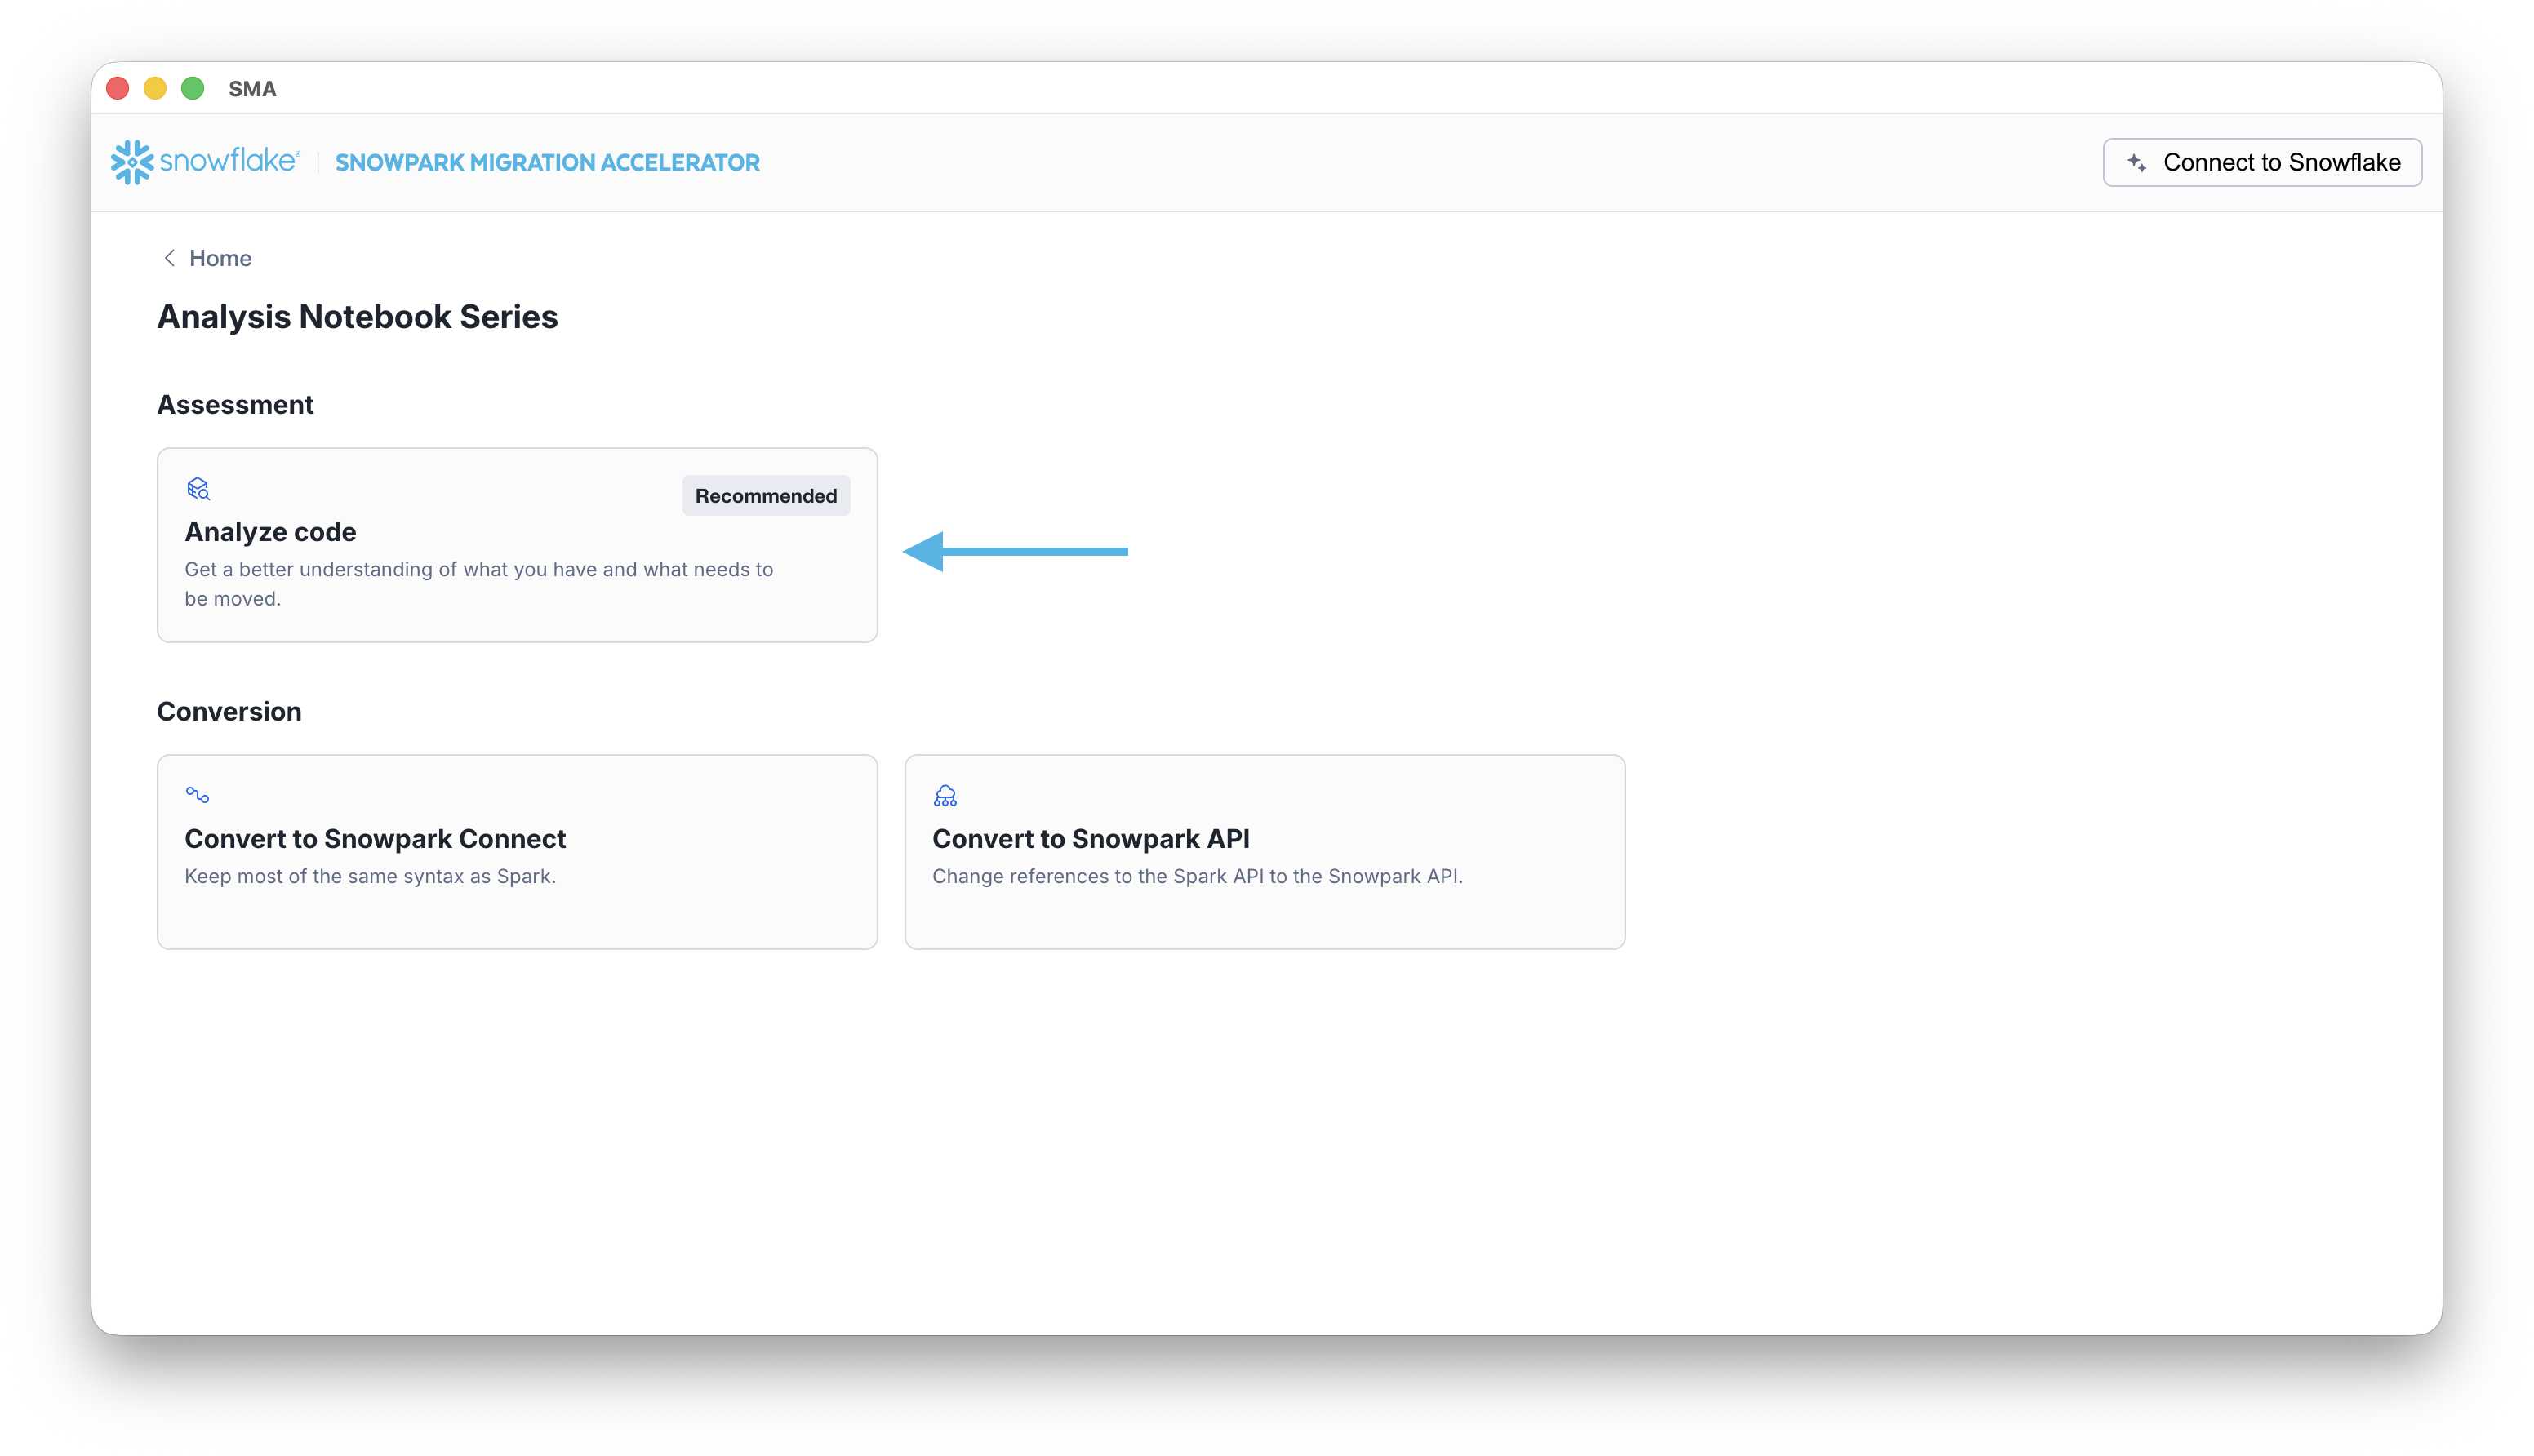
The project home page displays with an Analyze Code card.
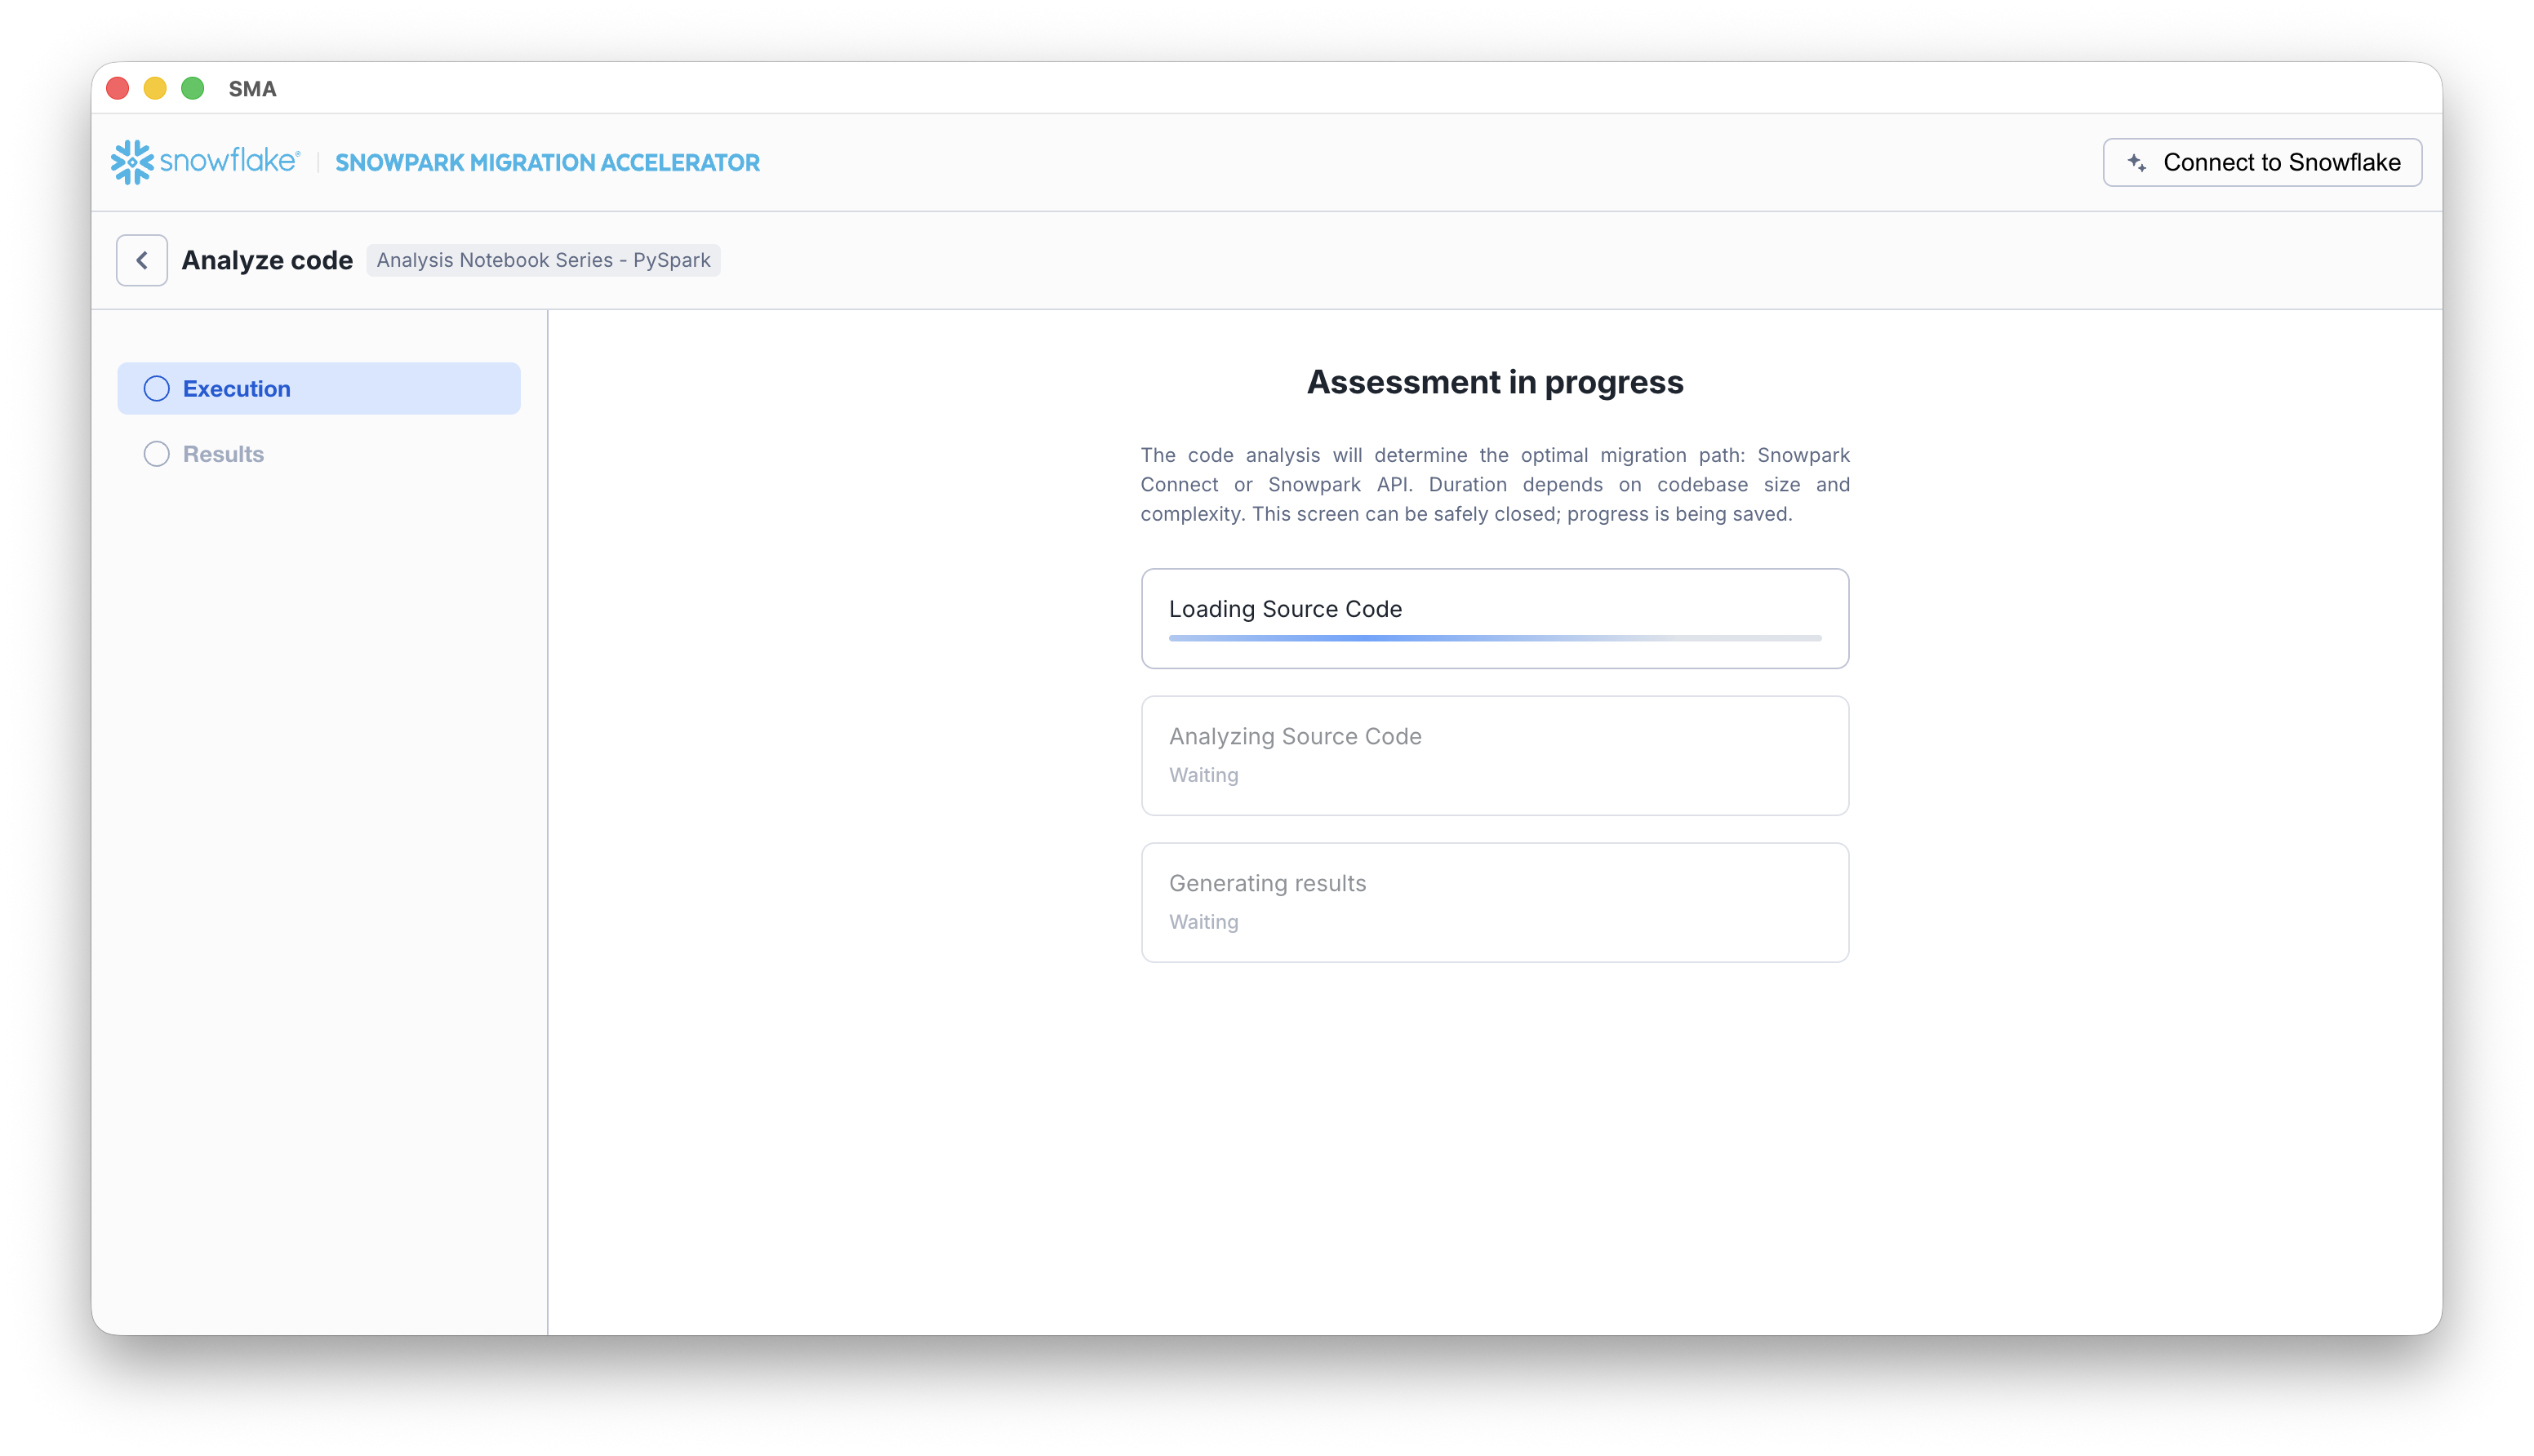
The assessment execution screen displays, showing the progress of three stages: Loading Source Code, Analyzing Source Code, and Generating Results. Processing time varies depending on your project size.
Once the assessment is complete, the results screen will display. This screen provides detailed information to help you understand the best conversion option for your source code and a breakdown of the assessment results.
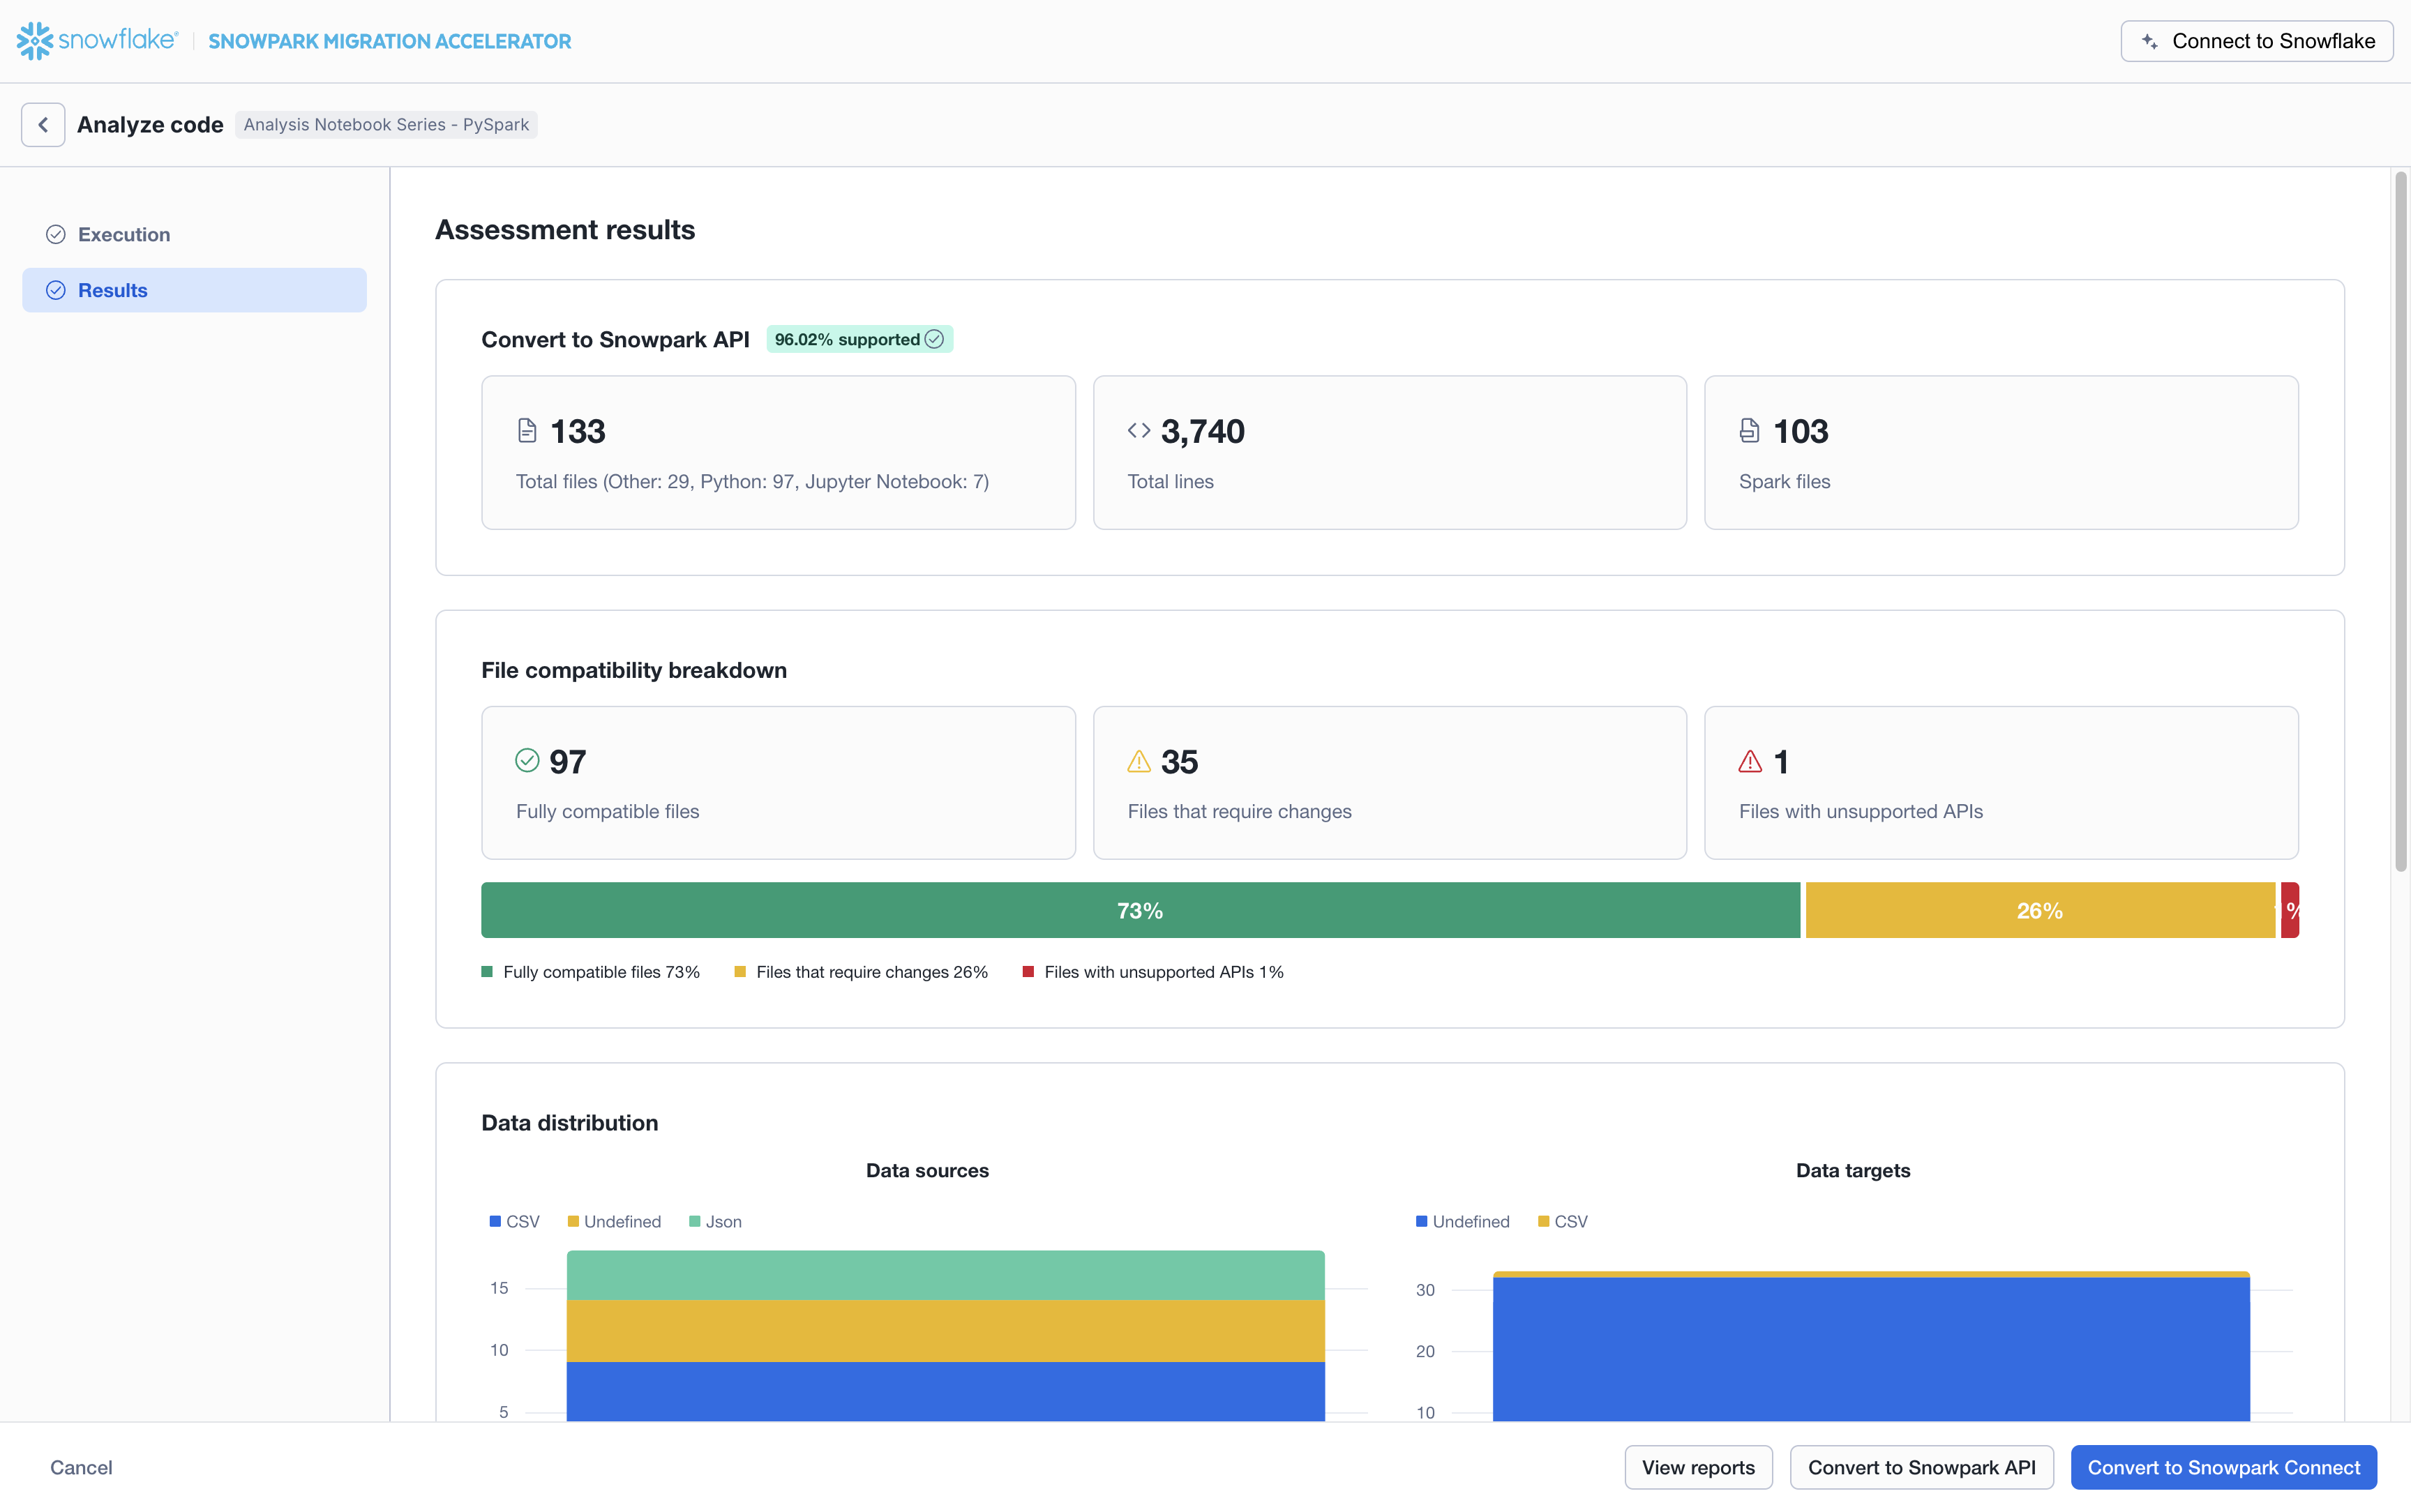
Note that while you can find basic information in the assessment summary page above, the complete output folder contains much more detailed information, including a comprehensive multi-page report.
Next Steps
After the tool completes its analysis, the application displays the assessment results page, showing the best conversion option for your source code. The following tips can help guide you:
- Take Time to Analyze the Assessment Results: The assessment provides valuable insights that can help you create an effective migration strategy. Carefully review the assessment data before starting the conversion process to avoid unnecessary rework and ensure a more efficient migration.
- The assessment results guide you on which conversion option best suits your source code. The footer buttons allow you to proceed to the next step, highlighting the recommended option.

- Primary option - The recommended conversion option for your source code.
- Secondary option - An alternative conversion option for your source code.
- View Reports - Opens the folder containing assessment output reports. These include the detailed assessment report, Spark reference inventory, and other analyses of your source codebase. Each report type is explained in detail in this documentation.