Snowpark Migration Accelerator: laboratório de pipeline – avaliação
As with SnowConvert, we will run code through the SMA, evaluate the result, resolve any issues, and run it on the new platform. However, unlike SnowConvert, the SMA does NOT connect to any source platform, nor does it connect to Snowflake. It is a local application that can be run completely offline. But its power is in its assessment. Most of the heavy lifting on conversion has been done by building compatibility between the Spark API and the Snowpark API.
Extração/Disponibilidade do código
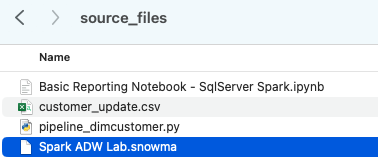
Os arquivos que usaremos para o Laboratório da AdventureWorks estão aqui:
end_to_end_lab_source_code.zip
For the purpose of this lab, we will assume that the notebook and script file that we are converting are already accessible as files. In general, the SMA takes in files as an input and does not connect to any source platform. If the files are being orchestrated by a specific tool, you may need to export them. If you are using notebooks as part of databricks or EMR, you can export those as .ipynb files just as the jupyter notebook we are going to run through the SMA today.
This lab only has a few files, but it’s common in a large migration to have hundreds or thousands of files. Extract what you can and run those files through the SMA. The good thing about using a tool like this is that it can tell you what you might be missing.
Note that there is also a data file as well: ‘customer_update.csv’. This is a sample of the file being generated locally by the Point of Sale (POS) system that Adventure Works is currently using. While that system is also being updated, this Proof of Concept (POC) is focused on making the existing pipeline work with Snowpark instead of Spark.
Let’s take each of these files, and drop them into a single directory on our local machine:
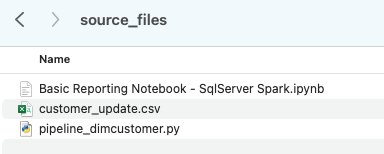
It would be recommended to create a project directory. This can be called whatever you like, but as a suggestion for this lab, let’s go with spark_adw_lab. This means we would create a folder with the name spark_adw_lab, then create another folder in that directory called source_files (the path being something like /your/accessible/directory/spark_adw_lab/source_files). This isn’t required, but will help keep things organized. The SMA will scan any set of subdirectories as well, so you could add specific pipelines in a folder and notebooks in another.
Access
Agora que temos nossos arquivos de origem em um diretório acessível, é hora de executar o SMA.
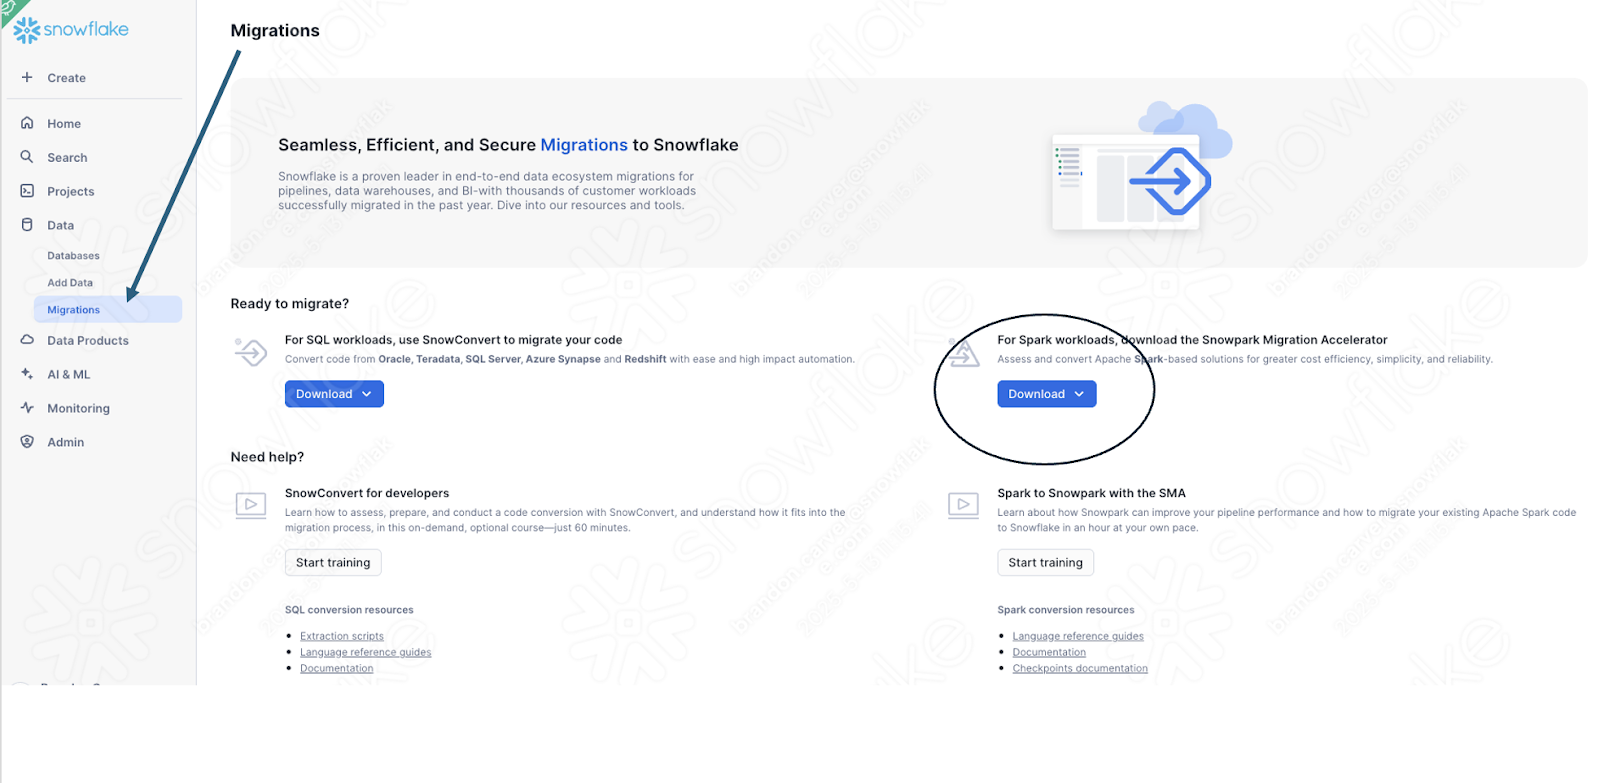
If you have not already downloaded it, the SMA is accessible from the Snowflake website. It is also accessible from the Migrations page in SnowSight in your Snowflake account:
Once you download the tool, install it! There is more information on installing the SMA in the SMA documentation.
Uso do Snowpark Migration Accelerator
Once you have installed the tool, open it! When you launch the SMA, it will look very similar to its partner tool, SnowConvert. Both of these tools are built on a similar concept where you input code files into the tool and it runs. As a reminder, we have seen that SnowConvert can take the DDL and data directly from the source and input it directly into Snowflake. The SMA does not do this. It only takes in code files as a source and outputs those files to something that is compatible with Snowflake. This is primarily because the tool does not know how a user will orchestrate their spark code, but also to make it more secure to use.
Após iniciar a ferramenta, ela perguntará se você deseja criar um novo projeto ou abrir um já existente:

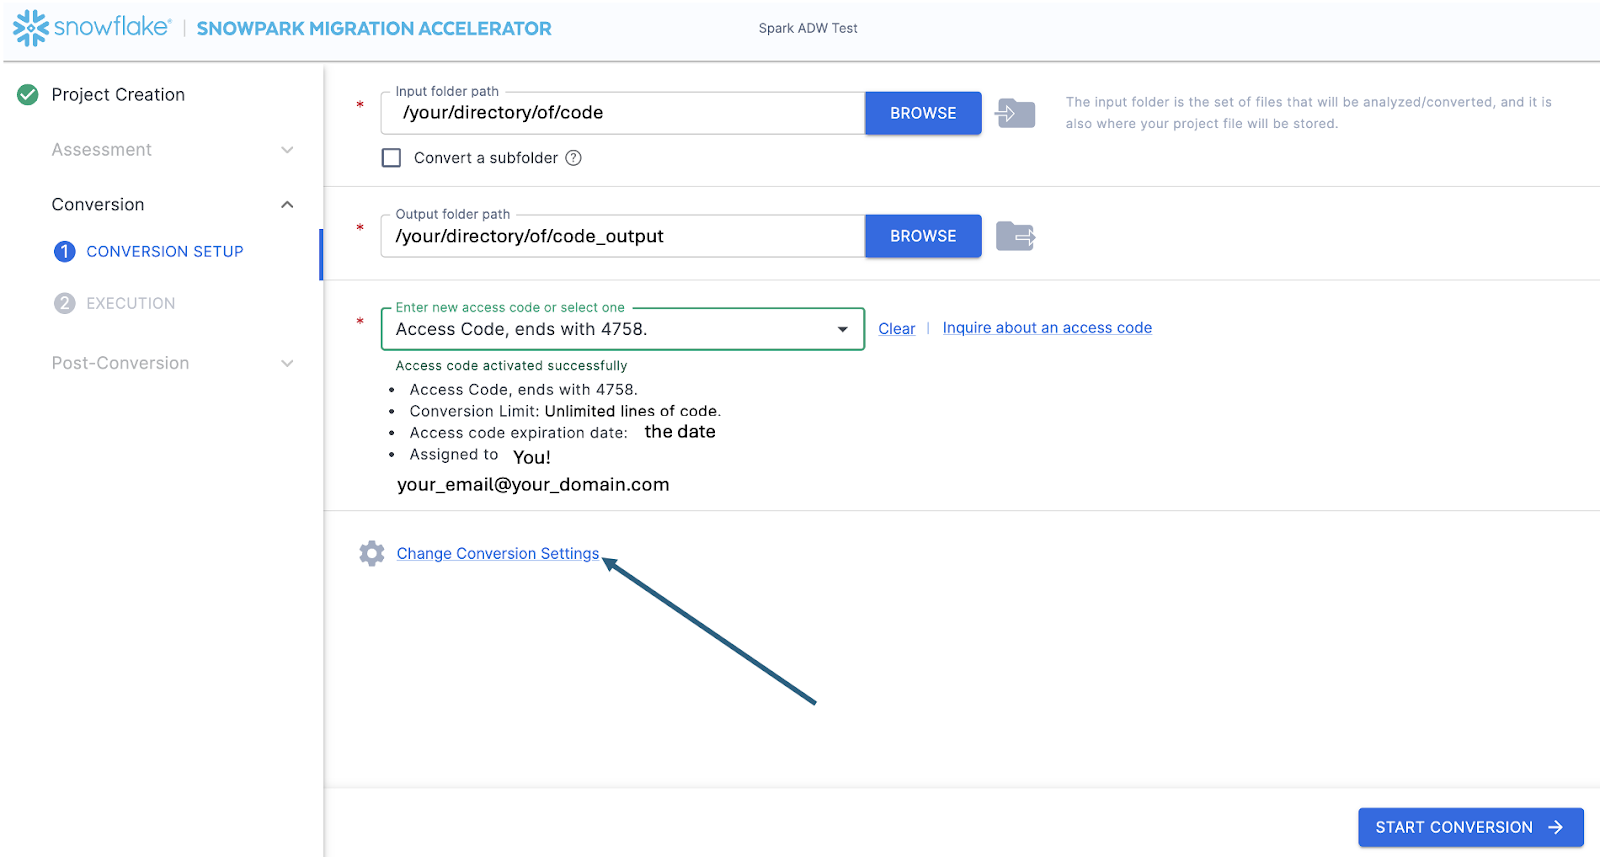
Isso levará você à tela de criação de projeto:
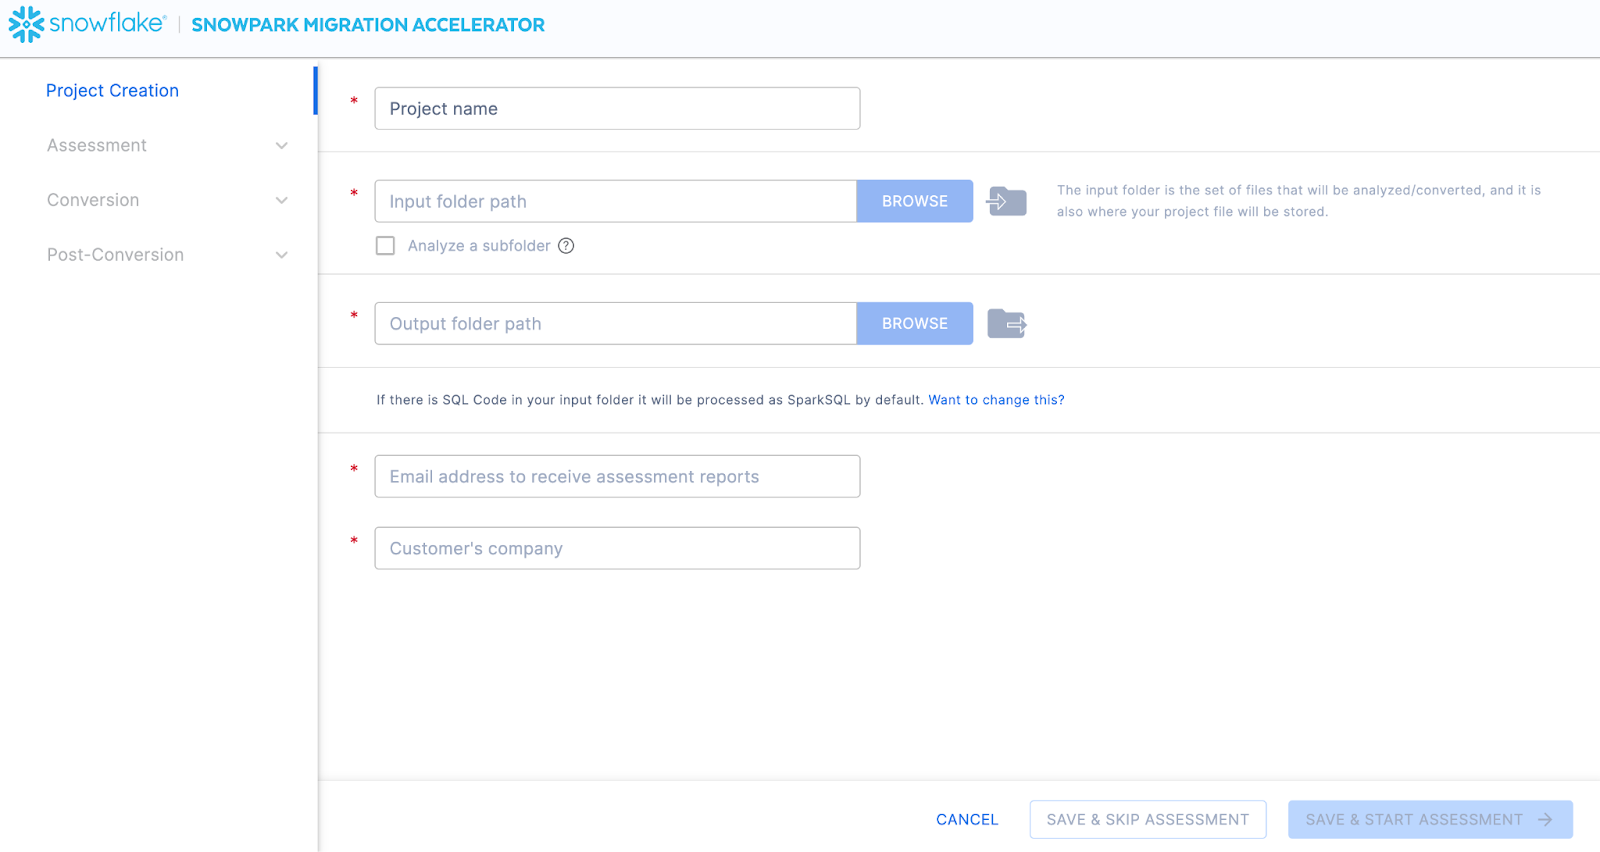
Nesta tela, você vai inserir os detalhes relevantes do seu projeto. Observe que todos os campos são obrigatórios. Para este projeto, você pode inserir algo semelhante a:
Nome do projeto: Spark ADW Lab
Email Address: your.name@your_domain.com
Company name: Your Organization
Input Folder Path: /your/accessible/directory/spark_adw_lab/source_files
Output Folder Path (the SMA will auto generate a directory for the output, but you can modify this): /your/accessible/directory/spark_adw_lab/source_files_output
Algumas observações sobre esta tela de criação de projeto:
Os campos de e-mail e empresa servem para ajudar você a acompanhar projetos que podem estar em andamento. Por exemplo, em qualquer SI grande, pode haver vários endereços de e-mail e várias organizações em nome das quais um único usuário pode executar o SMA. Essas informações são armazenadas no arquivo de projeto criado pelo SMA.
Há um campo oculto para SQL. Observe que o SMA pode analisar/escanear SQL, mas não converte nenhum SQL. Ele também só pode identificar SQL nas seguintes circunstâncias:
SQL que está em arquivos .sql
SQL que está em células SQL em um Jupyter Notebook
SQL that is passed as a single string to a spark.sql statement.
Embora essa capacidade de SQL possa ser útil para determinar onde há SQL incompatível com o Snowflake, esse não é o uso principal do SMA. Mais suporte para o Spark SQL e o HiveQL estará disponível em breve.
Once you’ve entered all of your project information, for this HoL, we are going to skip the assessment phase. (What… aren’t we building an assessment?) If you do not want to convert any code, running an assessment can be helpful as it will allow you to get the full set of reports generated by the SMA. You can then navigate through those or share them with others in your organization while not creating extra copies of the converted code. However, all of these same assessment reports are also generated during a conversion. So we will skip assessment mode for now and go to conversion.
On the Conversion settings page, select Skip Assessment, and then click Continue in the bottom right corner.
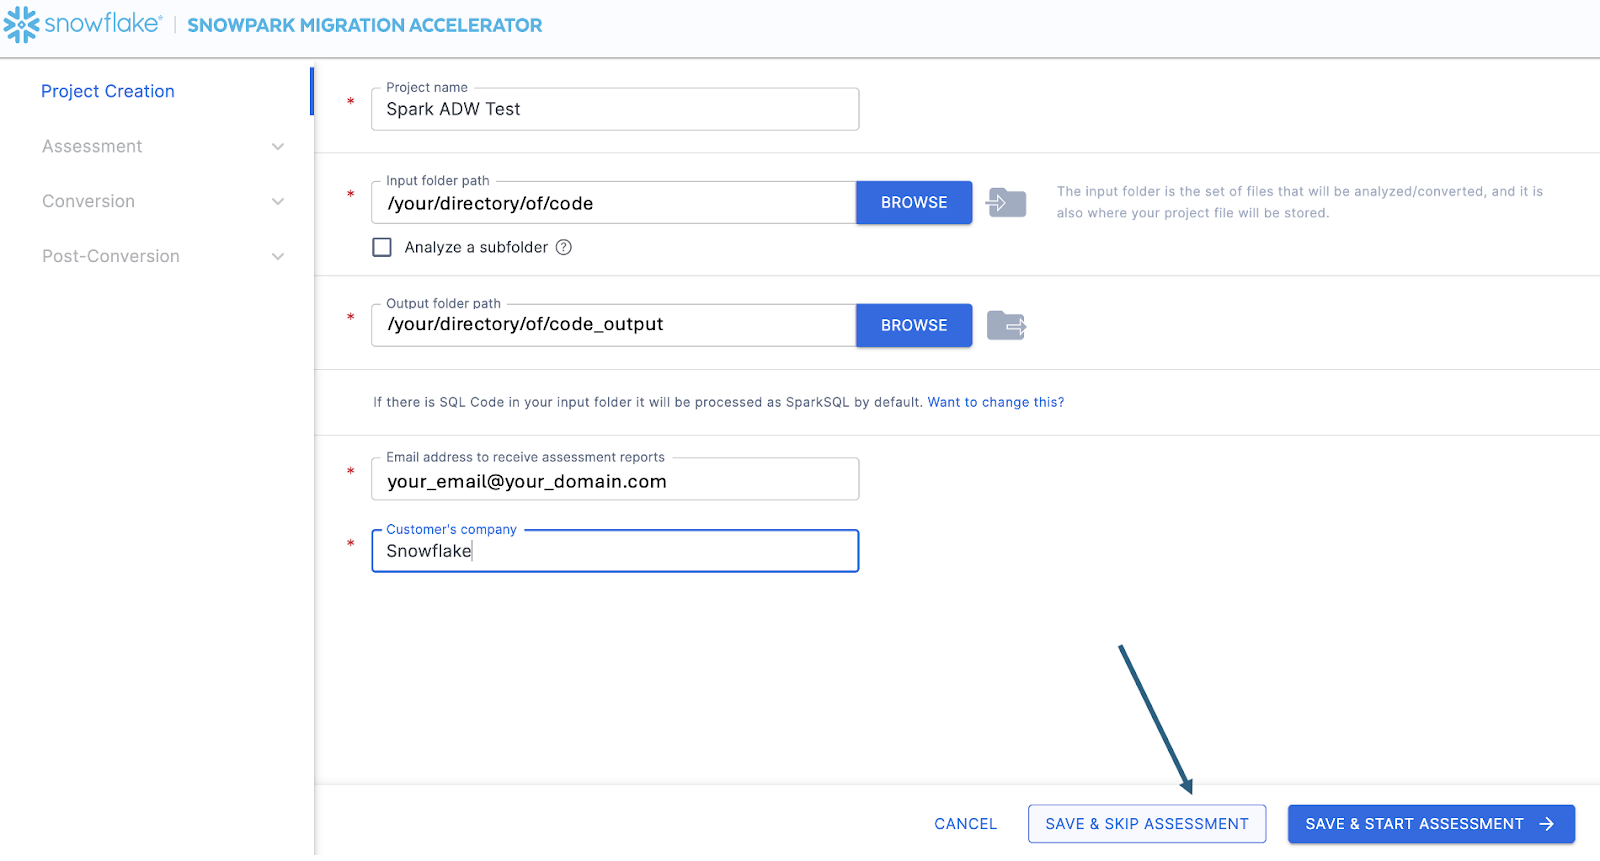
Observe que o que você está “salvando” é um arquivo de projeto local. Todas as informações que você inseriu na tela de criação do projeto serão salvas neste arquivo de texto local com a extensão “.snowma” no diretório que você acabou de especificar acima.
This will take you to the Conversion settings page. From here, you can choose Default Settings to proceed with conversion, or select Customize settings to review and adjust advanced options.
Há uma configuração que simplificará a saída deste laboratório prático, que consiste em desativar a tentativa de conversão de dataframes do pandas para a API do Snowpark:
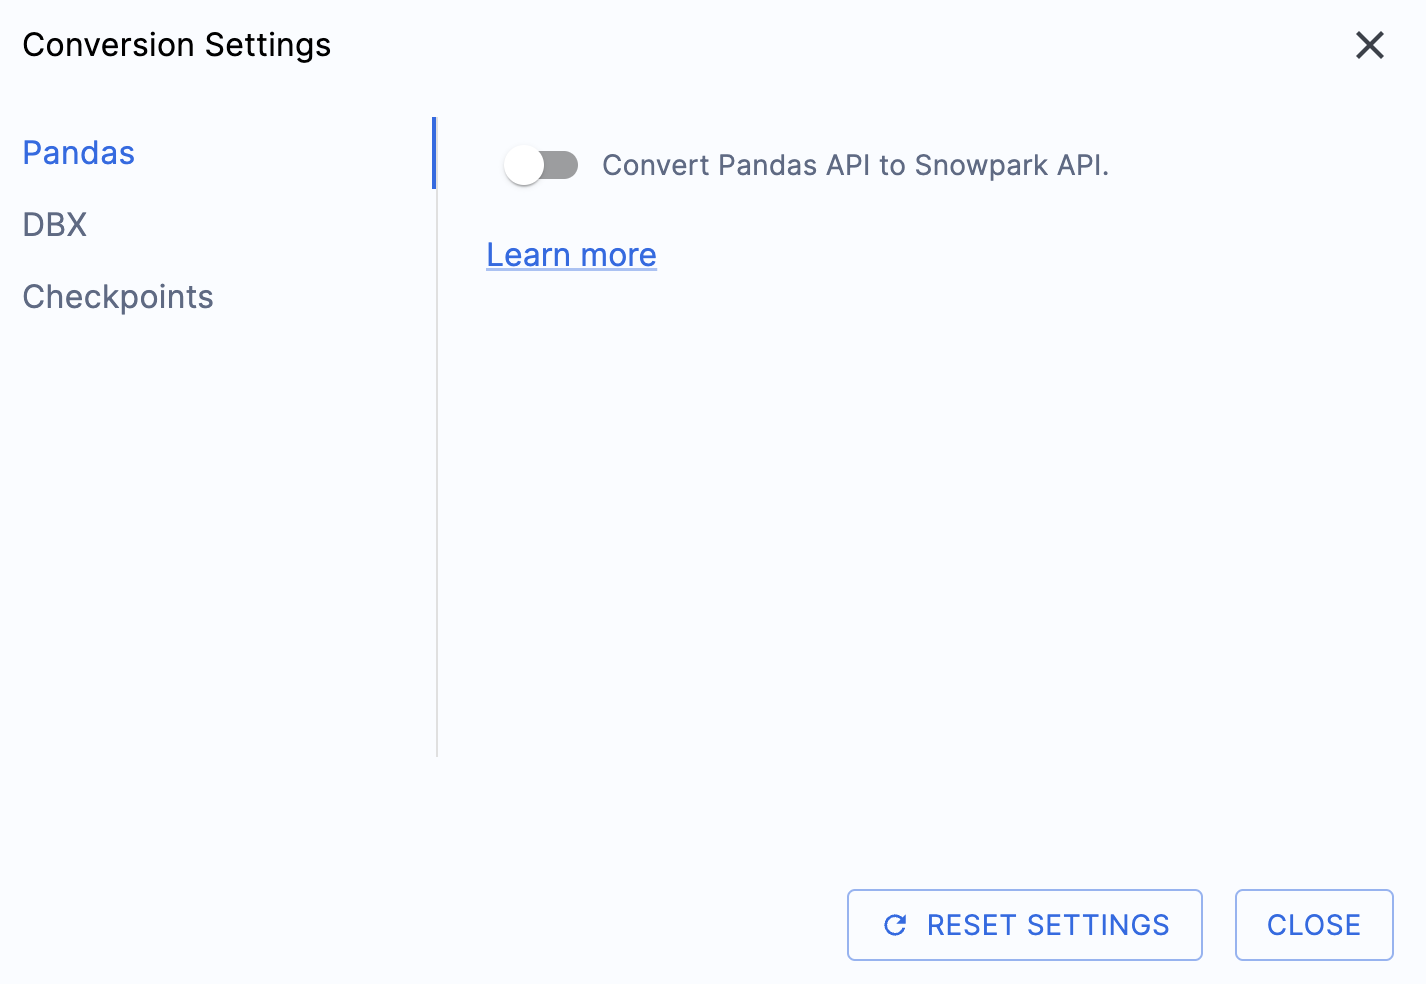
Essa configuração está sendo atualizada; portanto, muitos avisos adicionais serão exibidos se essa opção não for desmarcada. A maior parte do dataframe do pandas pode ser utilizada como parte da implementação modin do pandas, então uma simples alteração na chamada de importação deve ser suficiente por enquanto. Procure uma questão sobre esse problema até o fim de junho de 2025. Você pode examinar as outras configurações, mas vamos deixá-las como estão. É importante observar que existe uma biblioteca de testes com a qual o código de saída é compatível, chamada Snowpark Checkpoints. Existem configurações relacionadas a isso, mas não vamos alterá-las neste laboratório.
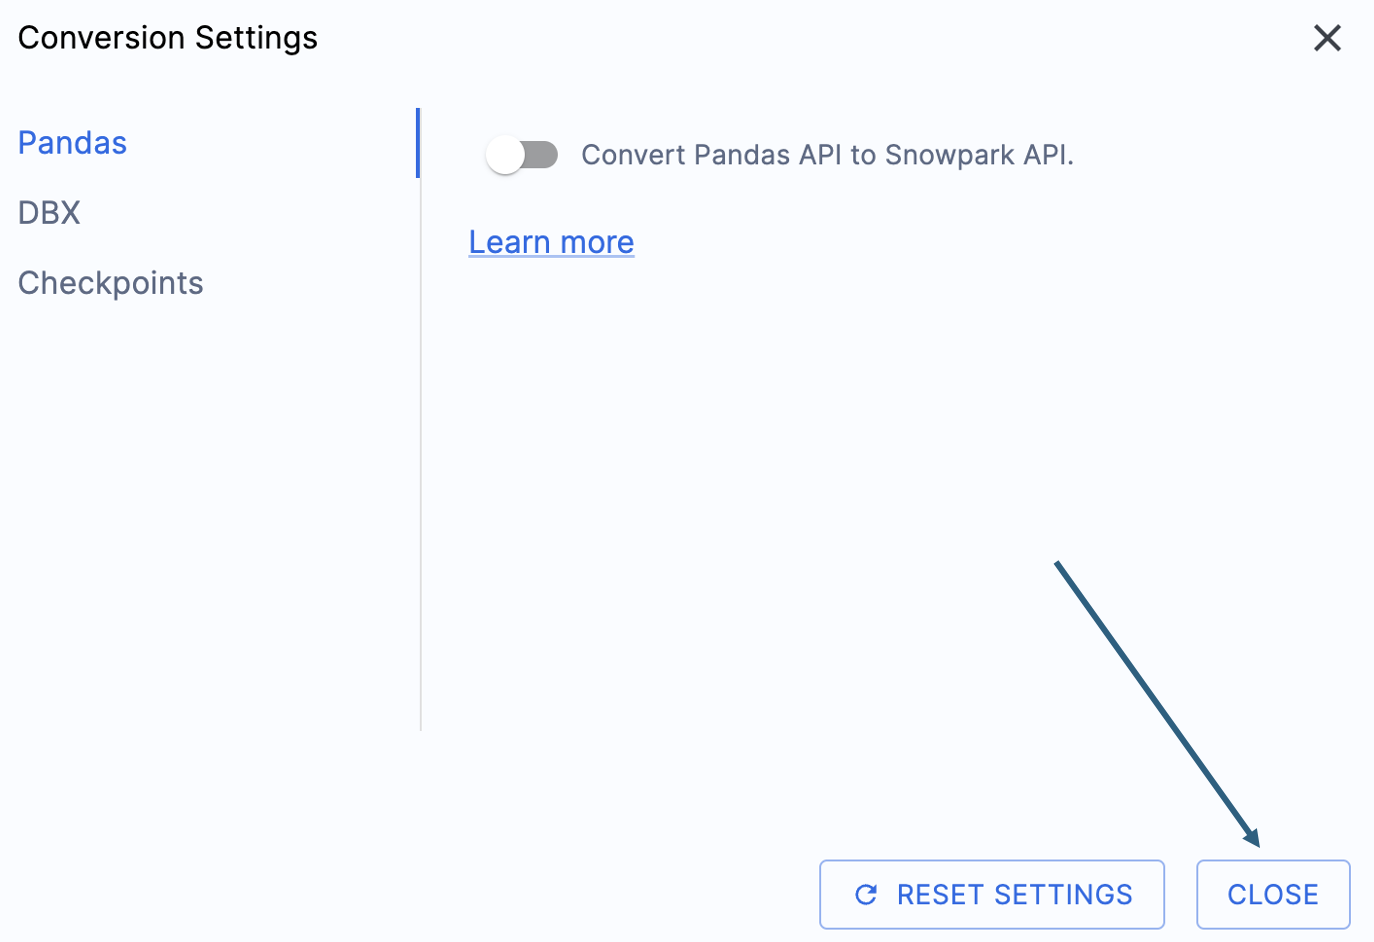
Select «Save settings» to save and close your settings.
To start the conversion, click Continue in the bottom right corner of the application.
The next screen will show the progress of the conversion:
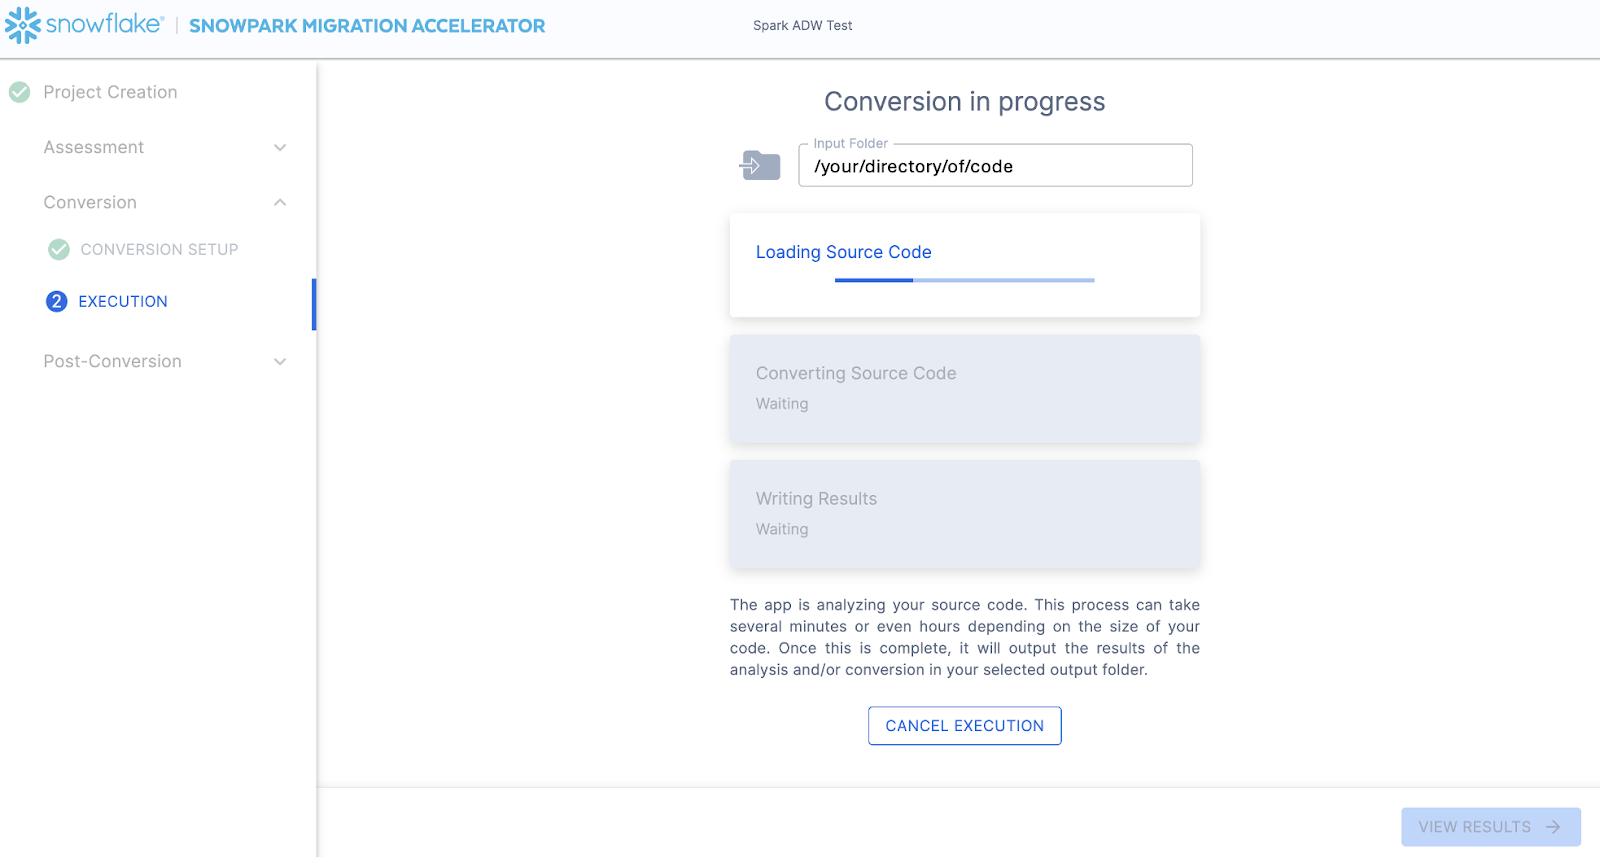
Like SnowConvert, the SMA is building a semantic model of the entire codebase in the input directory. It is building relationships between code elements, sql objects, and other referenced artifacts, and creating the closest output it can to a functional equivalent for Snowflake. This primarily means converting references from the Spark API to the Snowpark API. The SMA’s engineering team is a part of the Snowpark engineering team, so most transformations that take place have been built into the Snowpark API, so the changes may seem minor. But the wealth of assessment information that is generated by the SMA allows a migration project to really get moving forward. An in-depth look at all of the generated assessment information will have to take place elsewhere because the SMA has likely finished this conversion in the time it took to read this paragraph.
When the SMA has finished, the results page will show the… results.
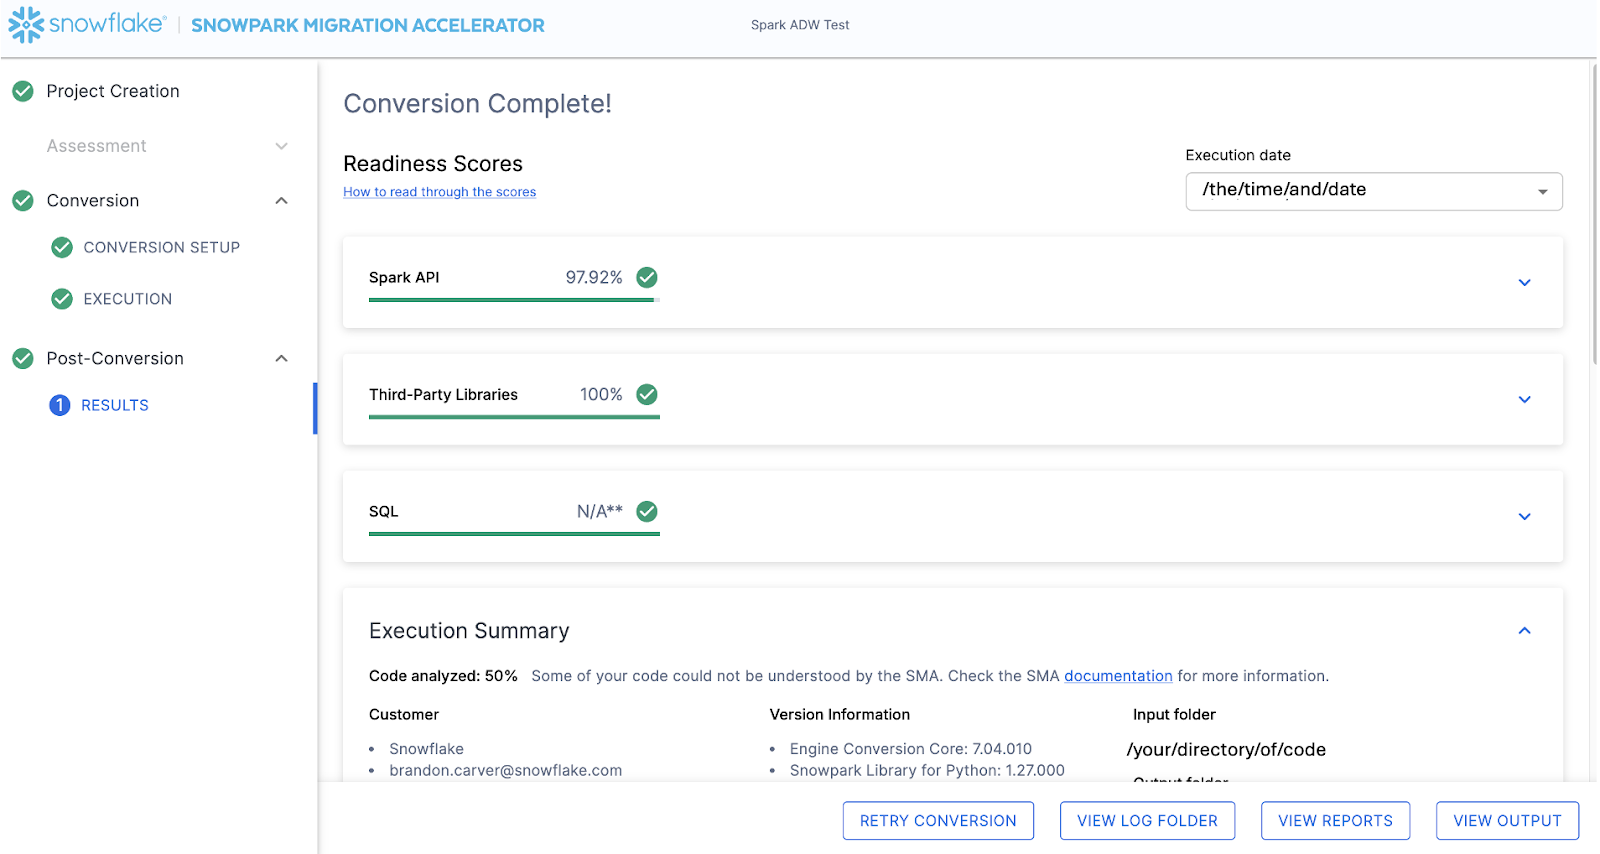
A página de resultados contém algumas “Pontuações de preparação”, que são métricas muito simplificadas sobre o grau de “preparação” deste código-fonte para o Snowflake. Analisaremos os resultados a seguir, mas observe que executar o Snowpark Migration Accelerator é a parte fácil. Observe que este é apenas um “acelerador”. Não é uma solução mágica nem uma ferramenta de automação sem intervenção manual. Os pipelines que se conectam a uma fonte de dados e enviam saída para outra, e que não são totalmente migrados por esta ferramenta, sempre precisarão de mais atenção do que uma migração direta de SQL para SQL do DDL, como é feita pelo SnowConvert. Mas a Snowflake trabalha continuamente para tornar isso o mais simples possível.
Interpretação da saída
The SMA, even more so than SnowConvert, generates a large amount of assessment information. It can be difficult to parse through the results. There are many different directions you could go depending on what you want to achieve.
Note that this is an extremely simple scenario, so some of the steps we are going to take will look like overkill. (I mean, do we really need to analyze the dependencies present in this project when there are only two files and we could just… look?) The goal is to still walk through what we normally recommend even in this small POC. But let’s be clear… that the scope is clear, and there are only two files. We just need both of them to work as they do in the source.
Pontuações de preparação
With that in mind, let’s take a look at the first part of the output that you will see in the application: the readiness scores. There will be multiple readiness scores and you can expand on each one of them to better understand what is captured by that readiness score.
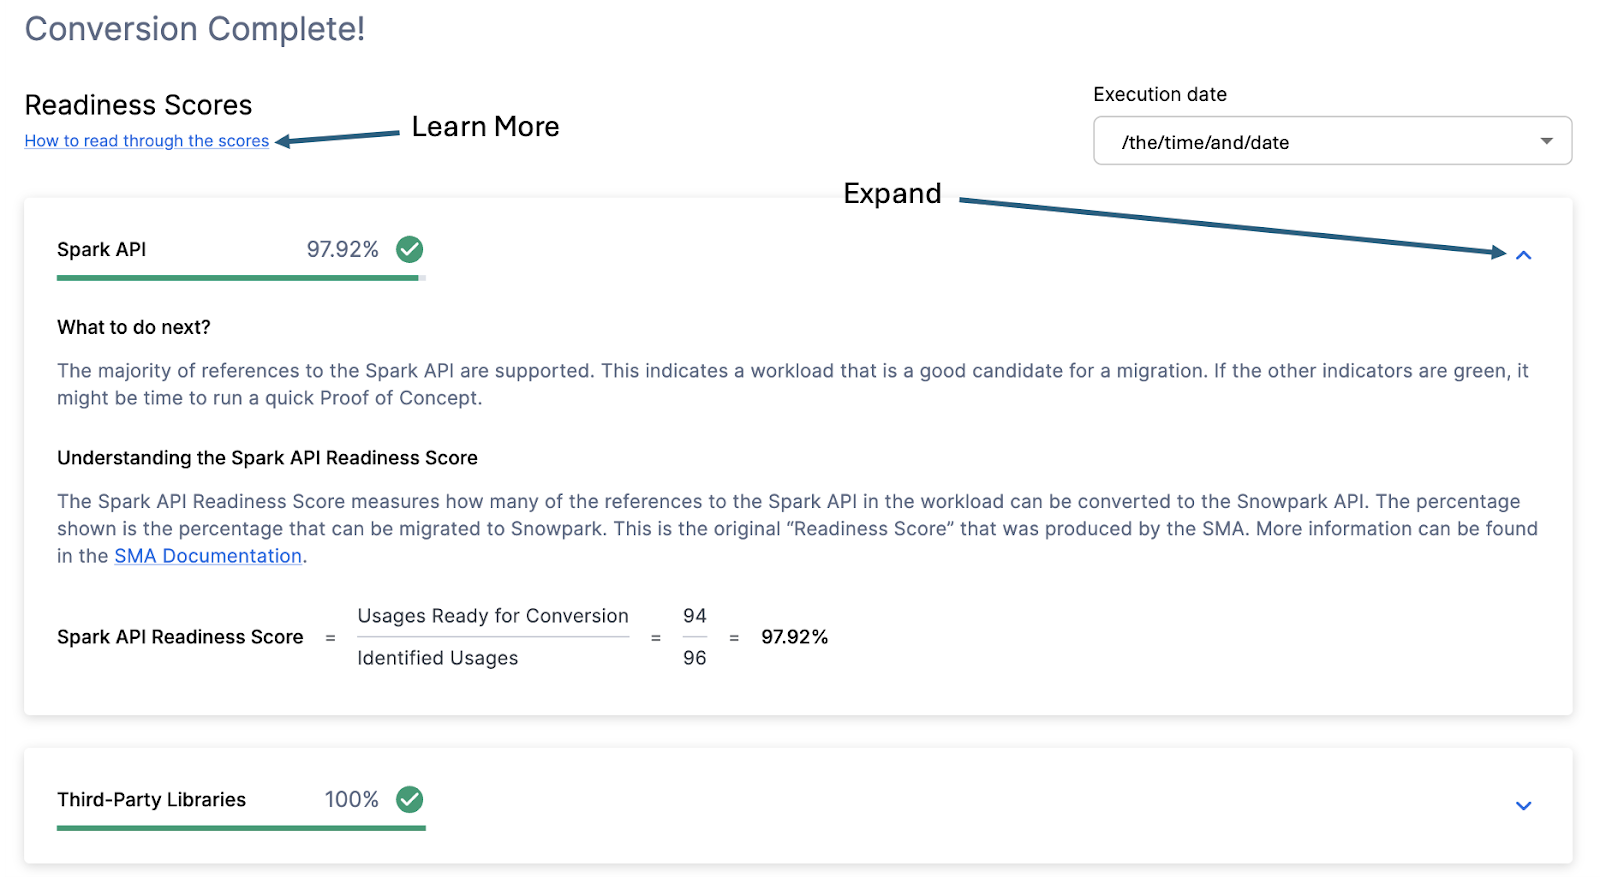
Each readiness score is a very basic calculation of the count of functions or elements in an API that are supported in Snowpark/Snowflake divided by the count of all functions or elements related to that API for this execution. The calculation showing you how the score is calculated is shown when you expand the window. You can also learn more about how to interpret the readiness scores by selecting “How to read through the scores” near the top left corner of this window.
This execution has a Snowpark API Readiness Score of 96.02%. (Please note that yours may be different! These tools are updated on a biweekly basis and there may be a change as compatibility between the two platforms is ever evolving.) This means that 96.02% of the references to the Spark API that the tool identified are supported in Snowflake. “Supported” in this case means that there could be a similar function that already exists or that the SMA has created a functionally equivalent output. The higher this score is, the more likely this code can quickly run in Snowflake.
(Note that this 96.02% of references are either supported directly by the Snowpark API or they are converted by the SMA. Most of them are likely supported directly, but you can find out exactly what was converted and what was passed through by reviewing the SparkUsagesInventory.csv report in the output Reports folder generated by the SMA. We will not walk through that in this lab as we will see what is NOT supported in the Issues.csv file, but you can use this information for reference.)
There are other readiness scores and you may see more than what is shown in the lab as the readiness scores do change over time. This lab won’t walk through each of them, but note that a low score will always be worth investigating.
Código analisado
Logo abaixo de cada pontuação de preparação, haverá um pequeno indicador que informa se houve algum código que não foi possível processar:
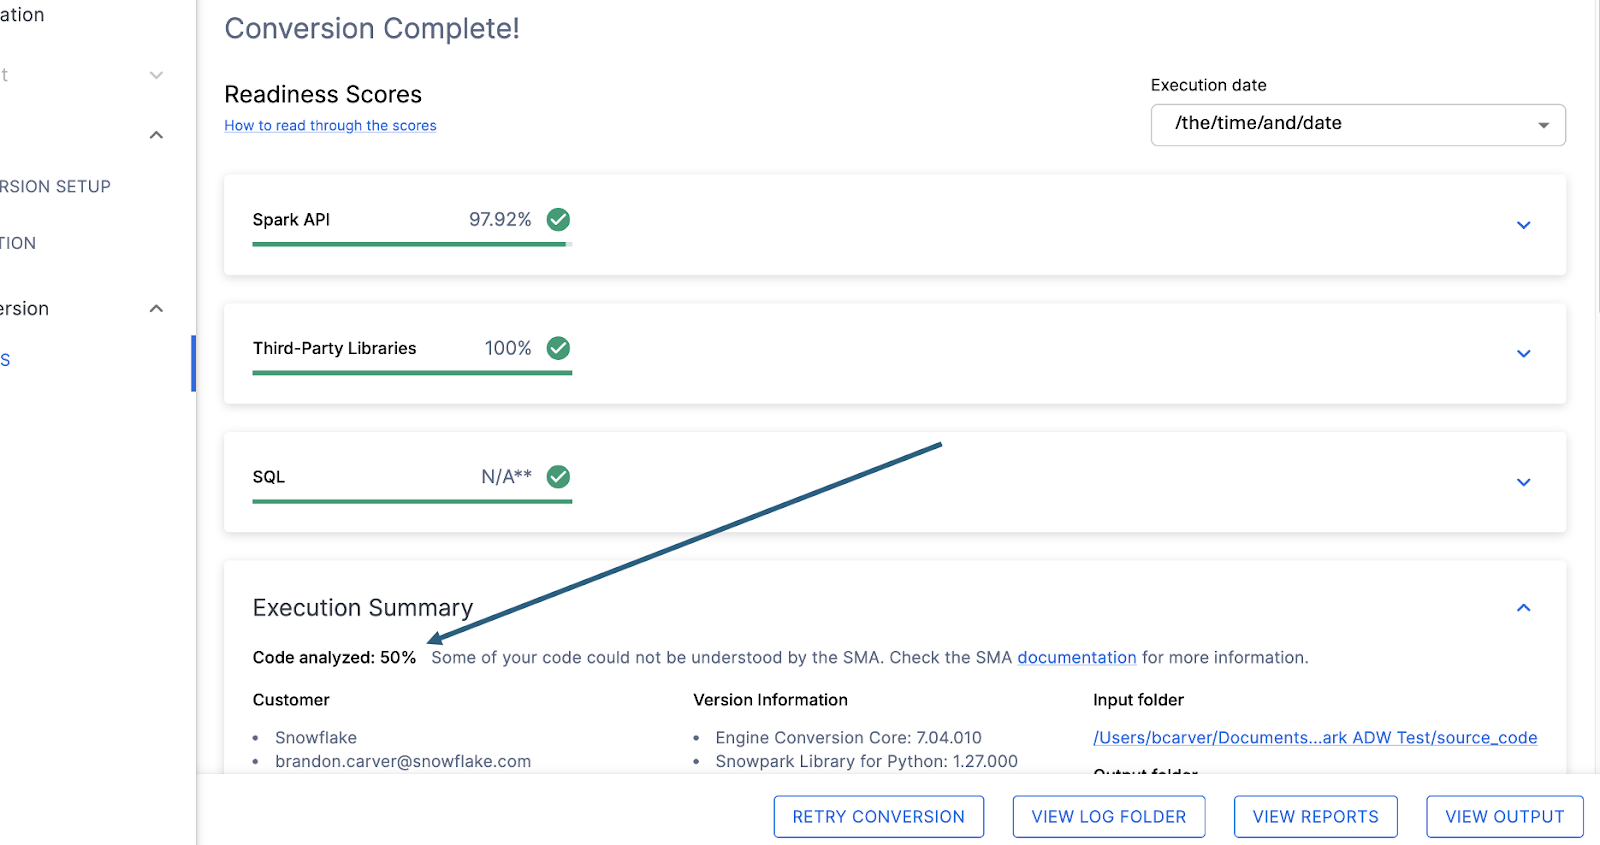
Este número representa a porcentagem de arquivos que foram totalmente analisados. Se esse número for menor que 100%, significa que há algum código que o SMA não conseguiu analisar ou processar. Este é o primeiro lugar onde você deve começar a procurar para resolver problemas. Se o número for menor que 100%, verifique onde ocorreram os erros de análise consultando o resumo do problema. Este é o primeiro lugar que você deve verificar ao analisar a saída do SMA, pois é o único onde pode fazer sentido executar a ferramenta novamente se não foi possível verificar uma grande quantidade de código.