- description:
Getting all of our ducks in a row before they start quacking
Snowpark Migration Accelerator: Pipeline Lab - Assessment
As with SnowConvert, we will run code through the SMA, evaluate the result, resolve any issues, and run it on the new platform. However, unlike SnowConvert, the SMA does NOT connect to any source platform, nor does it connect to Snowflake. It is a local application that can be run completely offline. But its power is in its assessment. Most of the heavy lifting on conversion has been done by building compatibility between the Spark API and the Snowpark API.
Extraction / Code Availability
The files we will use for the AdventureWorks Lab are here:
end_to_end_lab_source_code.zip
For the purpose of this lab, we will assume that the notebook and script file that we are converting are already accessible as files. In general, the SMA takes in files as an input and does not connect to any source platform. If the files are being orchestrated by a specific tool, you may need to export them. If you are using notebooks as part of databricks or EMR, you can export those as .ipynb files just as the jupyter notebook we are going to run through the SMA today.
This lab only has a few files, but it’s common in a large migration to have hundreds or thousands of files. Extract what you can and run those files through the SMA. The good thing about using a tool like this is that it can tell you what you might be missing.
Note that there is also a data file as well: ‘customer_update.csv’. This is a sample of the file being generated locally by the Point of Sale (POS) system that Adventure Works is currently using. While that system is also being updated, this Proof of Concept (POC) is focused on making the existing pipeline work with Snowpark instead of Spark.
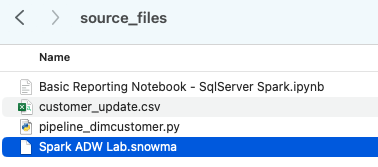
Let’s take each of these files, and drop them into a single directory on our local machine:
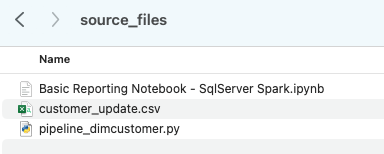
It would be recommended to create a project directory. This can be called whatever you like, but as a suggestion for this lab, let’s go with spark_adw_lab. This means we would create a folder with the name spark_adw_lab, then create another folder in that directory called source_files (the path being something like /your/accessible/directory/spark_adw_lab/source_files). This isn’t required, but will help keep things organized. The SMA will scan any set of subdirectories as well, so you could add specific pipelines in a folder and notebooks in another.
Access
Now that we have our source files in an accessible directory, it is time to run the SMA.
If you have not already downloaded it, the SMA is accessible from the Snowflake website. It is also accessible from the Migrations page in SnowSight in your Snowflake account:

Once you download the tool, install it! There is more information on installing the SMA in the SMA documentation.
Using the Snowpark Migration Accelerator
Once you have installed the tool, open it! When you launch the SMA, it will look very similar to its partner tool, SnowConvert. Both of these tools are built on a similar concept where you input code files into the tool and it runs. As a reminder, we have seen that SnowConvert can take the DDL and data directly from the source and input it directly into Snowflake. The SMA does not do this. It only takes in code files as a source and outputs those files to something that is compatible with Snowflake. This is primarily because the tool does not know how a user will orchestrate their spark code, but also to make it more secure to use.
Once you have launched the tool, It will ask you if you would like to create a new project or open an already existing one:
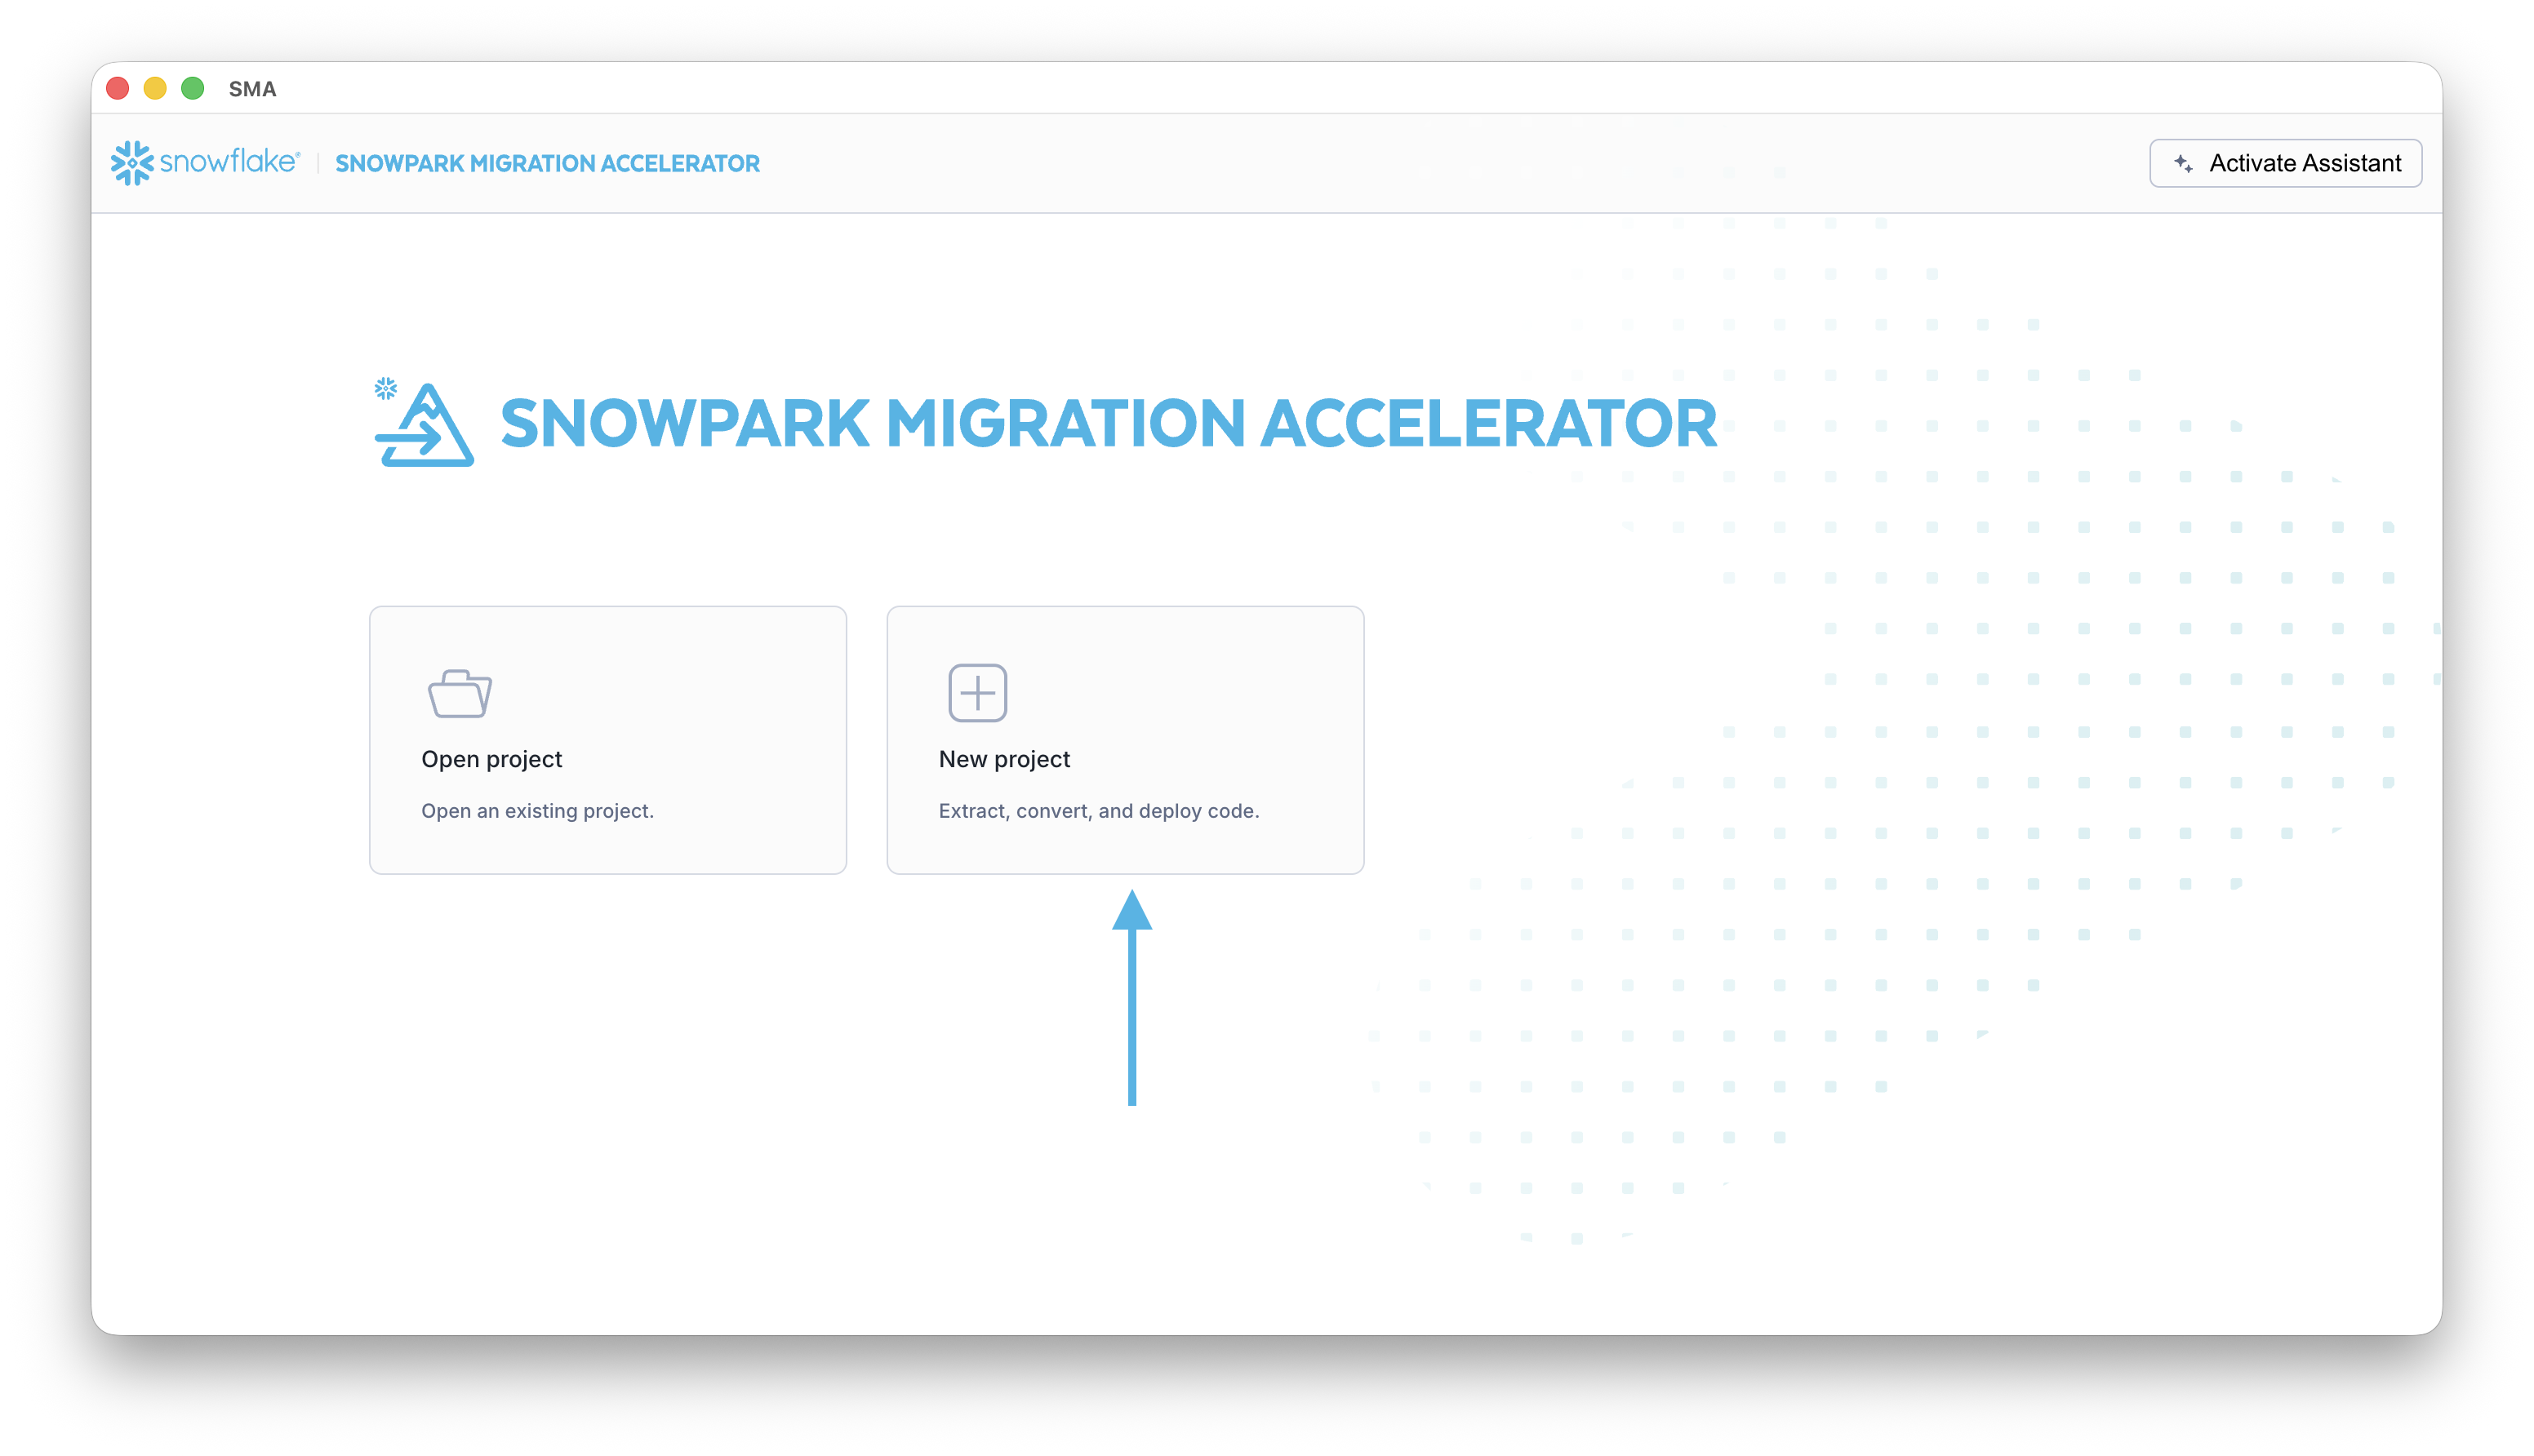
This will take you to the project creation screen:
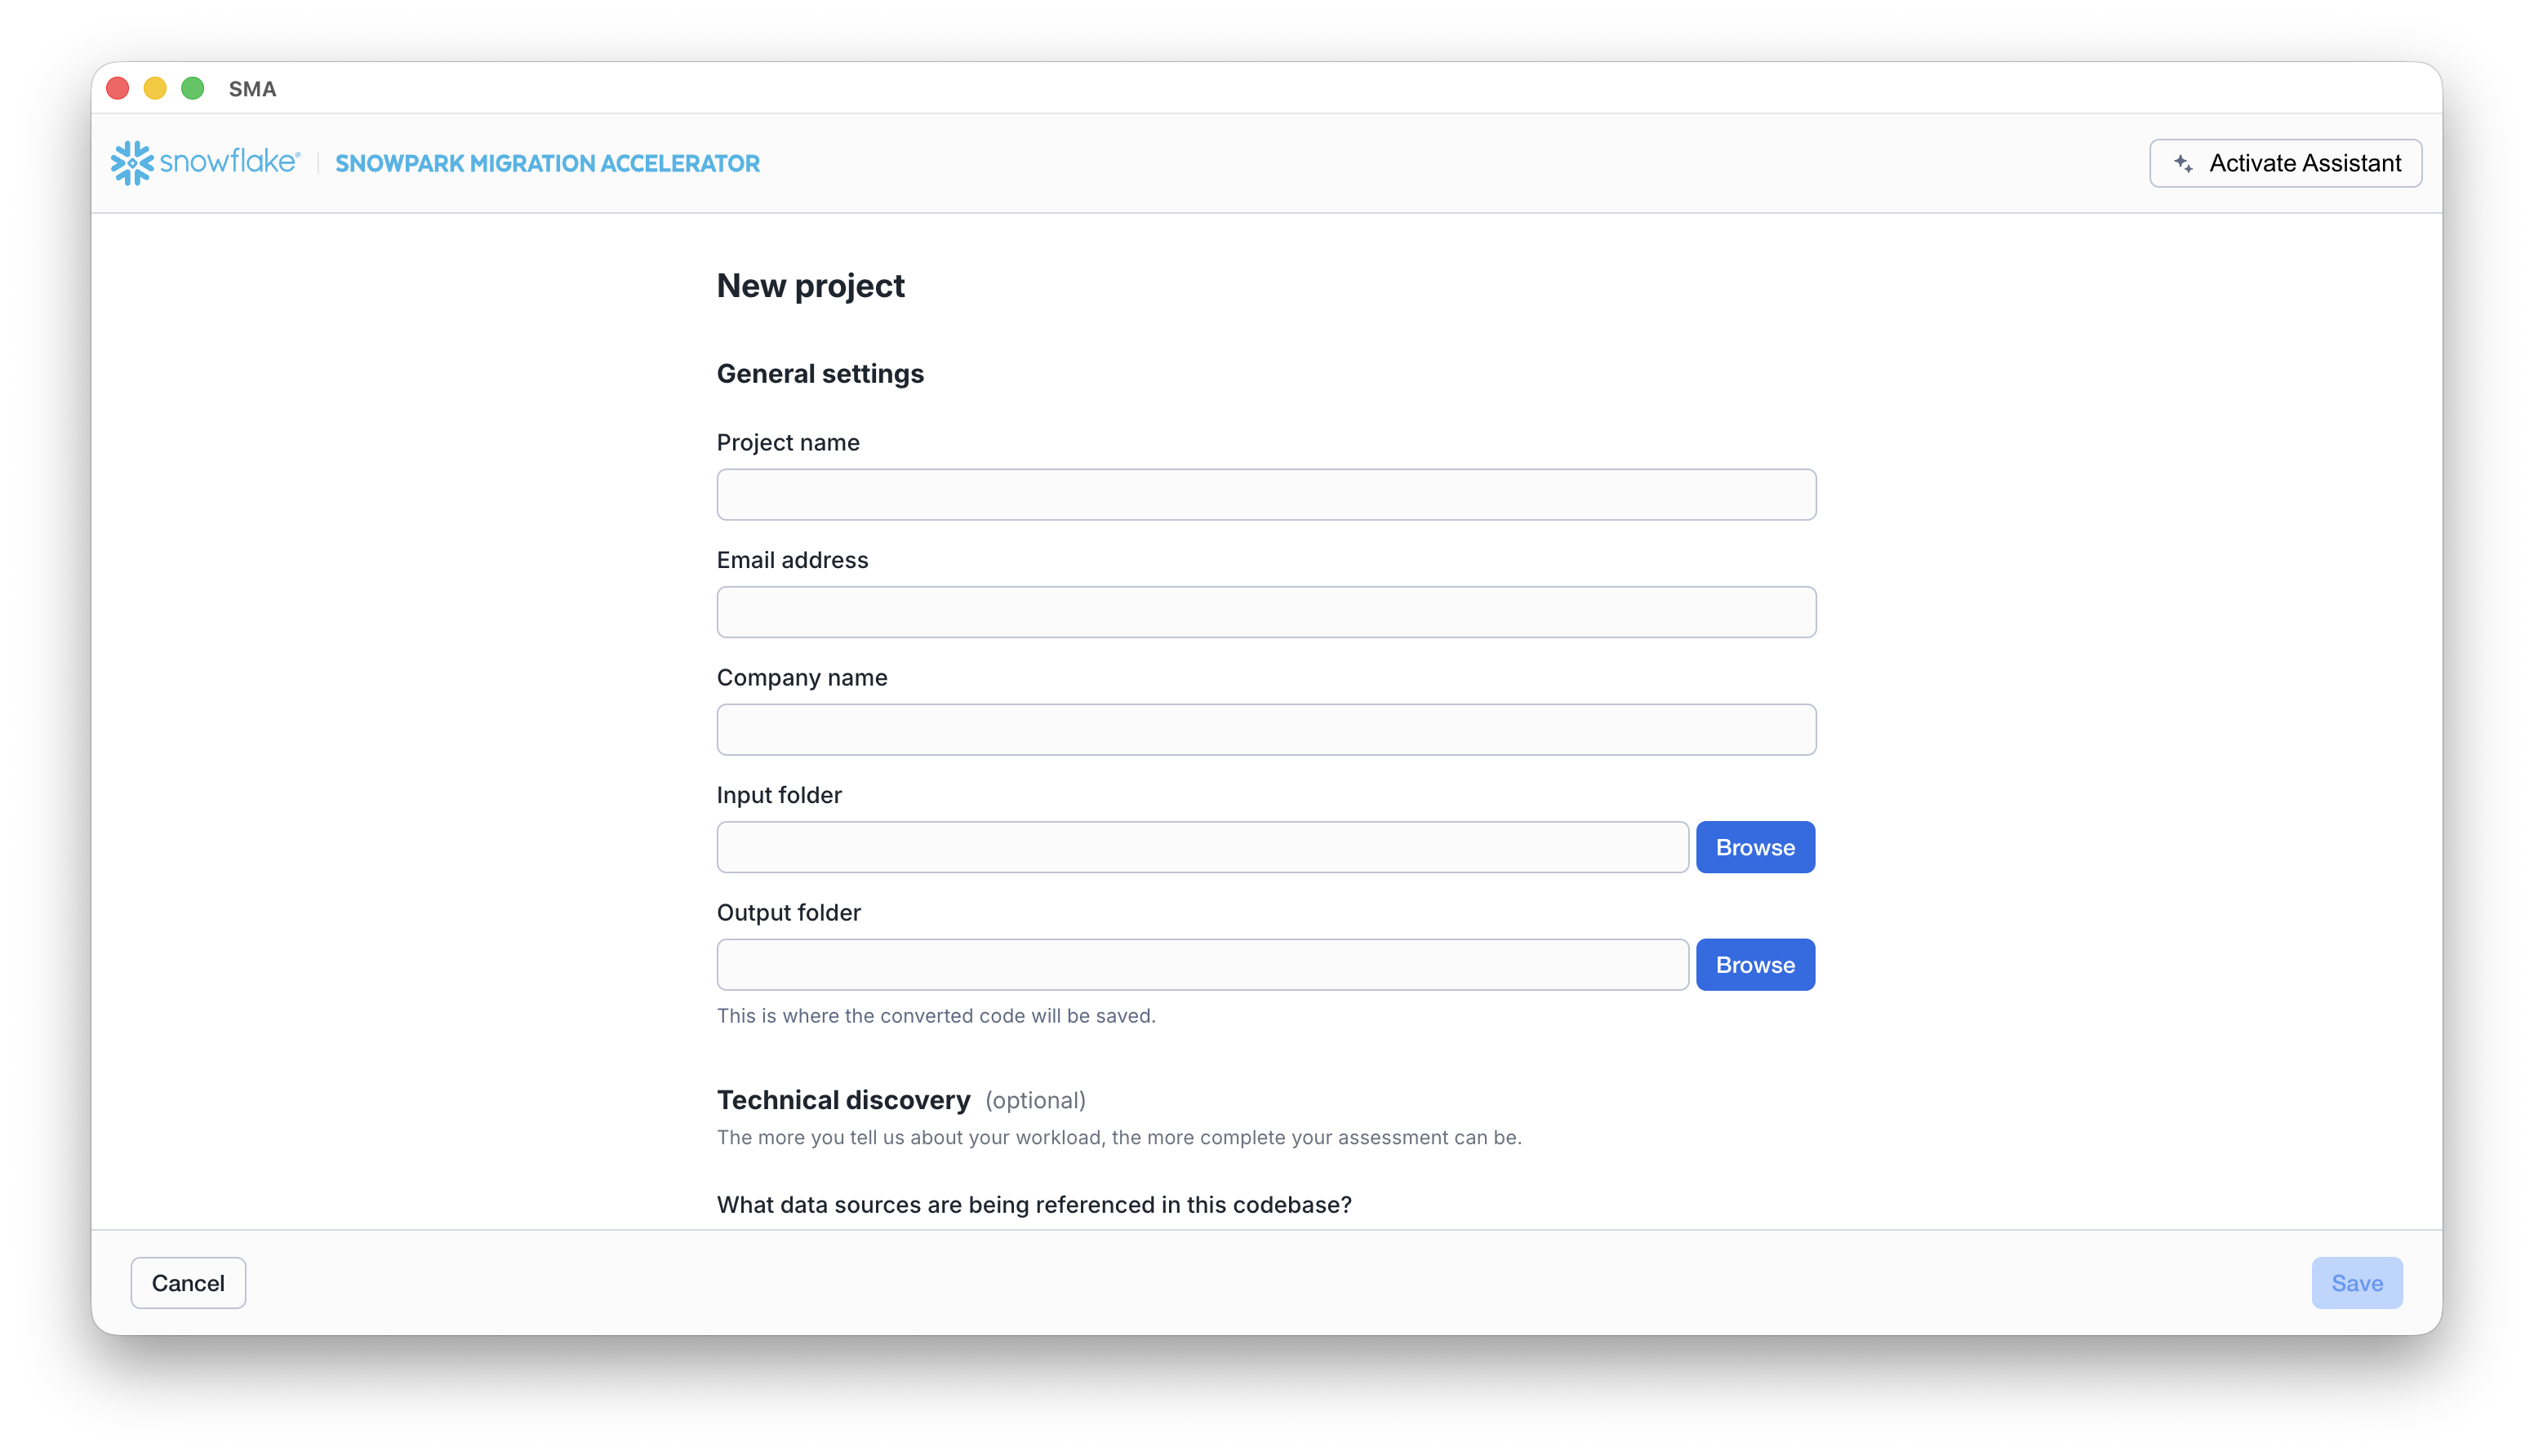
On this screen, you will enter the relevant details for your project. Note that all fields are required. For this project, you could enter something similar to:
- Project Name: Spark ADW Lab
- Email Address: your.name@your_domain.com
- Company name: Your Organization
- Input Folder Path: /your/accessible/directory/spark_adw_lab/source_files
- Output Folder Path (the SMA will auto generate a directory for the output, but you can modify this): /your/accessible/directory/spark_adw_lab/source_files_output
A couple of notes about this project creation screen:
-
The email and company fields are to help you track projects that may be ongoing. For example, at any large SI, there may be multiple email addresses and multiple organizations on behalf of whom a single user may run the SMA. This information is stored in the project file created by the SMA.
-
There is a hidden field for SQL. Note that the SMA can scan/analyze SQL, but it does not convert any SQL.It also can only identify SQL in the following circumstances:
- SQL that is in .sql files
- SQL that is in SQL cells in a Jupyter Notebook
- SQL that is passed as a single string to a spark.sql statement.
-
While this SQL capability can be helpful to determine where there is incompatible SQL with Snowflake, it is not the primary use for the SMA. More support for Spark SQL and HiveQL are coming soon.
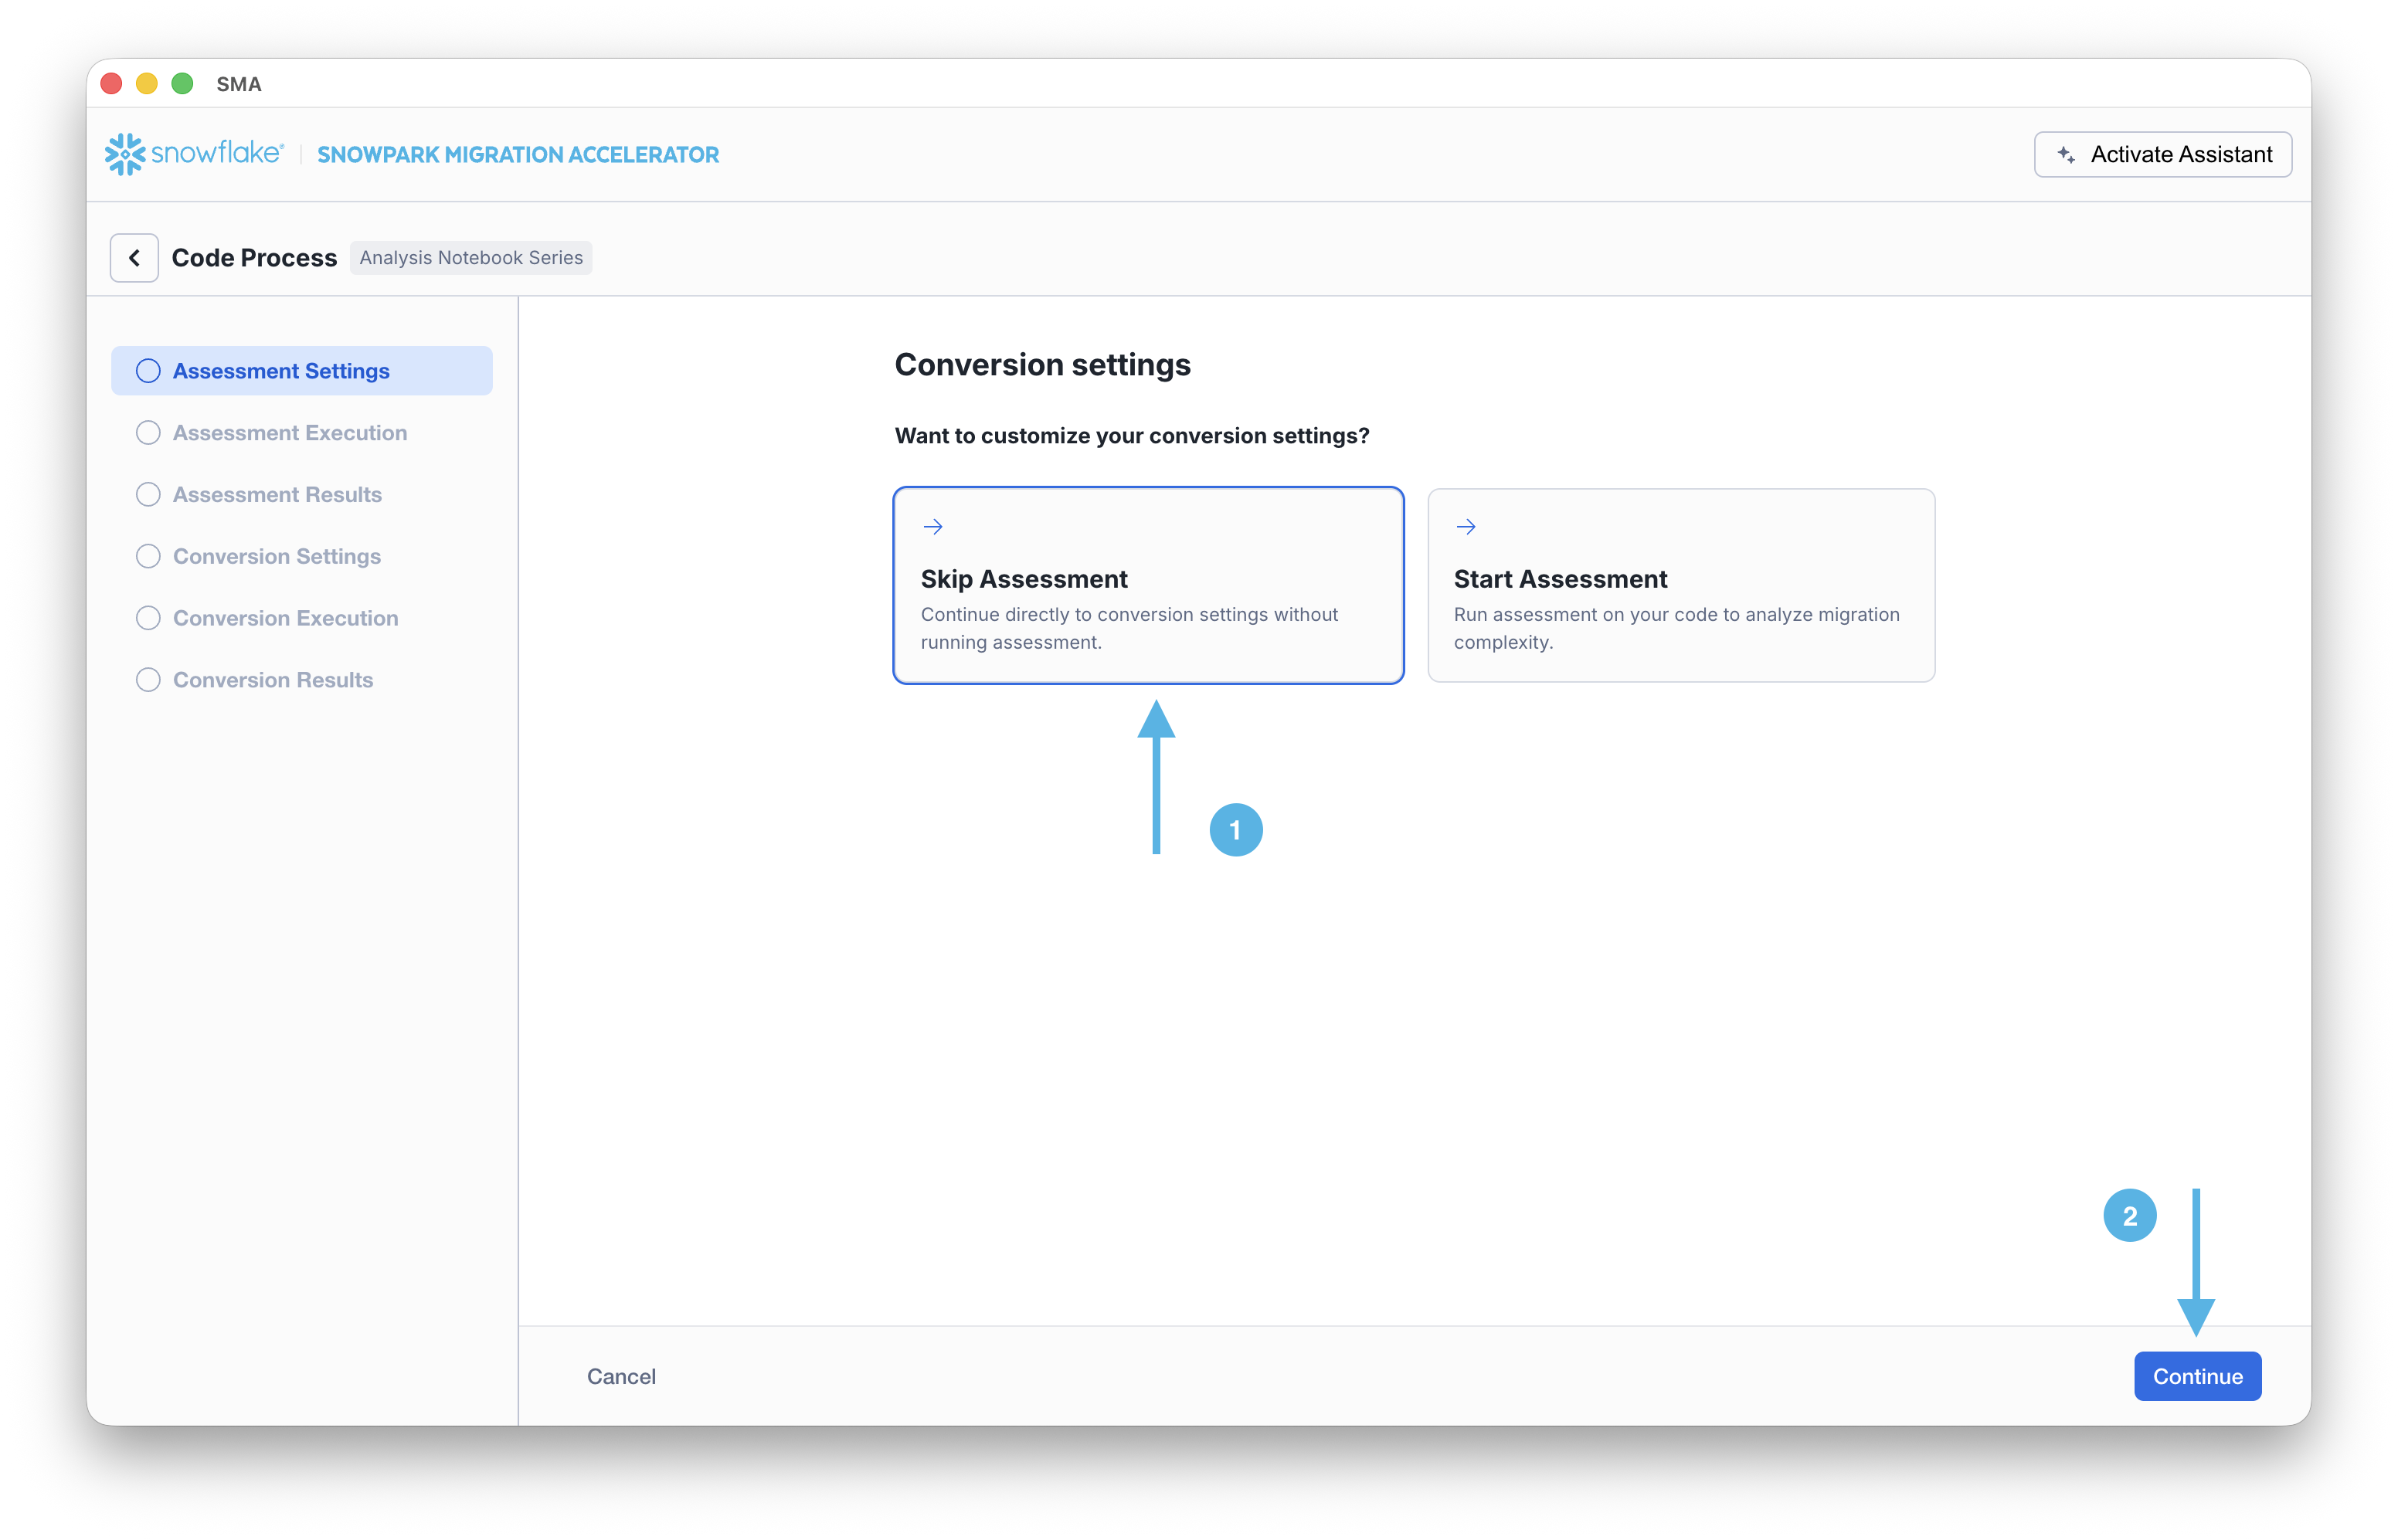
Once you’ve entered all of your project information, for this HoL, we are going to skip the assessment phase. (What… aren’t we building an assessment?) If you do not want to convert any code, running an assessment can be helpful as it will allow you to get the full set of reports generated by the SMA. You can then navigate through those or share them with others in your organization while not creating extra copies of the converted code. However, all of these same assessment reports are also generated during a conversion. So we will skip assessment mode for now and go to conversion.
On the Conversion settings page, select Skip Assessment, and then click Continue in the bottom right corner.
Note that what you are “saving” is a local project file. All of the information that you entered on the project creation screen will be saved to this local text file with the extension ‘.snowma’ in the directory you just specified above.
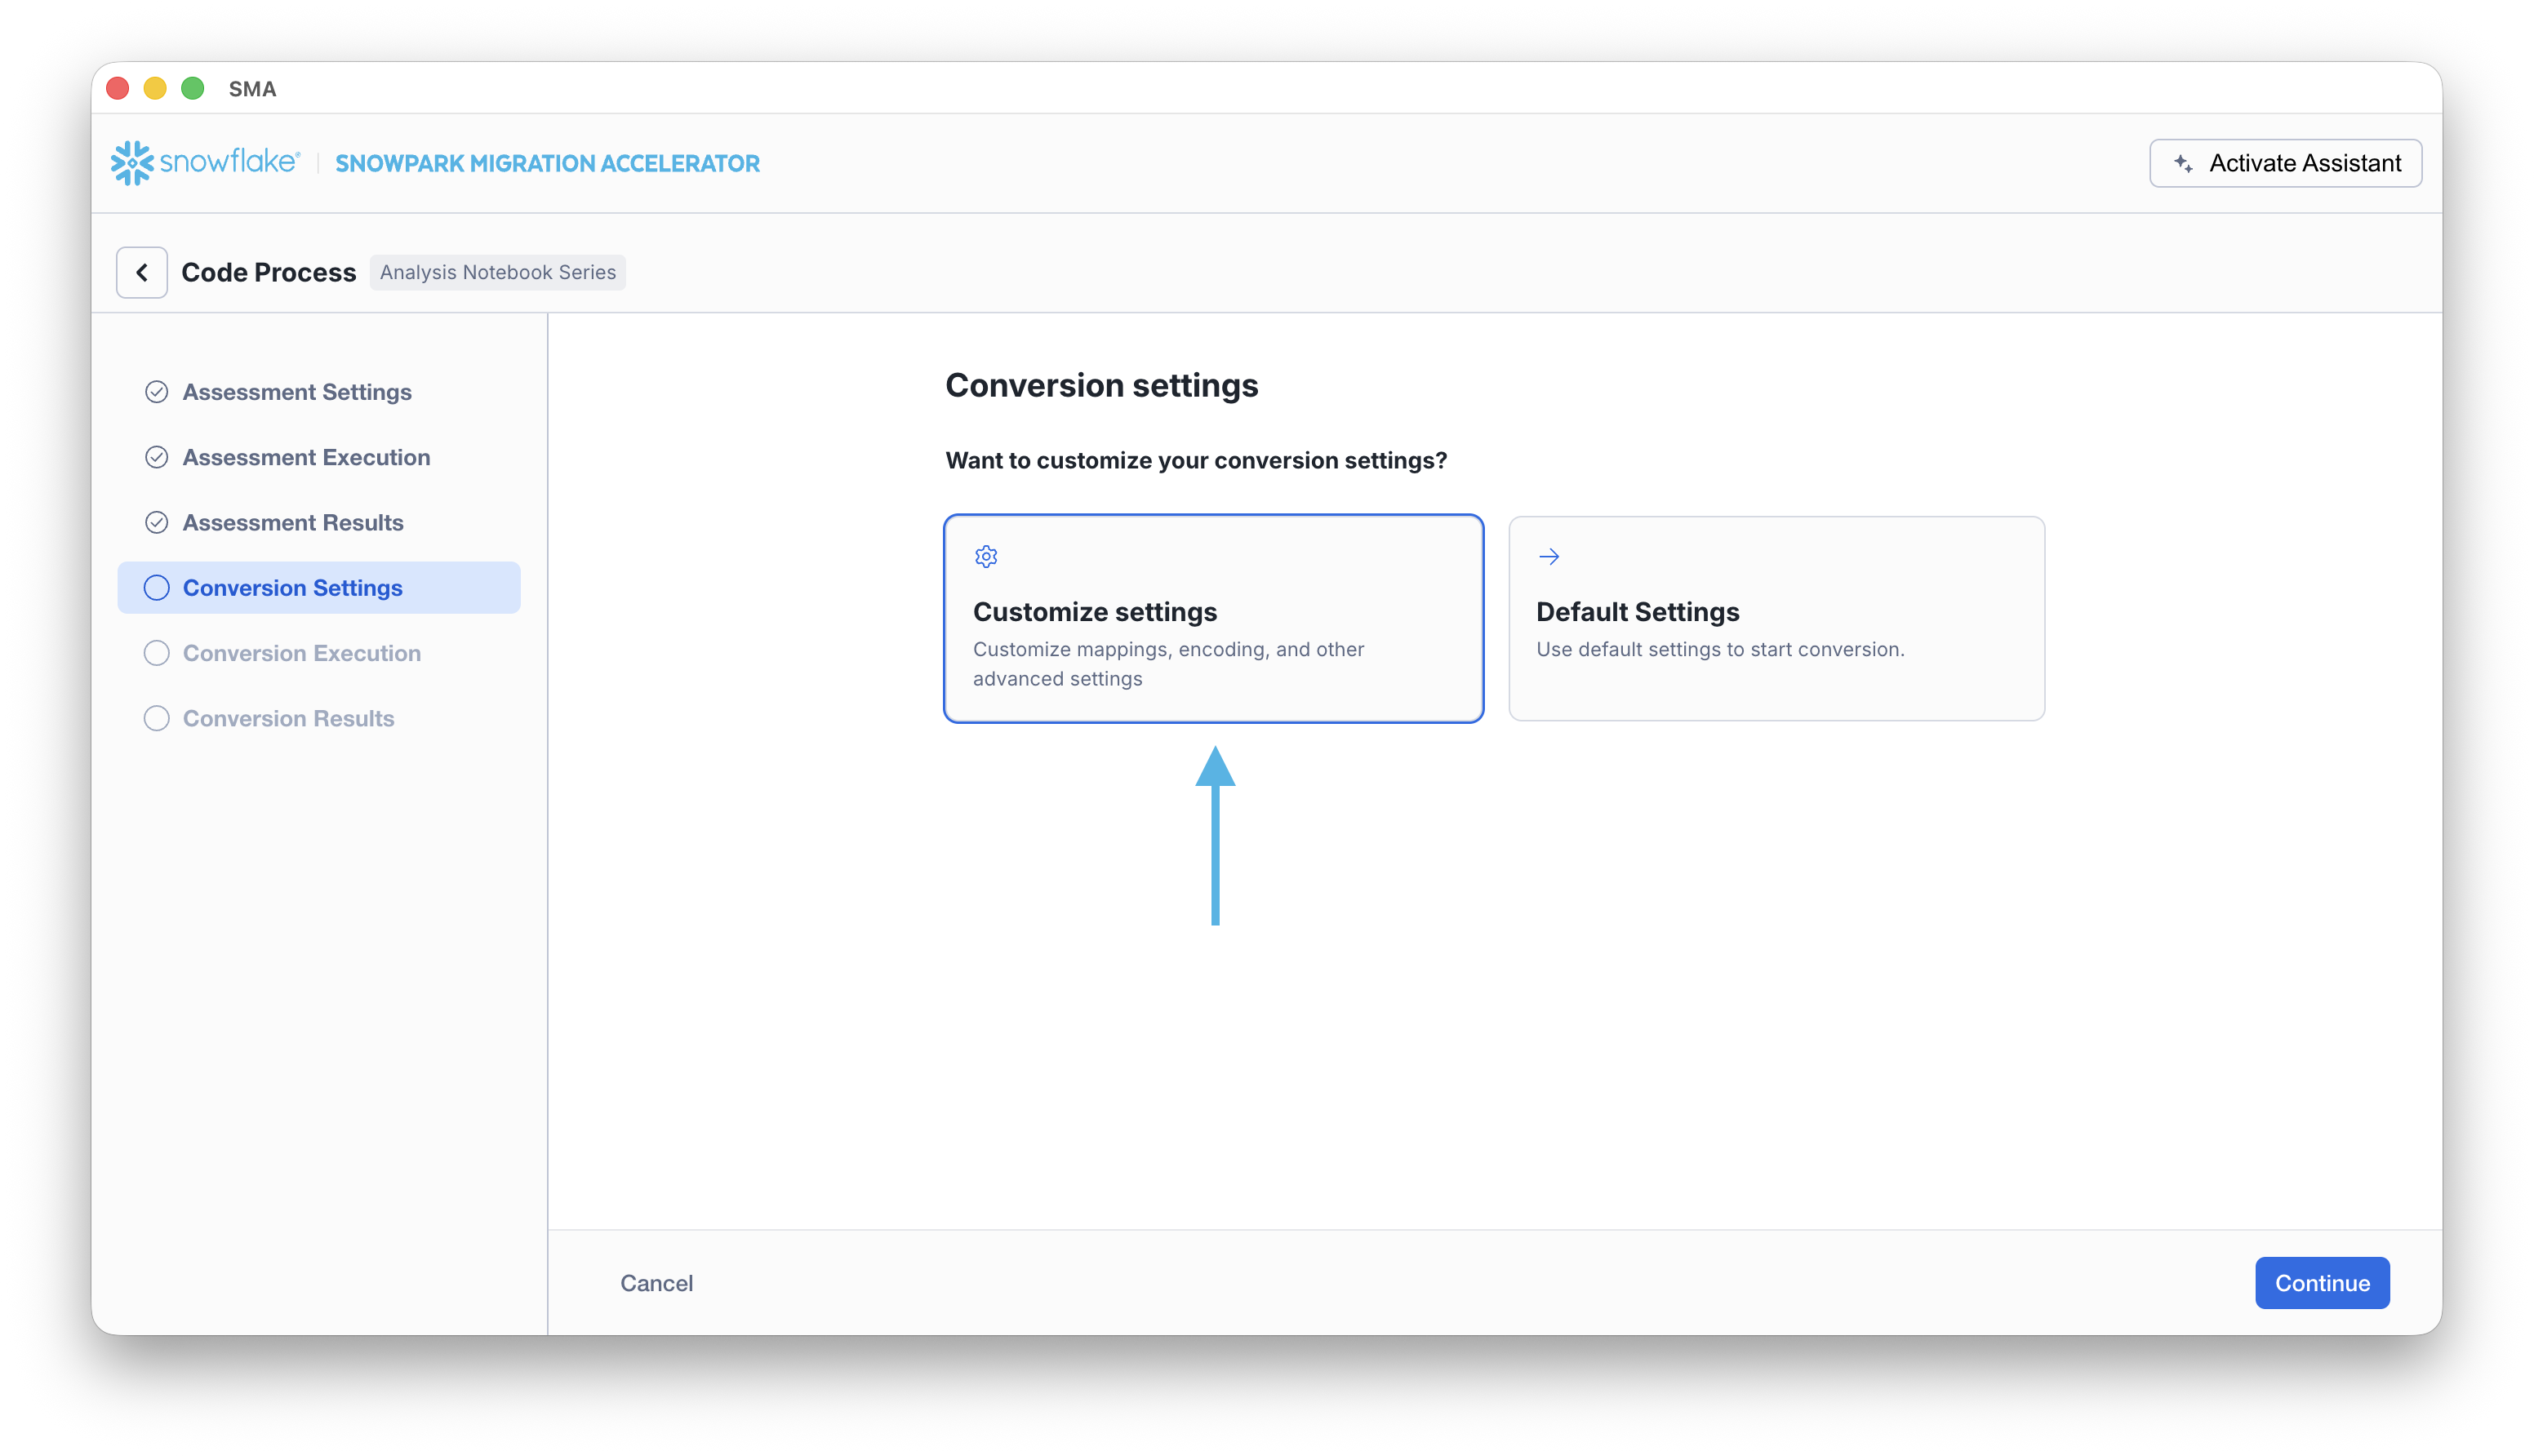
This will take you to the Conversion settings page. From here, you can choose Default Settings to proceed with conversion, or select Customize settings to review and adjust advanced options.
There is one setting that will simplify the output of this hands on lab, which would be to disable the attempted conversion of pandas dataframes to the Snowpark API:
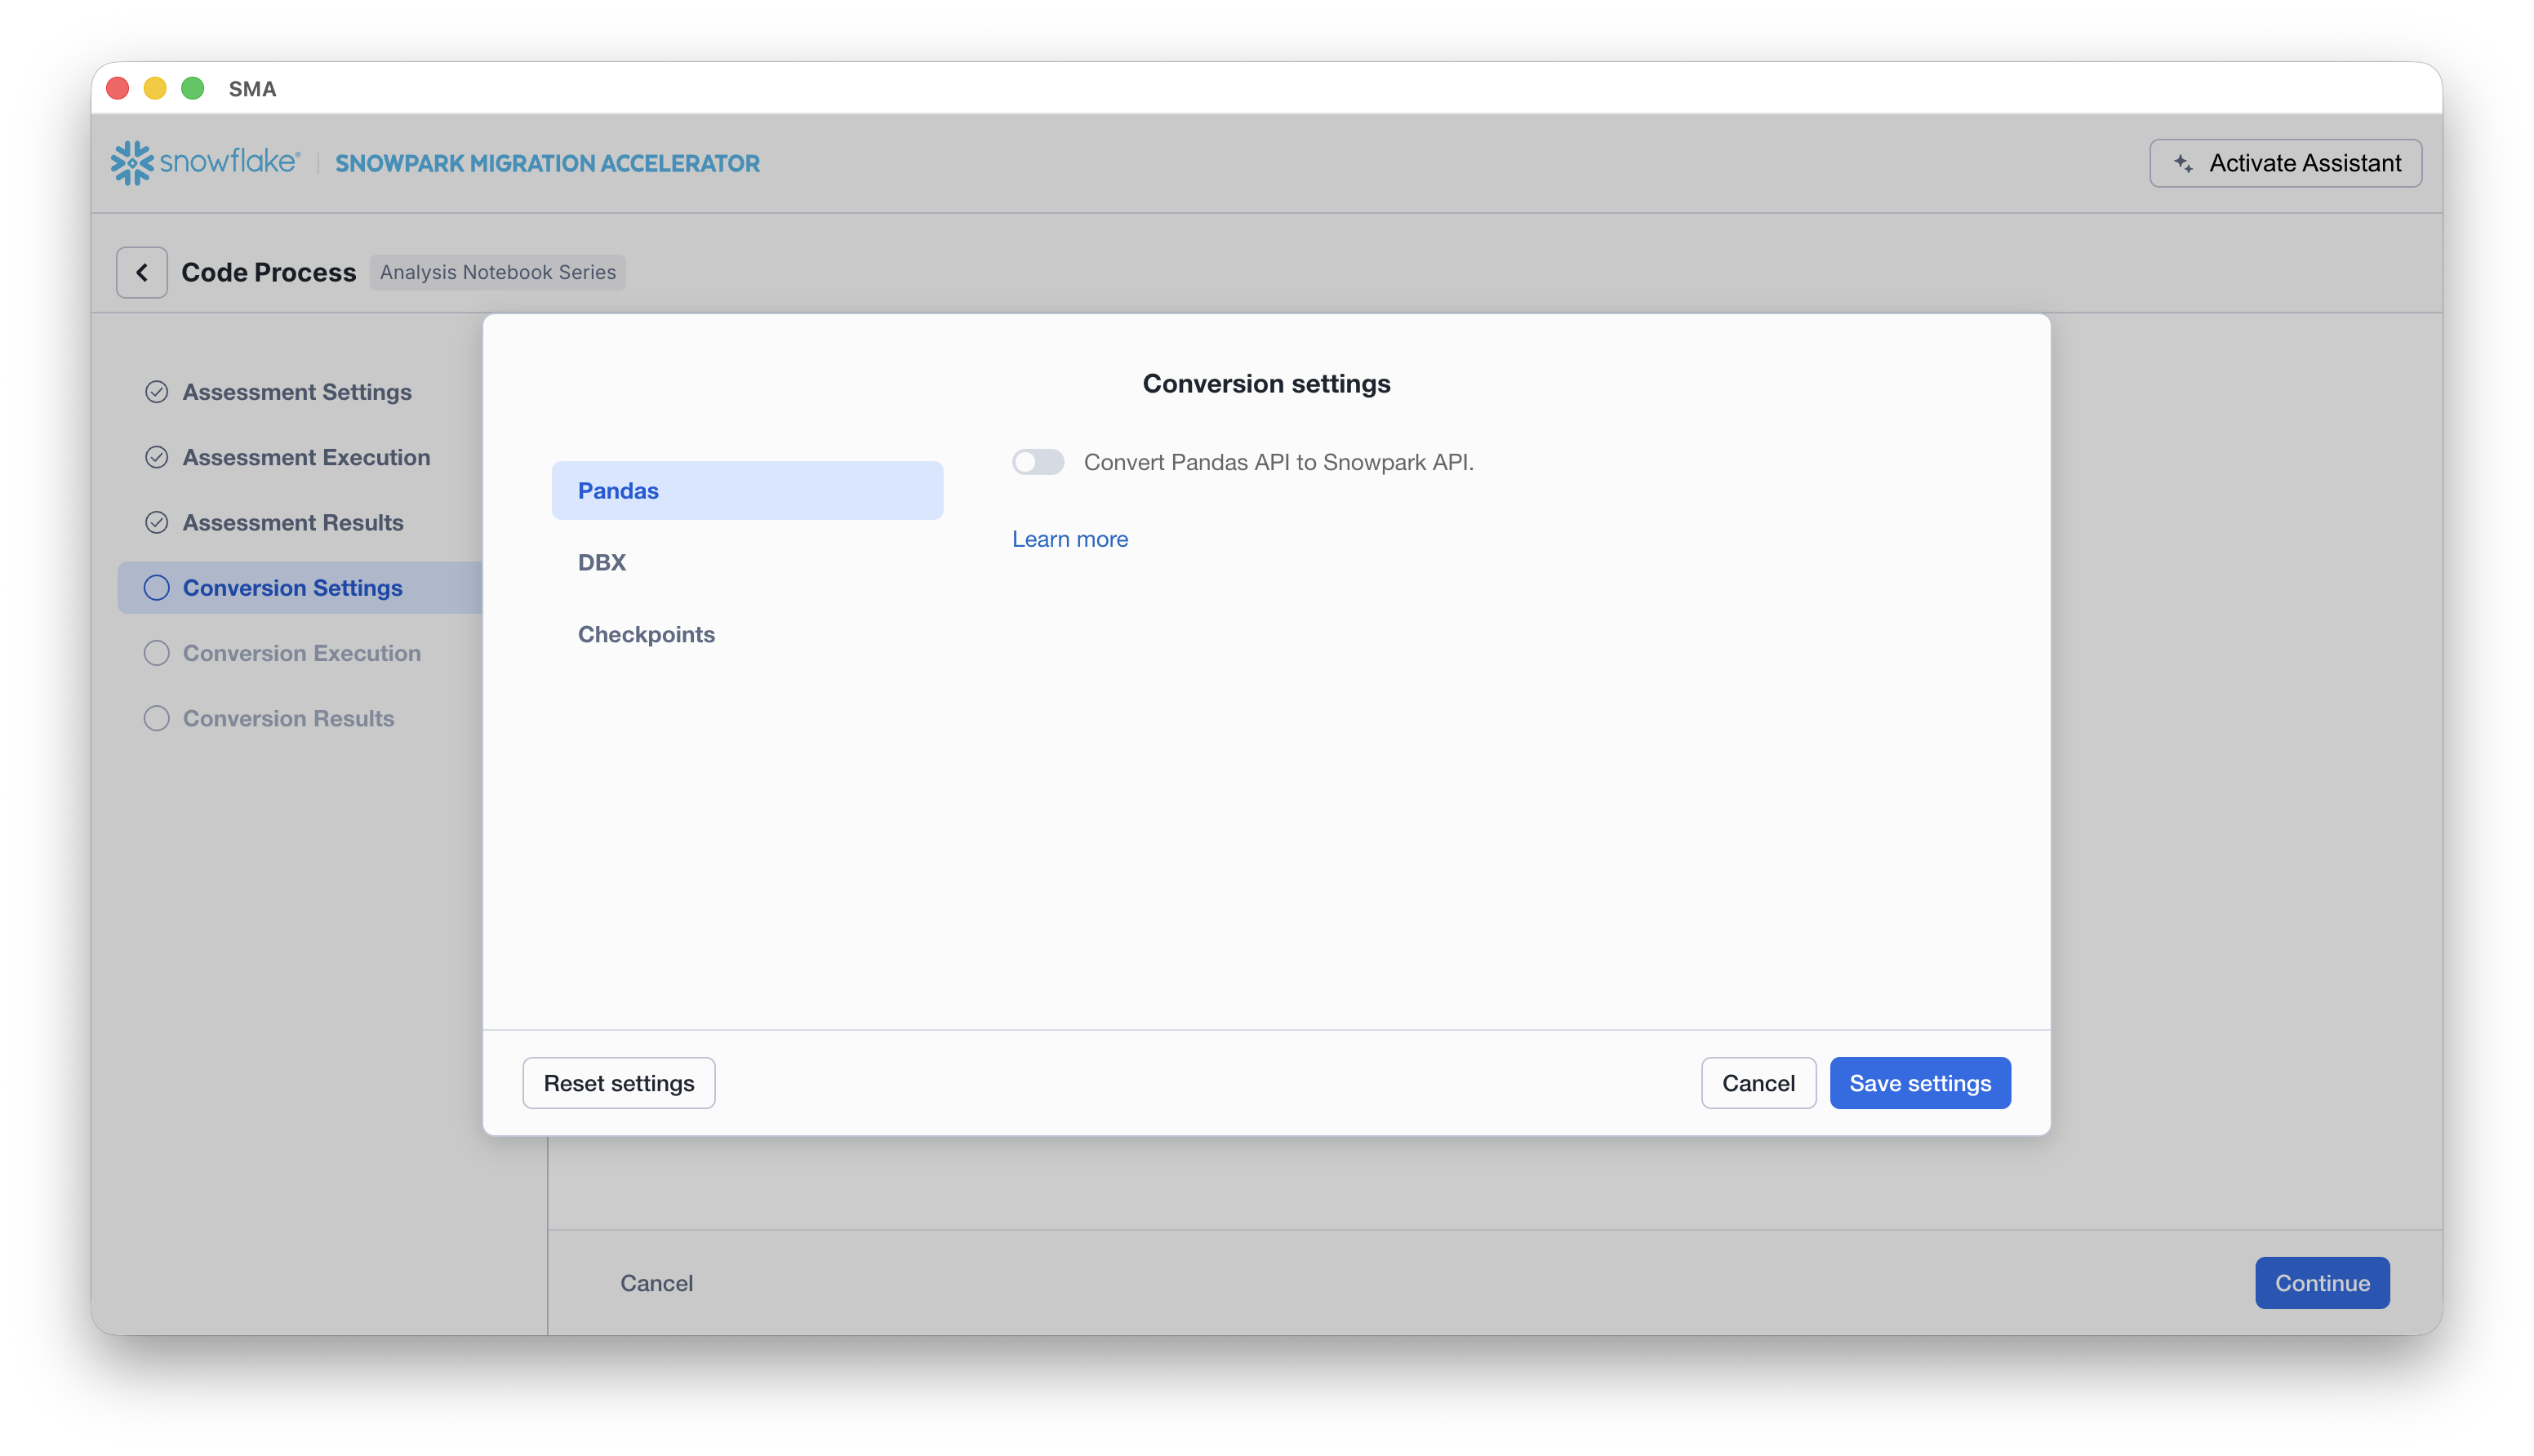
This one setting is currently being updated, so there will be a lot of additional warnings added if this option is not deselected. Most of the pandas dataframe can be used as part of the modin implementation of pandas, so a simple import call change should suffice for now. Look for an issue on this issue by the end of June 2025. You can look at the other settings, but we will leave them as is. It’s important to note that there is a testing library that the output code is compatible with called Snowpark Checkpoints. There are settings related to this, but we will not alter them in this lab.
Select “Save settings” to save and close your settings.
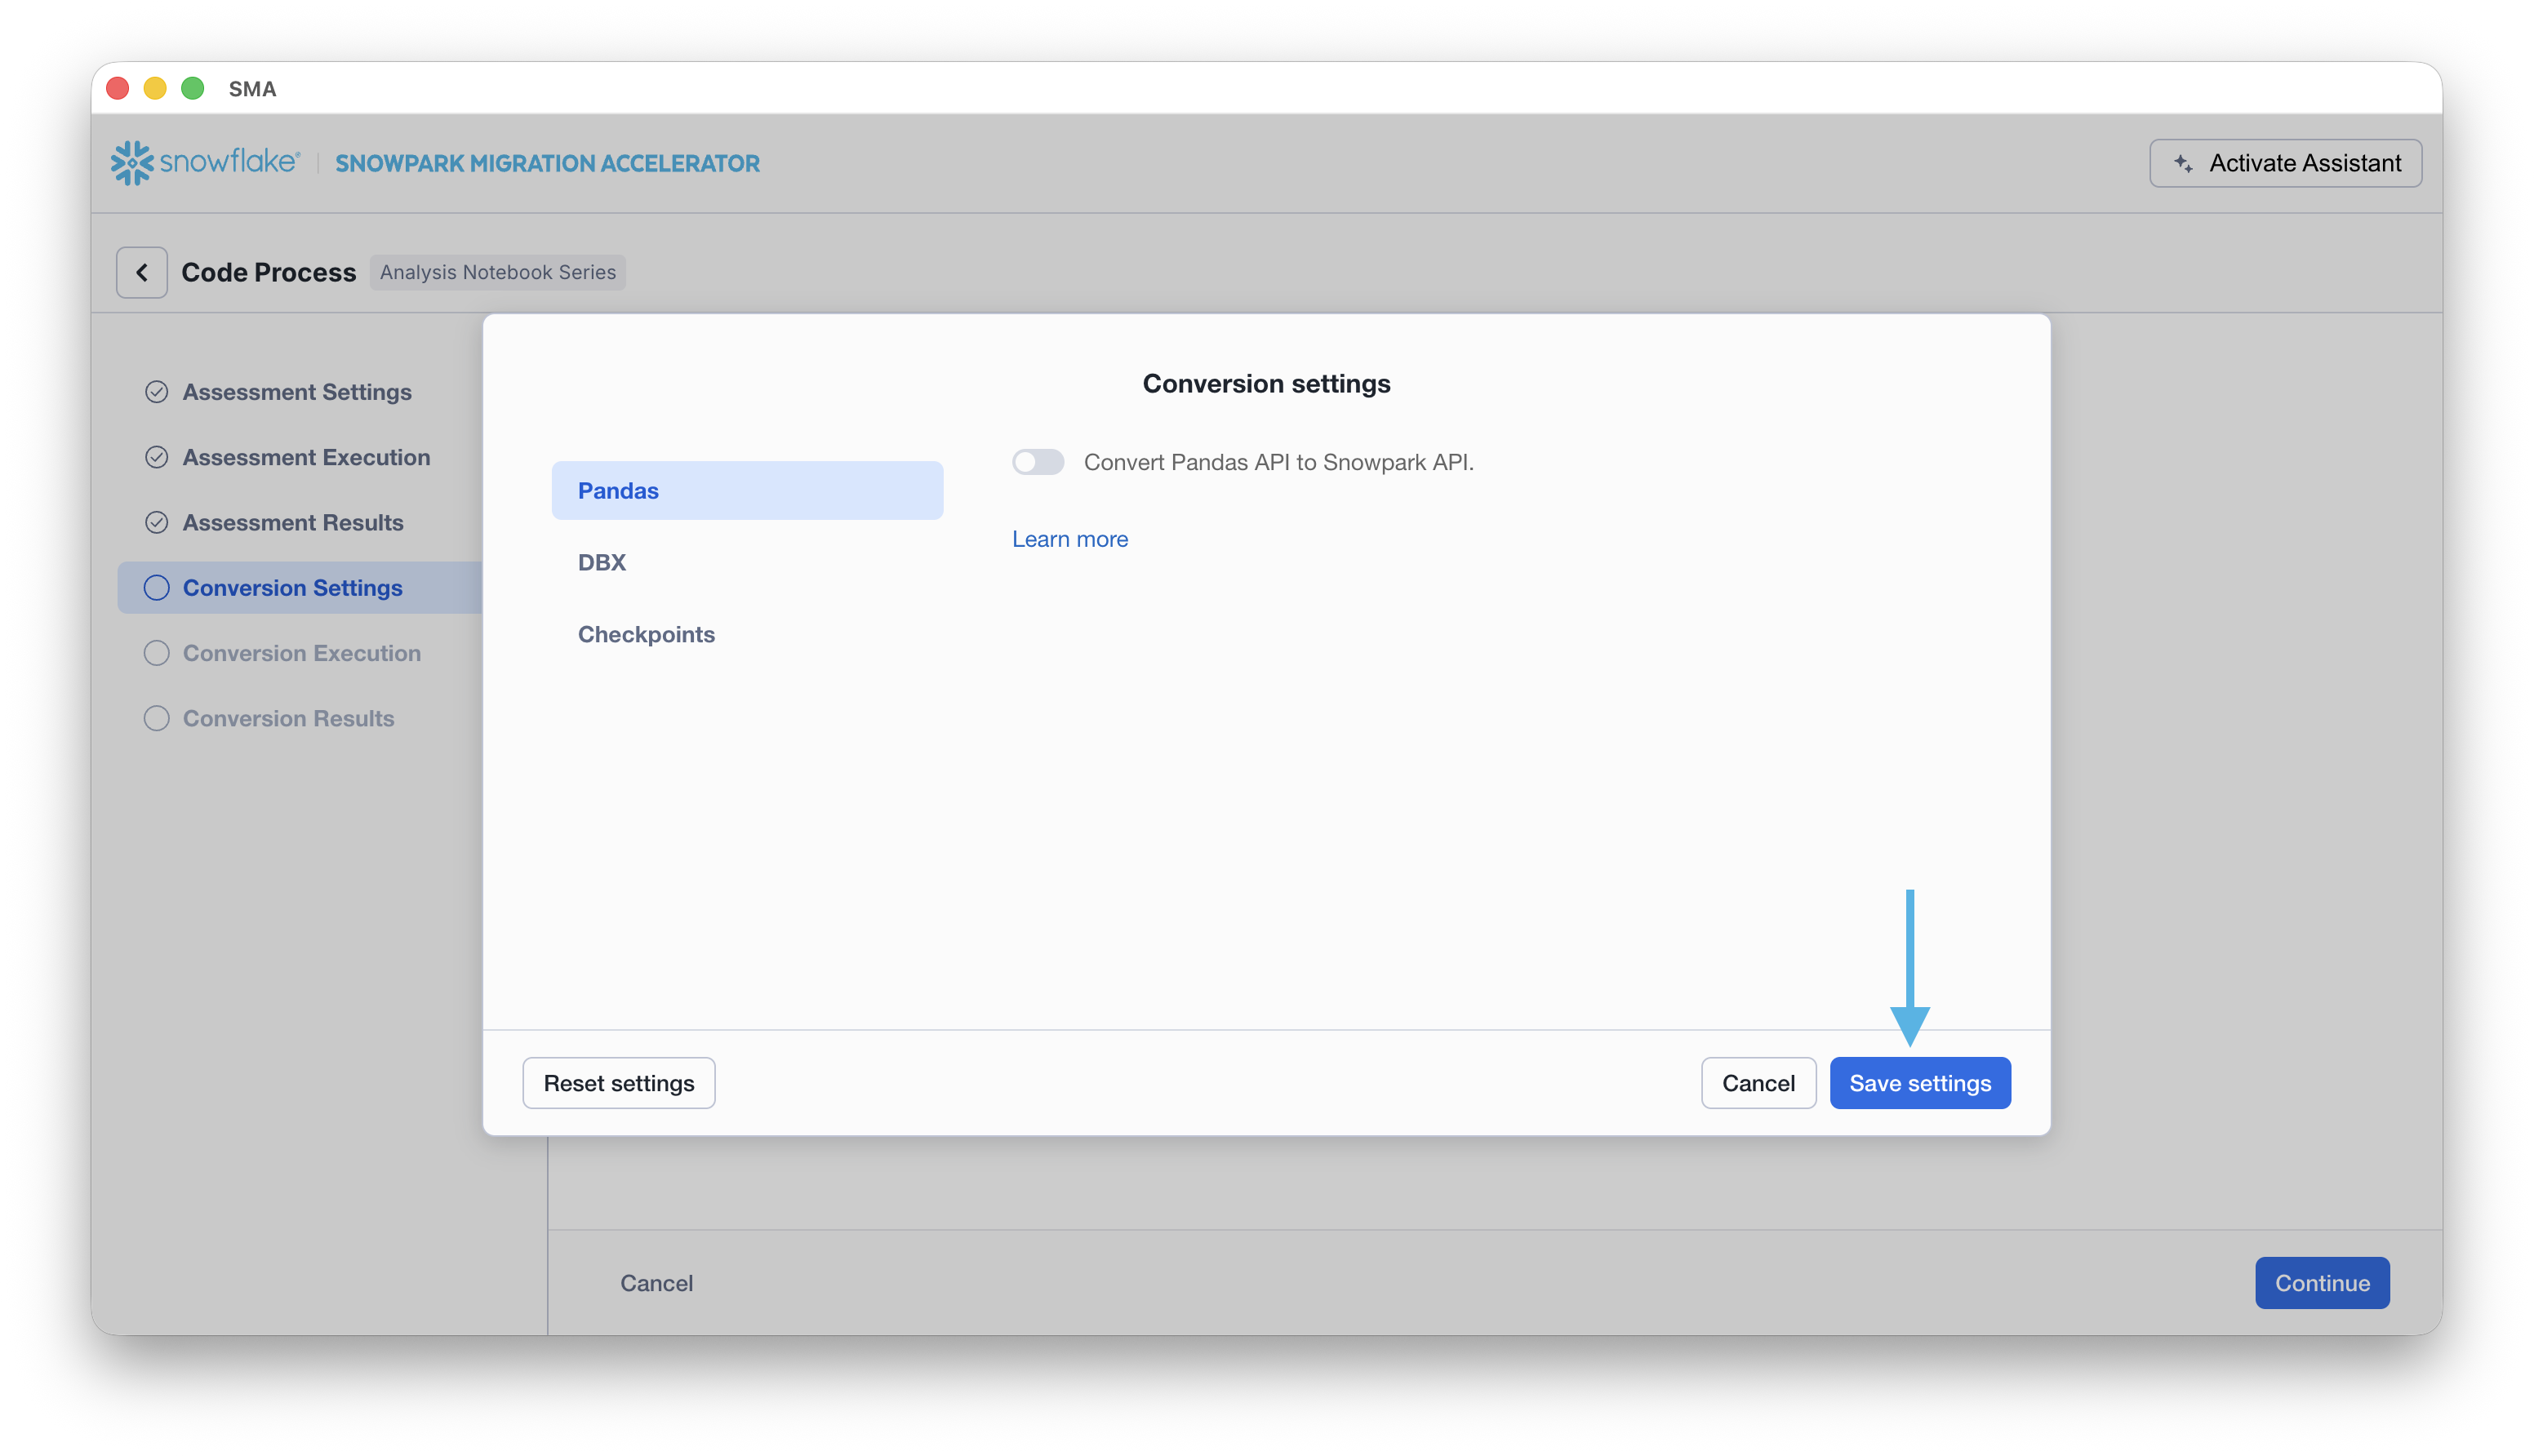
To start the conversion, click Continue in the bottom right corner of the application.
The next screen will show the progress of the conversion:
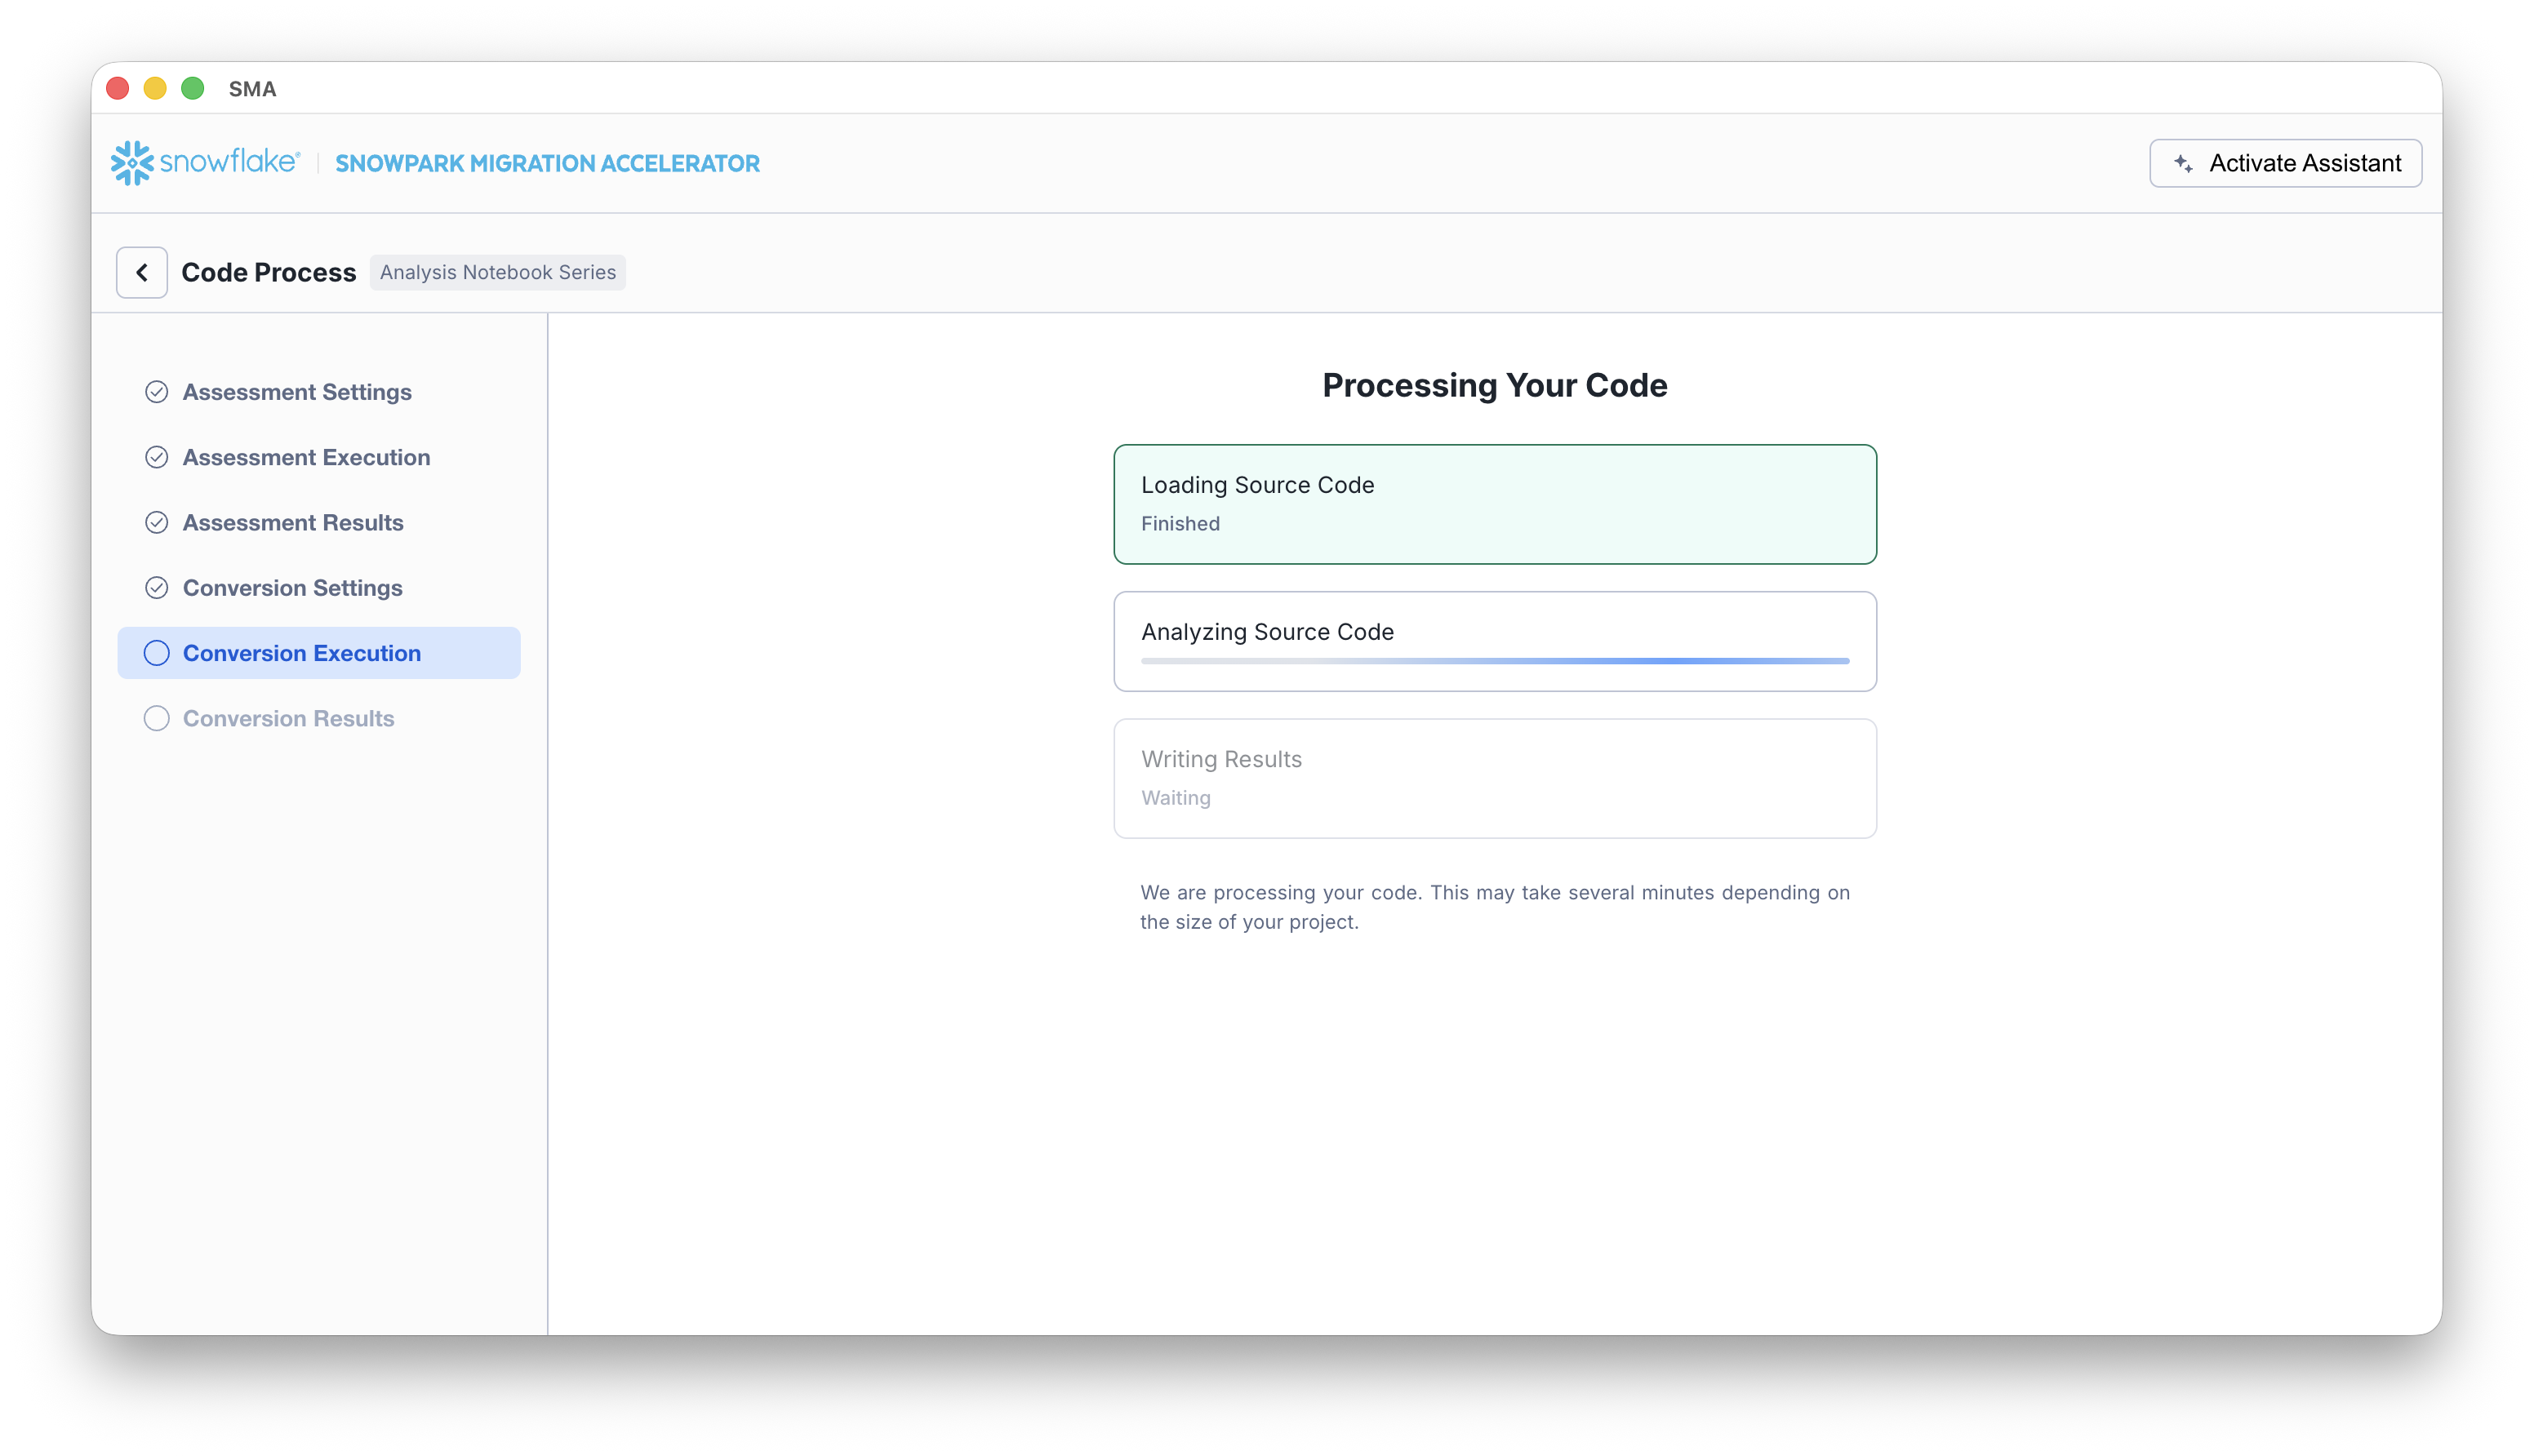
Like SnowConvert, the SMA is building a semantic model of the entire codebase in the input directory. It is building relationships between code elements, sql objects, and other referenced artifacts, and creating the closest output it can to a functional equivalent for Snowflake. This primarily means converting references from the Spark API to the Snowpark API. The SMA’s engineering team is a part of the Snowpark engineering team, so most transformations that take place have been built into the Snowpark API, so the changes may seem minor. But the wealth of assessment information that is generated by the SMA allows a migration project to really get moving forward. An in-depth look at all of the generated assessment information will have to take place elsewhere because the SMA has likely finished this conversion in the time it took to read this paragraph.
When the SMA has finished, the results page will show the… results.
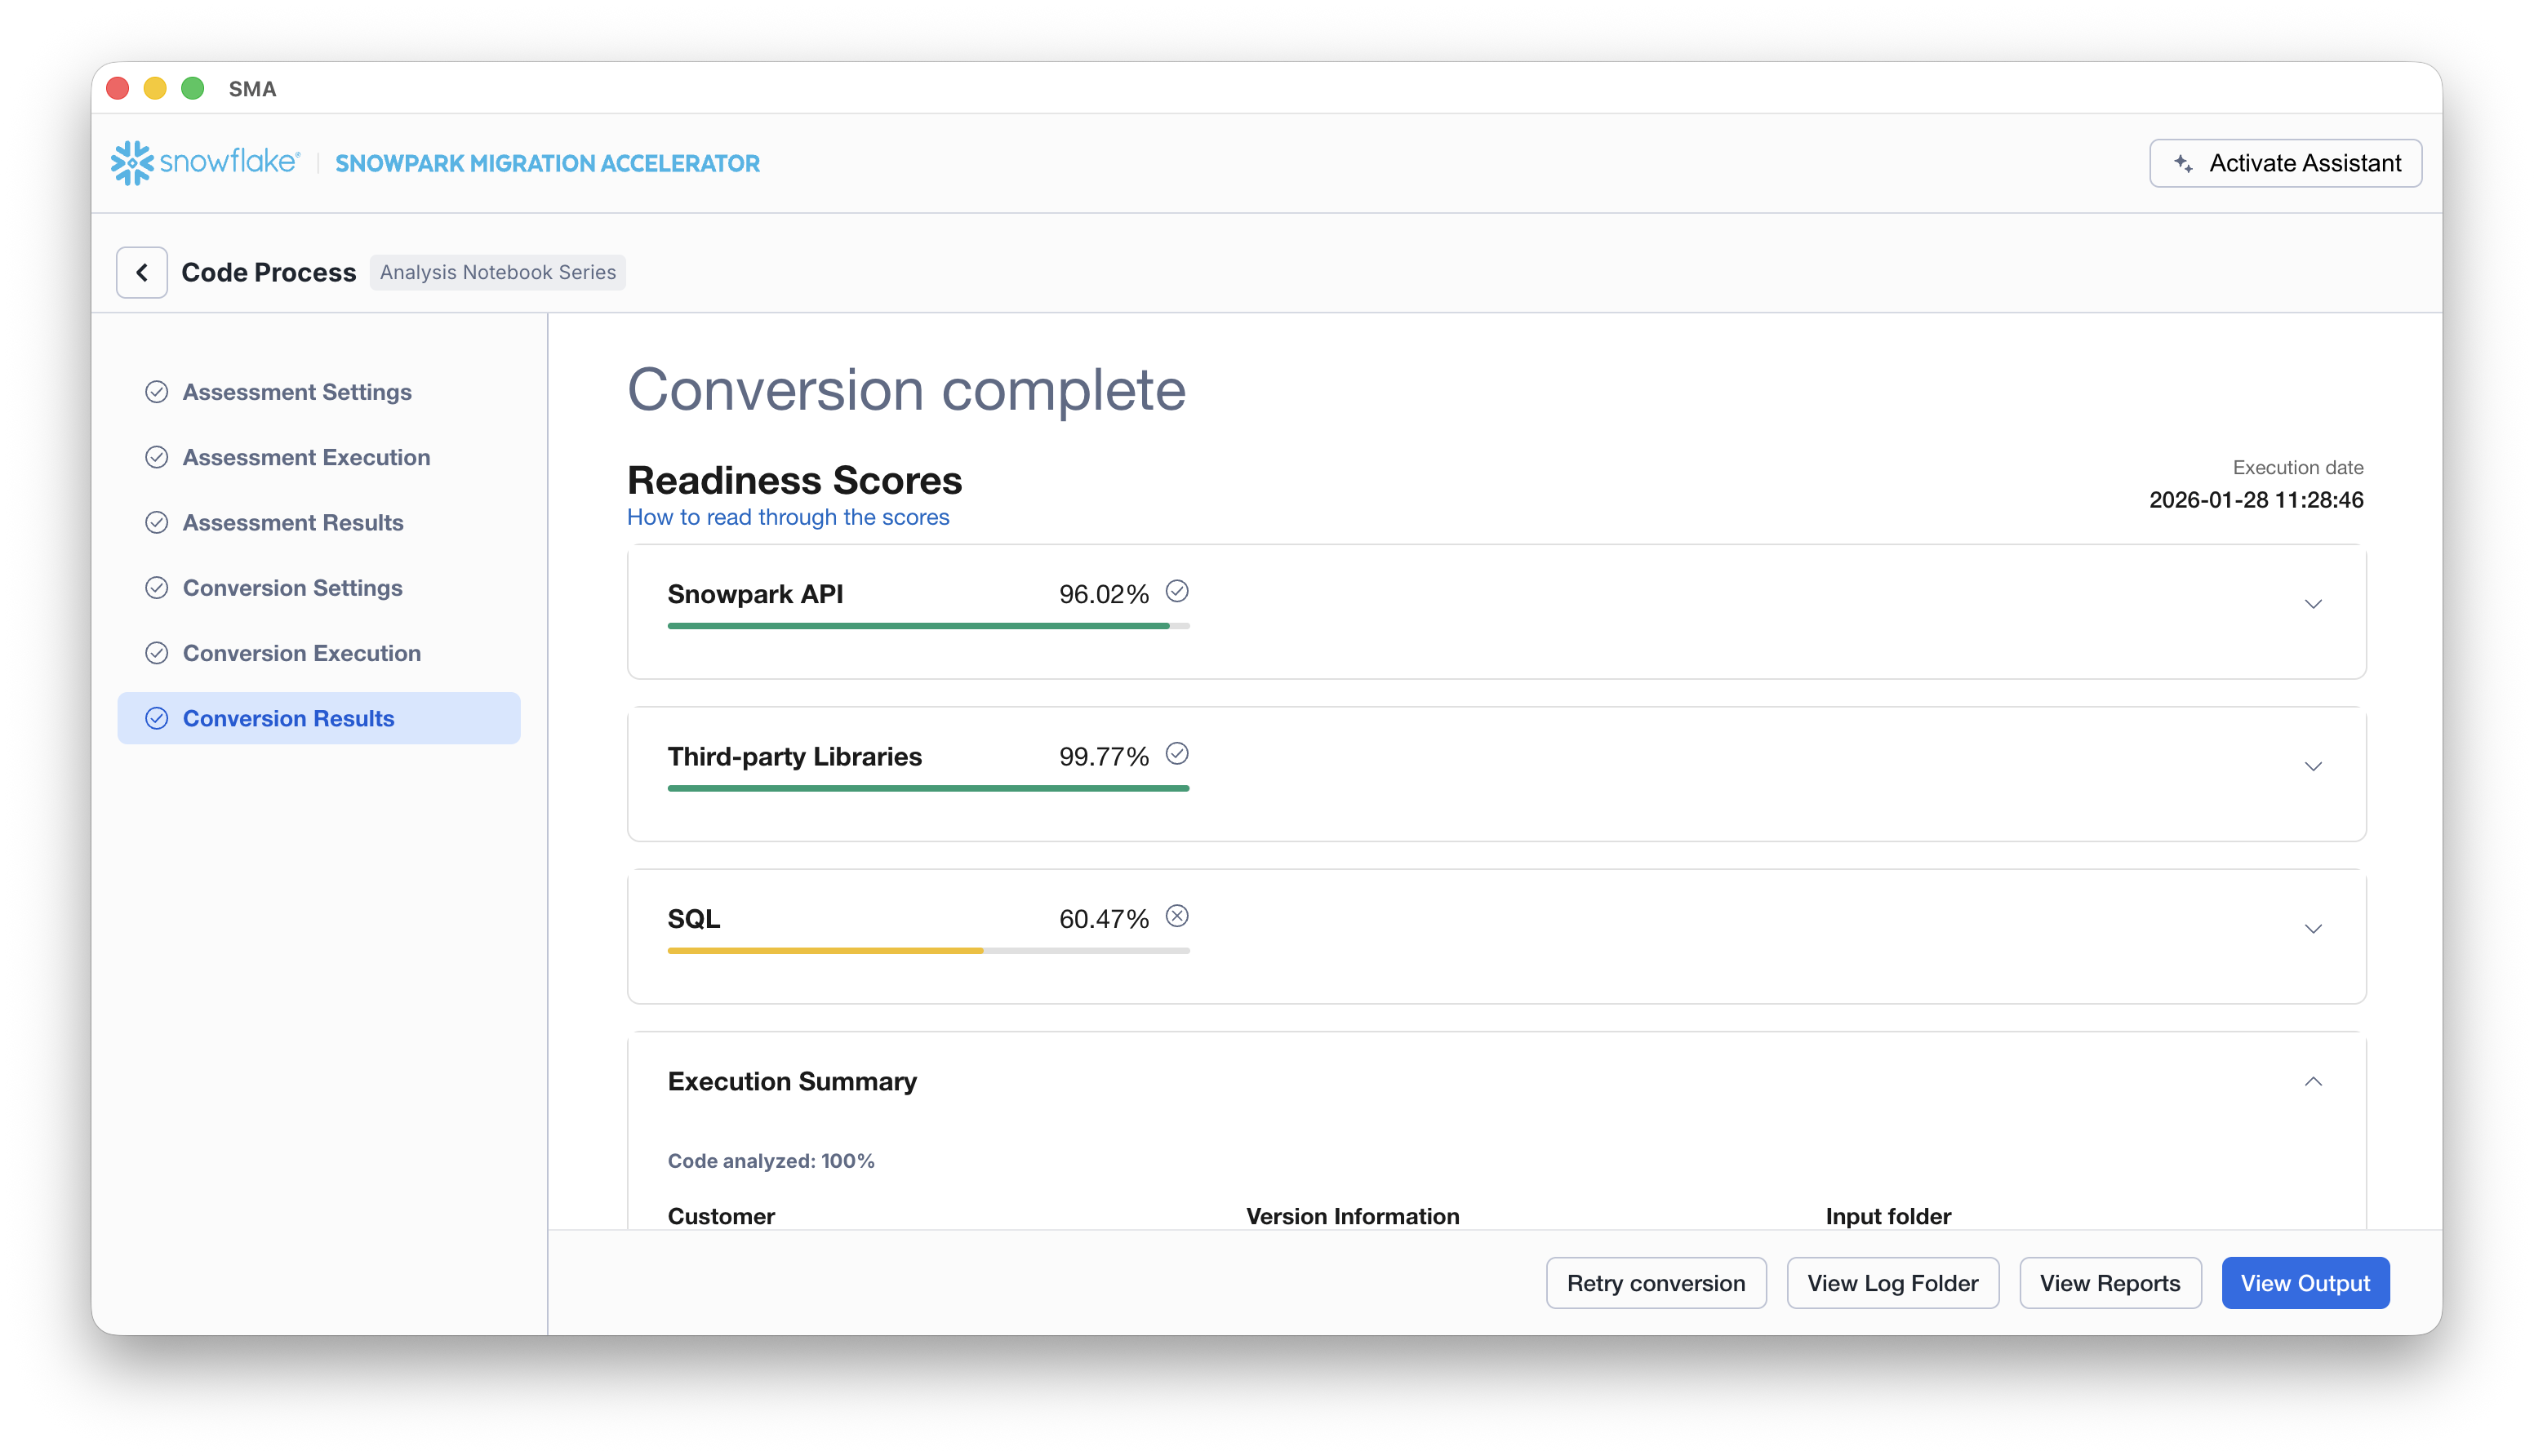
The results page has some “Readiness Scores” that are very simplified metrics on how “ready” this codebase is for Snowflake. We will review the results next, but note that running the Snowpark Migration Accelerator is the easy part. Note that this is just an “accelerator”. It is not a silver bullet or a hands-off automation tool. Pipelines that connect to one data source and output to another are not fully migrated by this tool will always need more attention than a straight SQL-to-SQL migration of DDL as is done by SnowConvert. But Snowflake is continuously working towards making this as simple as possible.
Interpreting the Output
The SMA, even more so than SnowConvert, generates a large amount of assessment information. It can be difficult to parse through the results. There are many different directions you could go depending on what you want to achieve.
Note that this is an extremely simple scenario, so some of the steps we are going to take will look like overkill. (I mean, do we really need to analyze the dependencies present in this project when there are only two files and we could just… look?) The goal is to still walk through what we normally recommend even in this small POC. But let’s be clear… that the scope is clear, and there are only two files. We just need both of them to work as they do in the source.
Readiness Scores
With that in mind, let’s take a look at the first part of the output that you will see in the application: the readiness scores. There will be multiple readiness scores and you can expand on each one of them to better understand what is captured by that readiness score.
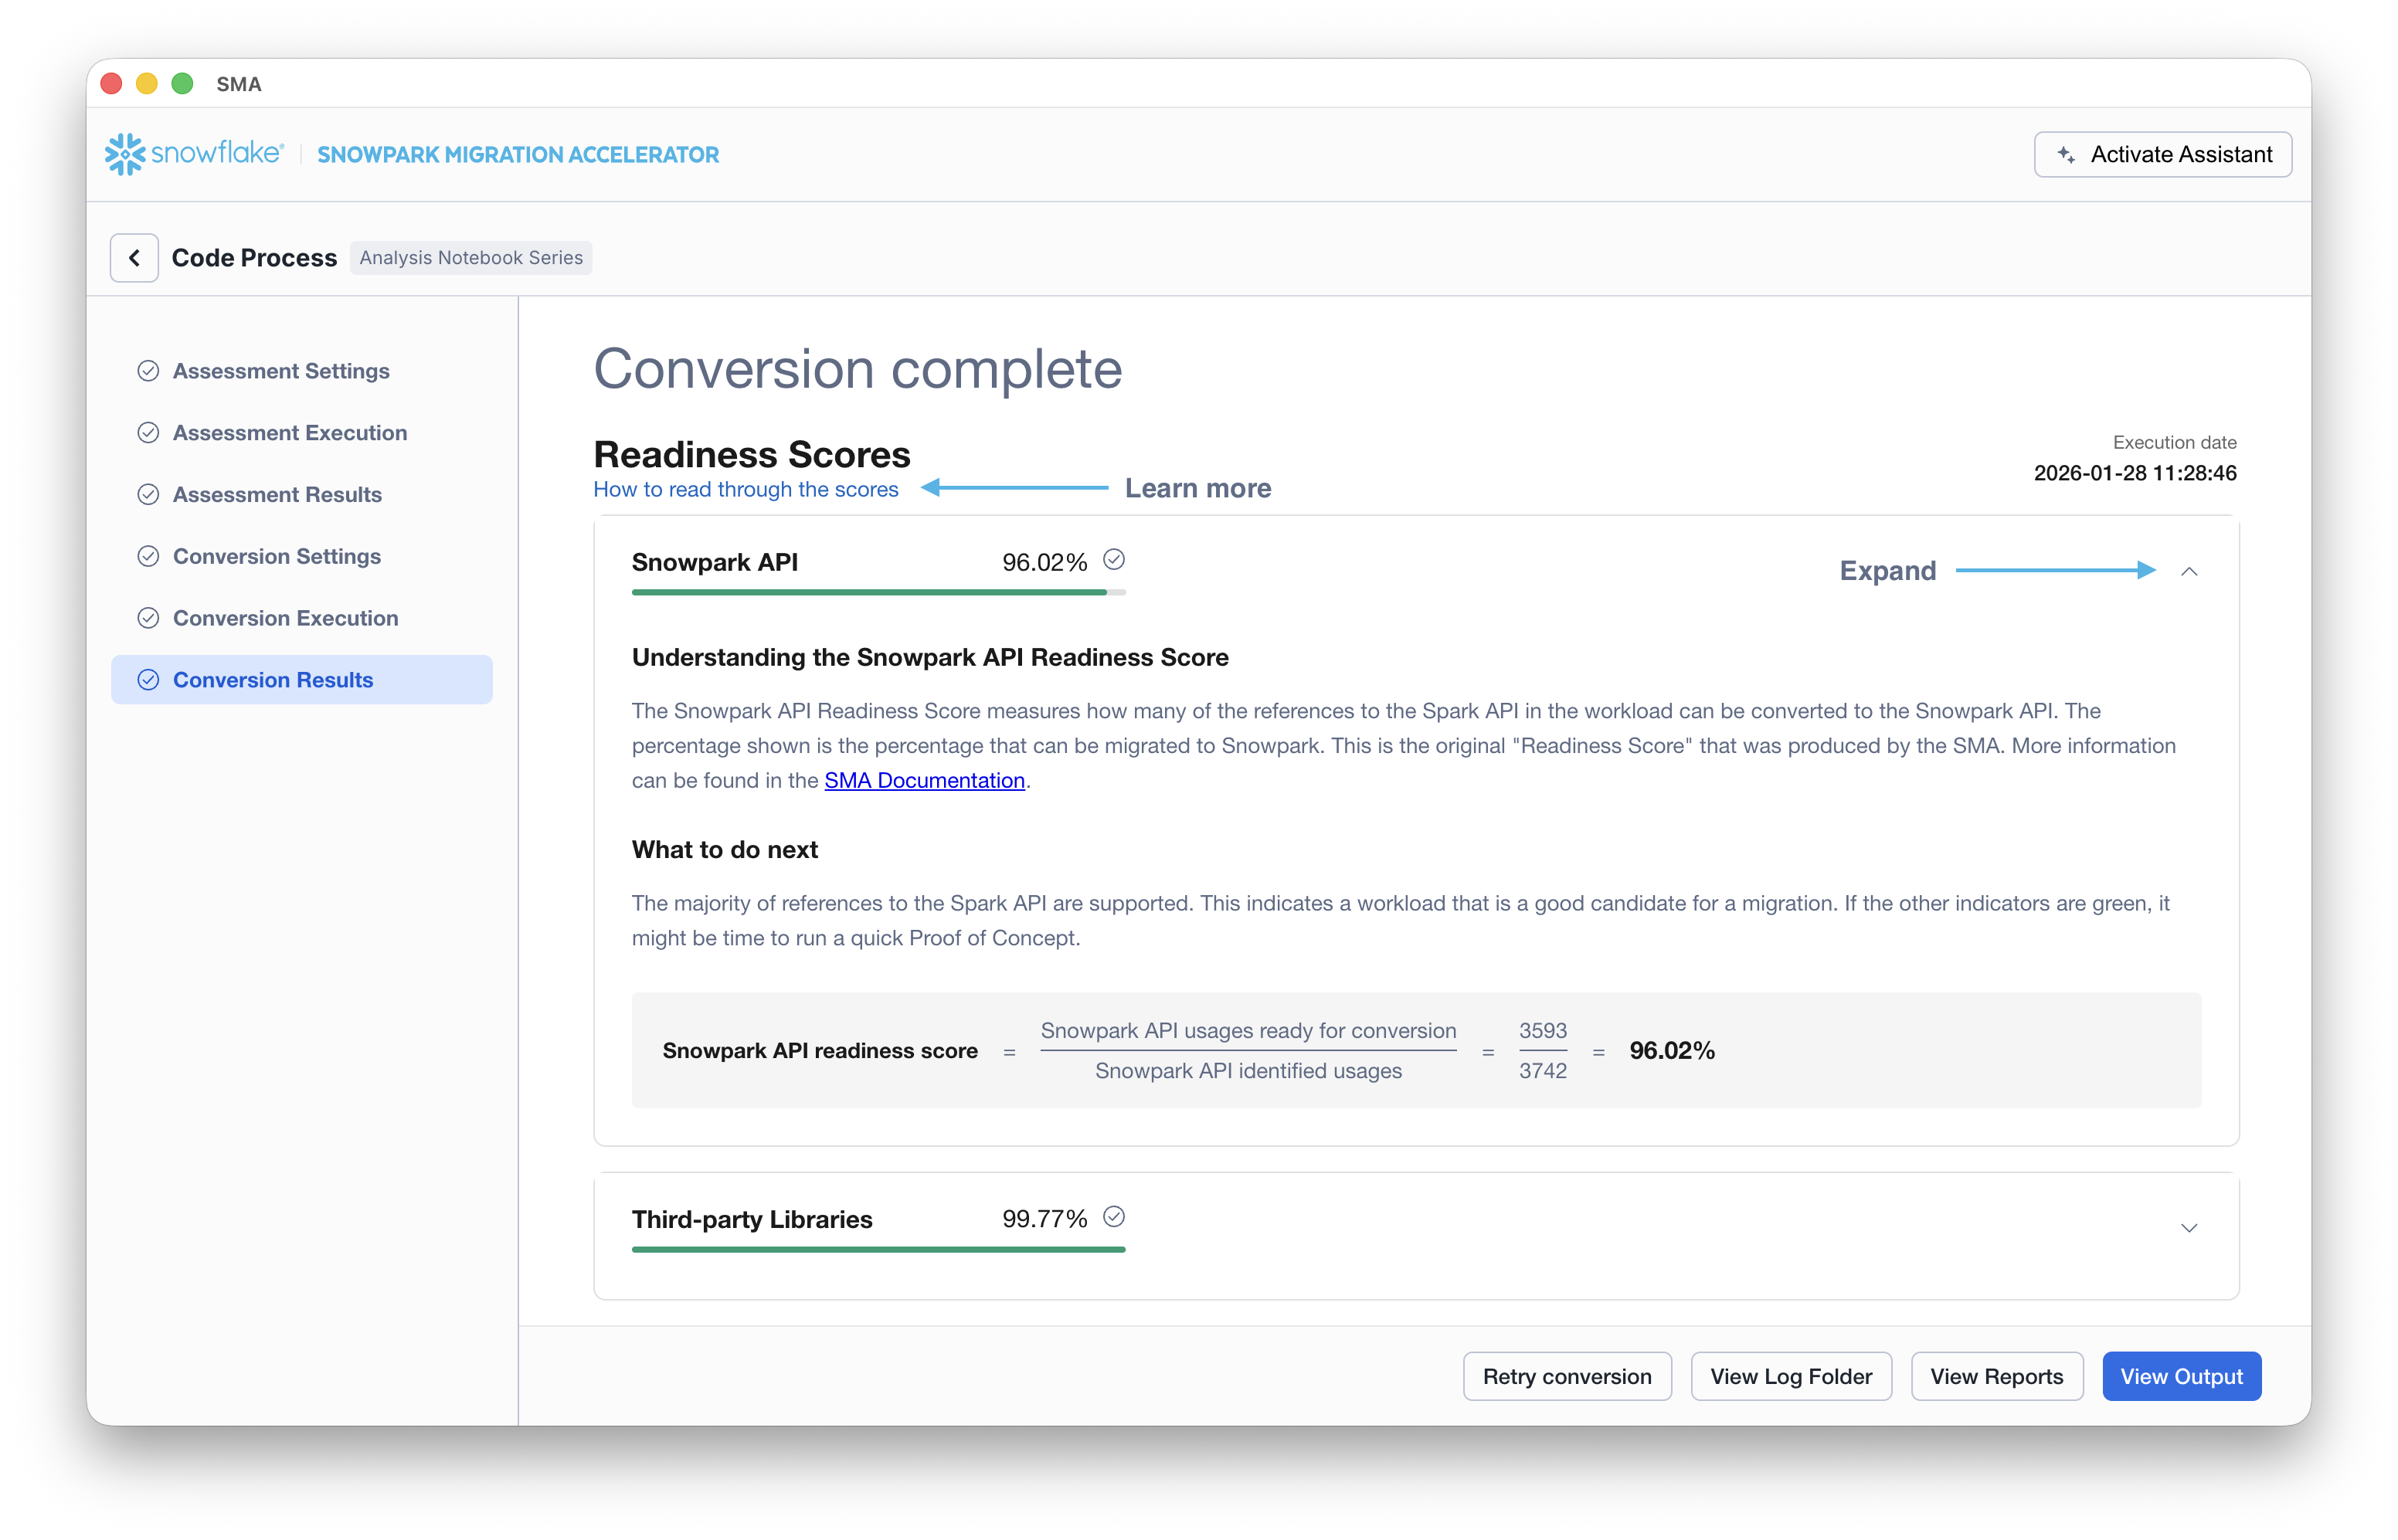
Each readiness score is a very basic calculation of the count of functions or elements in an API that are supported in Snowpark/Snowflake divided by the count of all functions or elements related to that API for this execution. The calculation showing you how the score is calculated is shown when you expand the window. You can also learn more about how to interpret the readiness scores by selecting “How to read through the scores” near the top left corner of this window.
This execution has a Snowpark API Readiness Score of 96.02%. (Please note that yours may be different! These tools are updated on a biweekly basis and there may be a change as compatibility between the two platforms is ever evolving.) This means that 96.02% of the references to the Spark API that the tool identified are supported in Snowflake. “Supported” in this case means that there could be a similar function that already exists or that the SMA has created a functionally equivalent output. The higher this score is, the more likely this code can quickly run in Snowflake.
(Note that this 96.02% of references are either supported directly by the Snowpark API or they are converted by the SMA. Most of them are likely supported directly, but you can find out exactly what was converted and what was passed through by reviewing the SparkUsagesInventory.csv report in the output Reports folder generated by the SMA. We will not walk through that in this lab as we will see what is NOT supported in the Issues.csv file, but you can use this information for reference.)
There are other readiness scores and you may see more than what is shown in the lab as the readiness scores do change over time. This lab won’t walk through each of them, but note that a low score will always be worth investigating.
Code Analyzed
Just below each of the readiness scores, will be a small indicator that lets you know if there was any code that could not be processed:
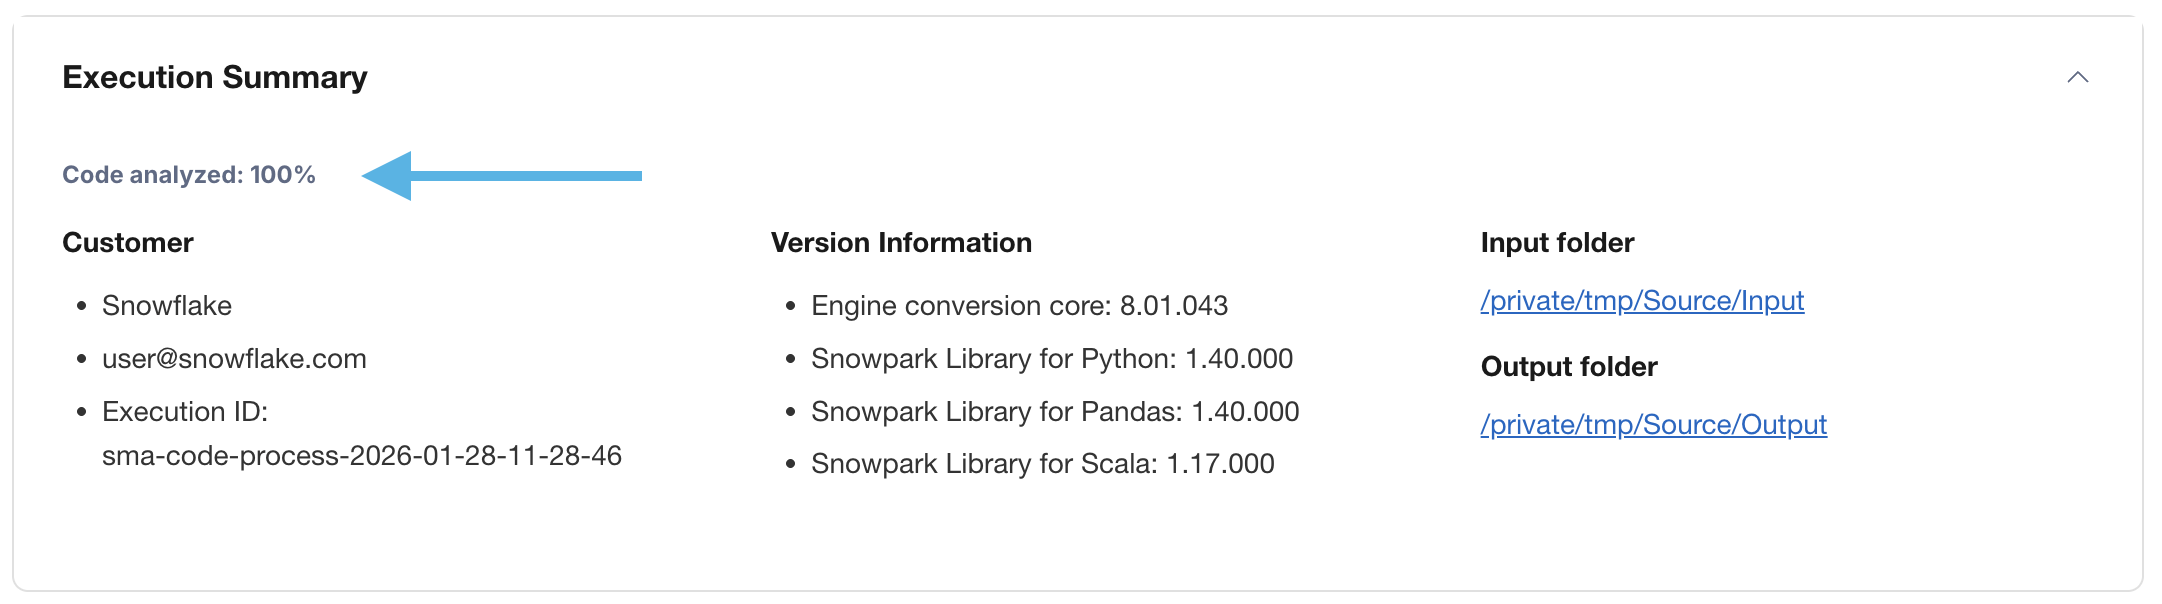
This number represents the percentage of files that were fully parsed. If this number is less than 100%, then there is some code that the SMA could not parse or process. This is the first place you should start looking to resolve problems. If it’s less than 100%, you should see where the parsing errors occurred by looking at the issue summary. This is the first place you should look when working through the SMA’s output because it’s the only one where it might make sense to run the tool again if a large amount of code was not able to be scanned.