- description:
Using the Snowpark Migration Accelerator (SMA)
Snowpark Migration Accelerator: Running the Tool
Now that you have installed the Snowpark Migration Accelerator (SMA) and prepared your codebase, you can begin the execution process. Return to the SMA application if it’s still open, or launch it if you’ve closed it.
Project Setup
When you first open the SMA, the project page is shown.
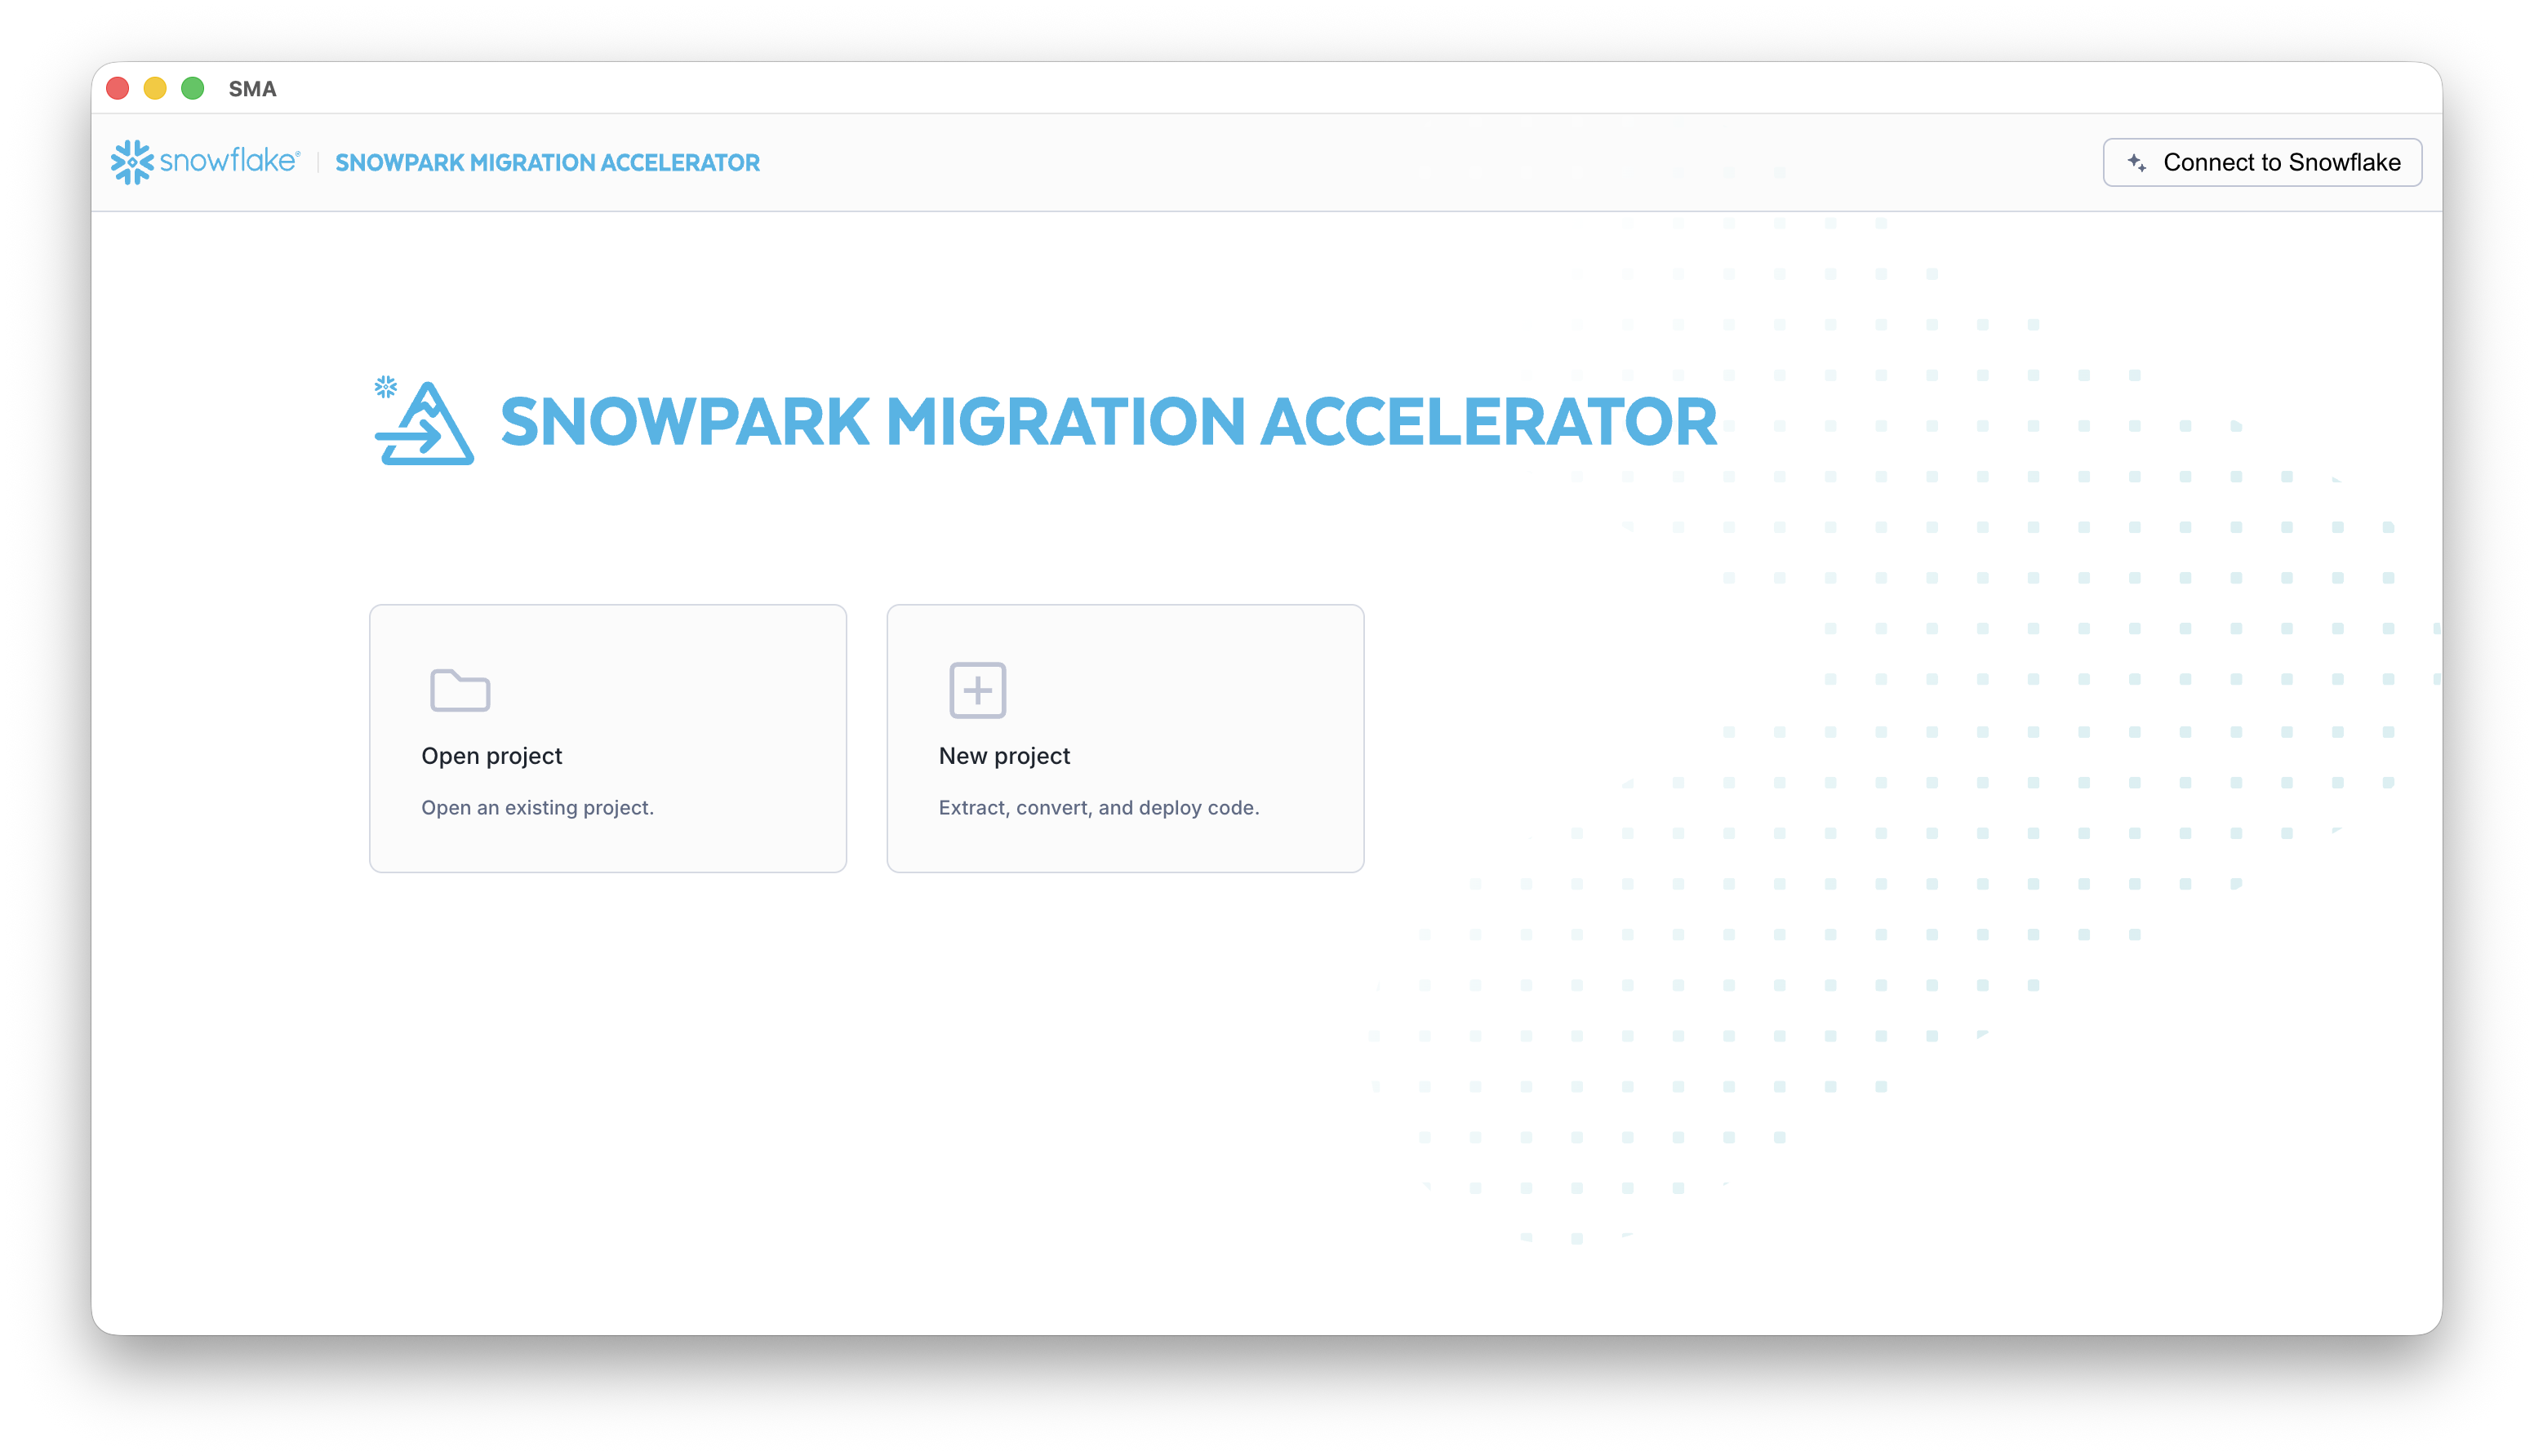
From the menu, select “New Project” to begin. If you have already created a project for this walkthrough, you can access it by selecting “Open Project” instead.
The “Project Creation” page allows you to create a new project file, which is essential for both assessment and code conversion tasks in SMA. The project file (with a .snowct extension) is stored in your selected output directory and keeps track of all your SMA executions. If you want to link multiple executions together, you can reopen an existing project file. All project information is saved both on your local machine and in the shared database. For more details about projects, see the “project” file.
All fields shown are required for configuring the assessment tool and managing the project after running the analysis.
.png)
- Project name: This is the name for your project file. Multiple executions can be connected to a single project as well as any settings you save. You can learn more about the project file below.
- Email address: This email address identifies the user of the tool. This should be the user of the tool, not the owner of the codebase being scanned.
- Company name: This is to help you specify the organization’s code you are working with. If you are running your own code, then put your own organization here. If you are working with another organization, then put that organization name here.
- Input folder: Specify the directory where your source codebase is located.
- Output folder: The directory where the output files (logs, reports, code) will be placed.
For this walkthrough, we will use the “Spark Data Engineering Examples” codebase. You can find it in the sample codebases section. Follow these steps:
- Download and unzip the codebase
- Locate the root directory containing all files - this will be your input directory
- Choose any project name you prefer
- Select an output directory (the tool will suggest a default location, but you can change it as needed)
Before starting the assessment, make sure your input directory contains the correct source code files with the proper file extensions, as explained in the code preparation section.
When you are ready to begin, click Save to save your project.
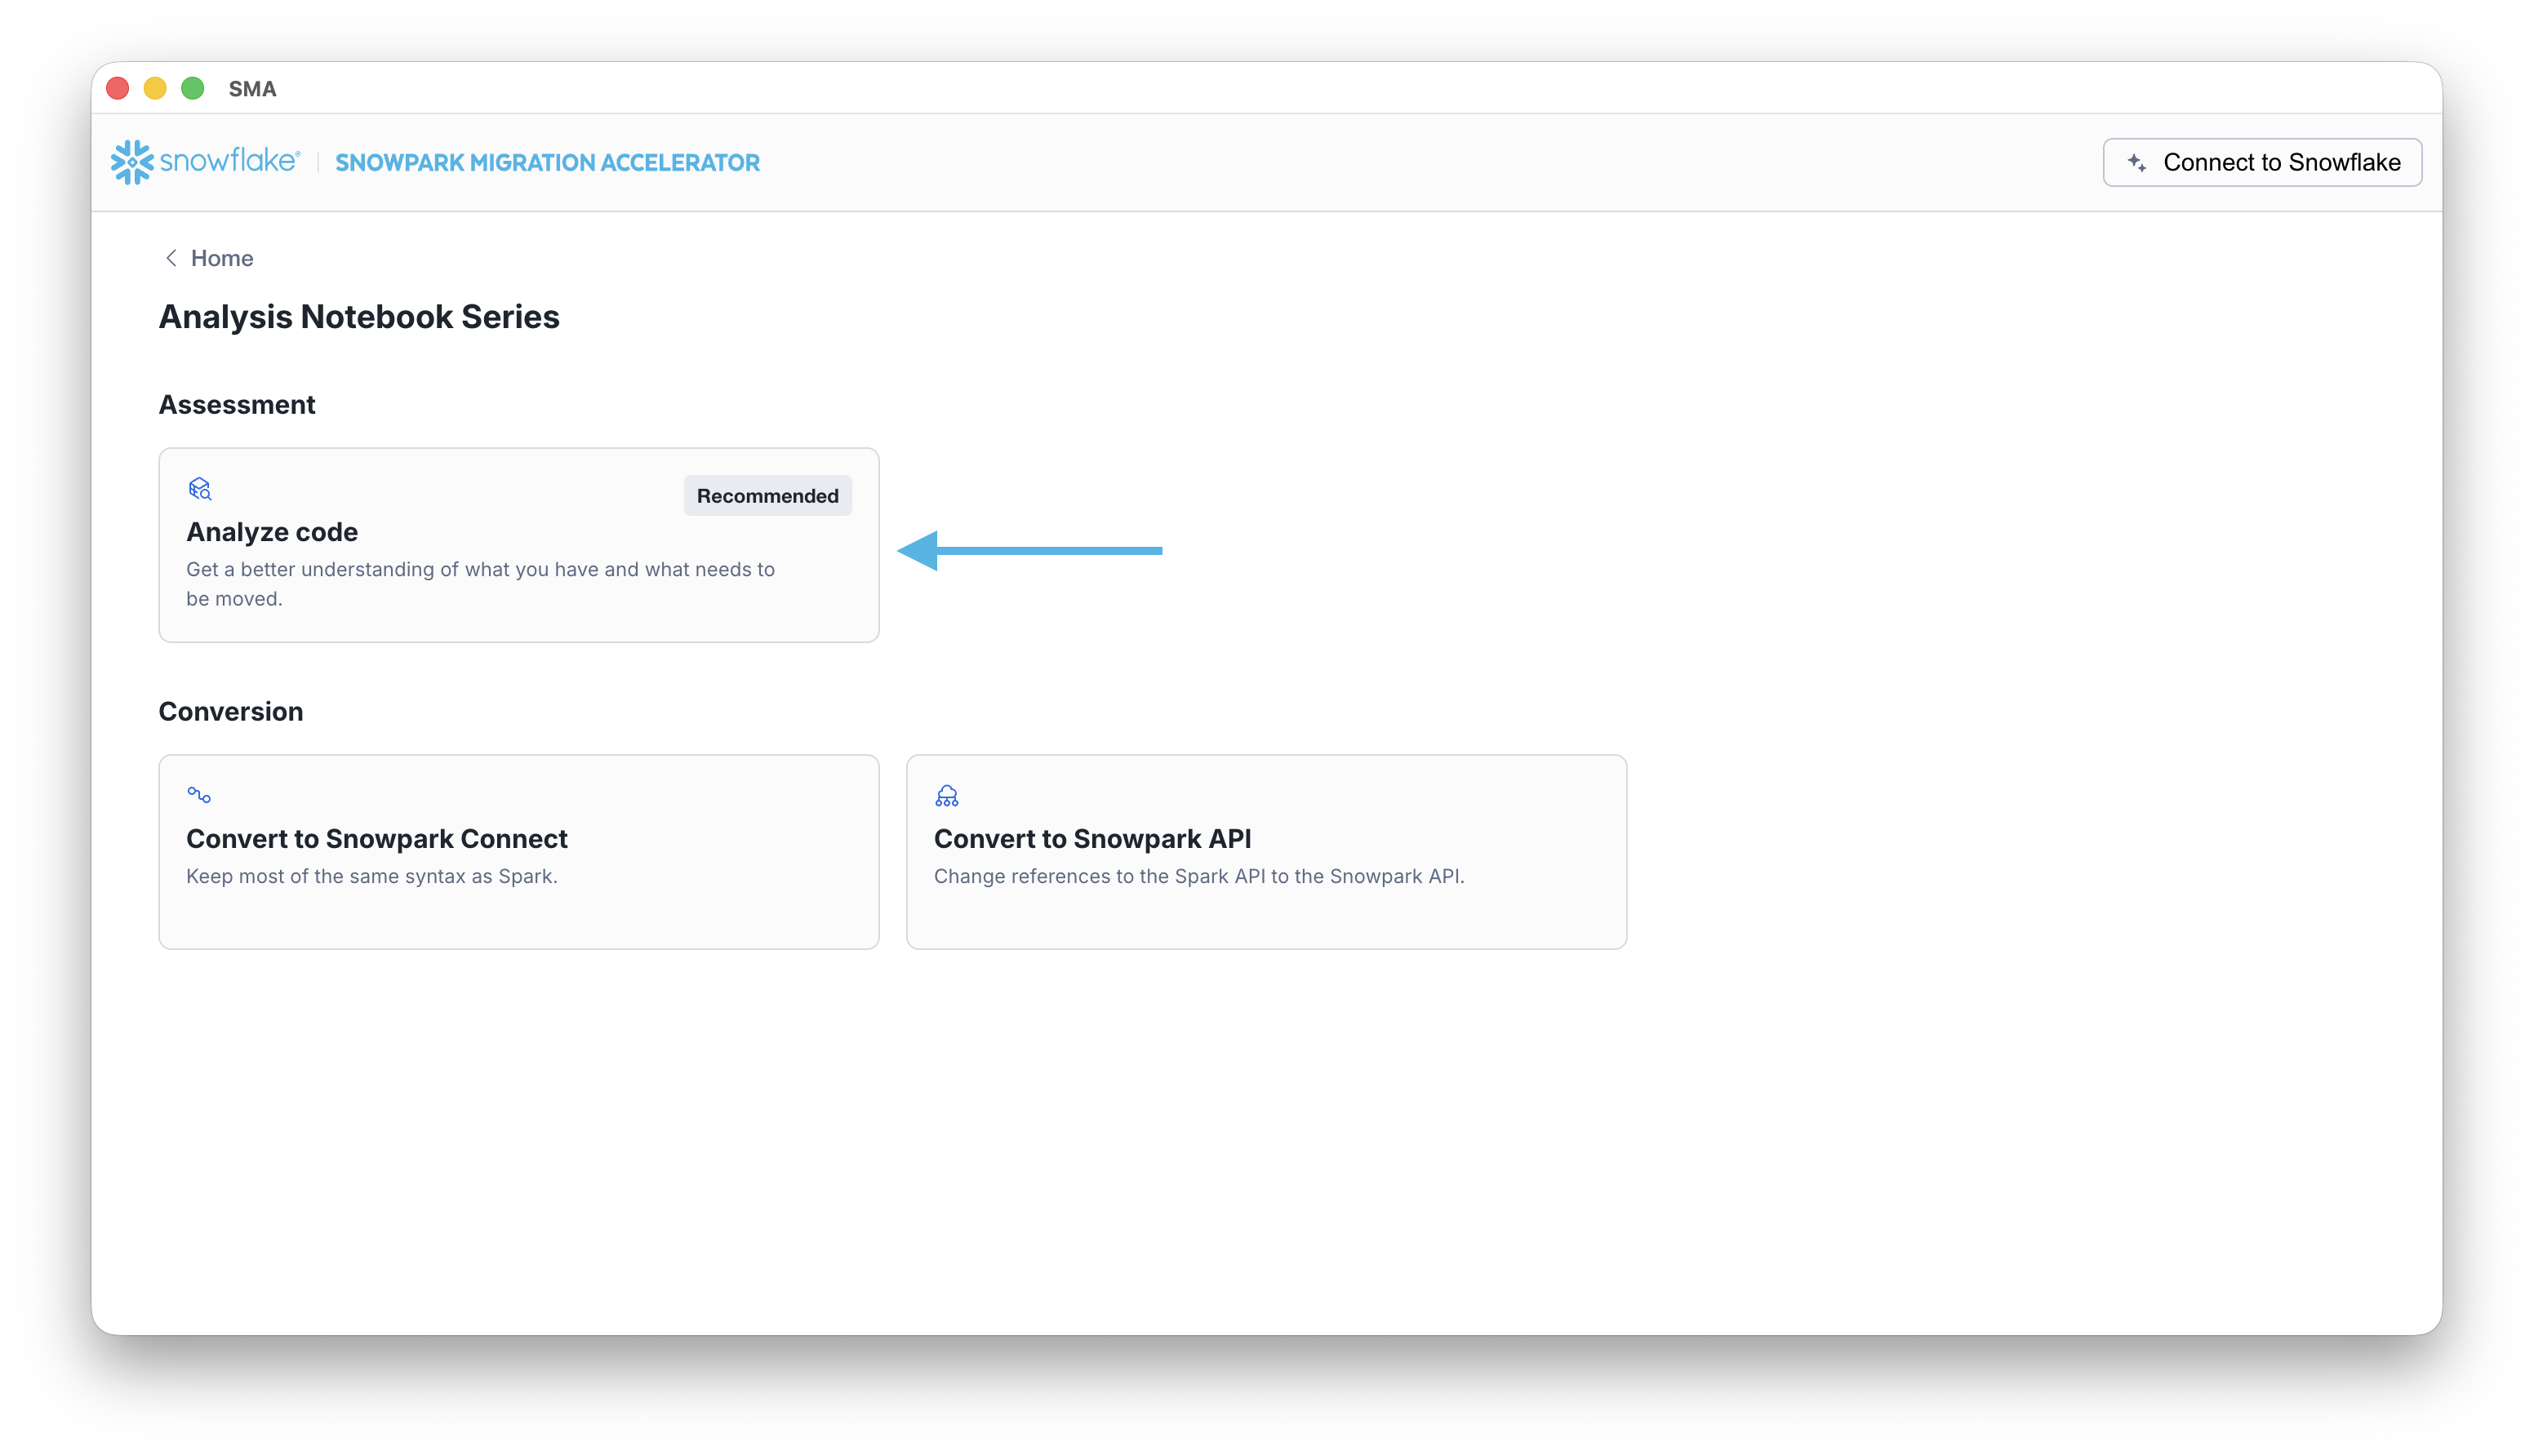
After you save, the SMA takes you to the project home page. Select the Code Process tile to start the guided assessment or conversion workflow:
Execution and Assessment Output
When you start the assessment process, SMA analyzes your source code in three steps:
- First, it performs a basic scan to create an inventory of all files and keywords in your codebase.
- Then, it parses the code according to your source language and creates a semantic model that represents the code’s functionality.
- Finally, it uses this model to generate detailed information, including the Spark Reference Inventory and Import Library Analysis. It also produces the converted code.
During this process, you will see three progress indicators on the screen:
- Loading Source Code
- Analyzing Source Code
- Writing Results
These indicators will light up as each step is completed.
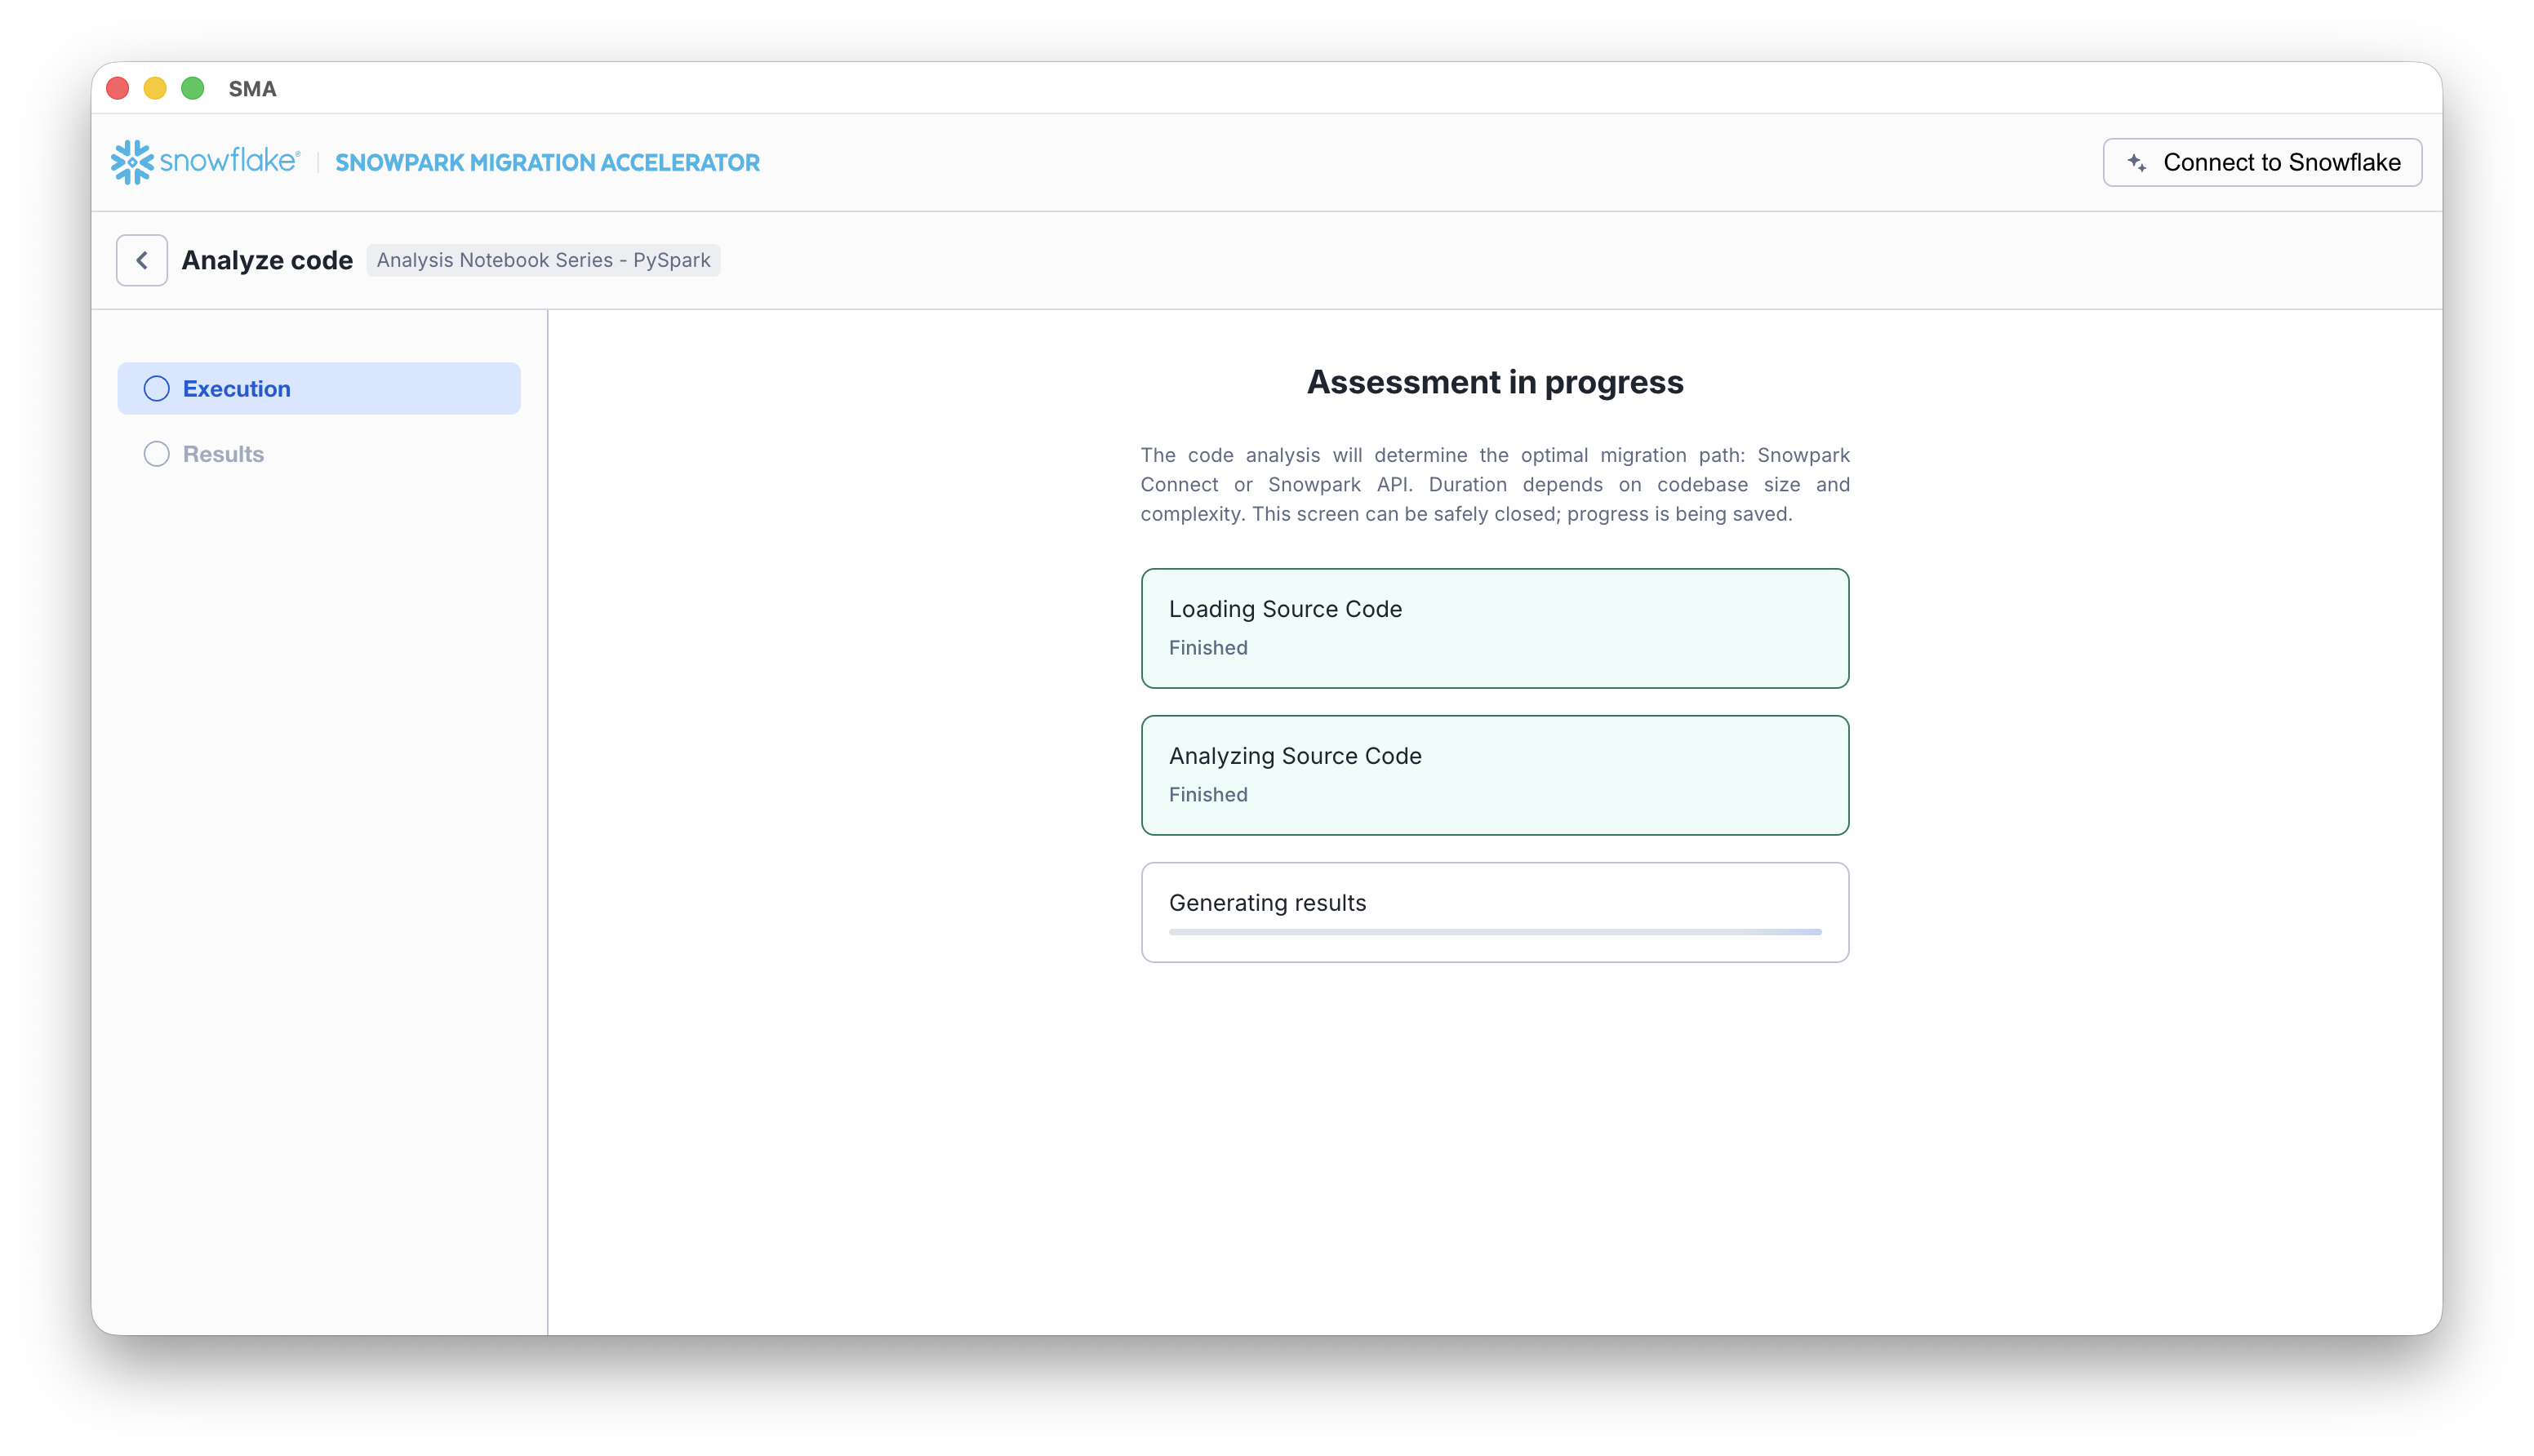
After the analysis is complete, the SMA automatically shows the Assessment Results page where you can see the analysis output.